How to configure TL-WR802N TL-WR810N working on Range Extender Mode
The topology below shows how the repeater works:
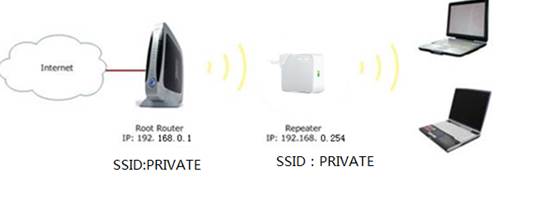
Information of Root Router:
· LAN IP:192.168.0.1
· SSID:PRIVATE
· Encryption Type:WPA2-PSK
· Passphrase:11111111
Configuration on Range Extender: (Here takes TL-WR802N as the example)
Step1
Connect the computer to the Wi-Fi of TL-WR802N. (Note: the default wireless network name and password are printed on the label of this device itself.) Open the web browser and type the IP address http://192.168.0.254 or http://tplinkwifi.net into the address bar and then Press Enter.

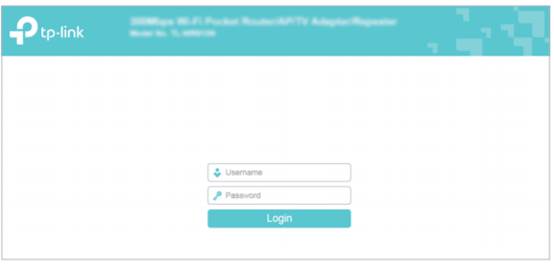
Step 2
Type the username and password into the boxes of the login page, the default username and password both are admin, then press Enter.
Step 3
Go to Quick Setup-> Click Next
Step 4
Choose the Operation mode Range Extender (Repeater), then click on Next.
Step 5
Then click Survey.
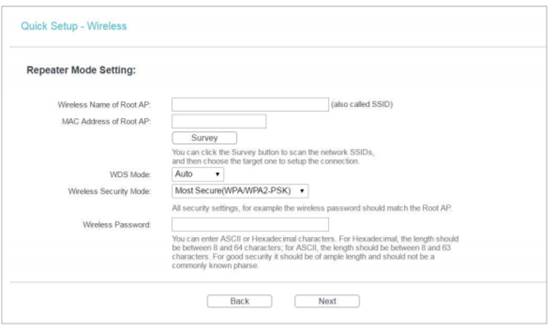
Step 6
Find the root router’s SSID, then click on Connect. Enter the wireless password of host network and confirm it, click on Next.
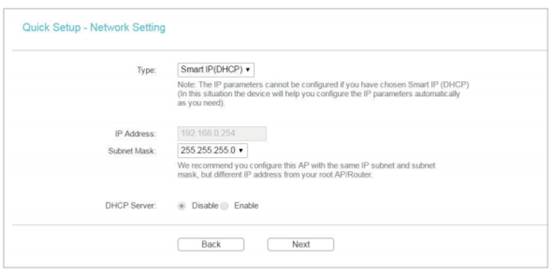
Step 7
Select the LAN IP type of the router or leave the default setting Smart IP for most cases, and then click Next.
Step 8
Click on Reboot, and wait until it goes to 100%
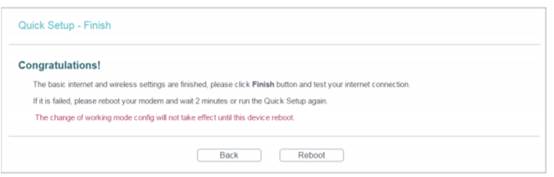
After you go through all the above steps, the Repeater should get working properly with the Root Router.
You may see the signal is stronger and you have internet access with the TL-WR802N.
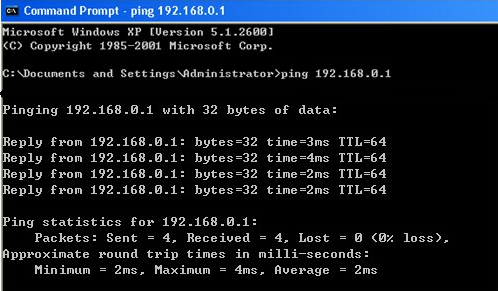
You can also Ping IP Address of your root router on the computer to make certain whether you have setup the Repeater successfully. For how to use Ping, please refer to how to use Ping command.
Get to know more details of each function and configuration please go to Download Center to download the manual of your product.
¿Es útil esta pregunta frecuente?
Sus comentarios nos ayudan a mejorar este sitio.
3.0-L-D-2000px_normal_1584496932325u.png)