TL-WA801N V6 User Guide
Chapter 4 Manage Your Access Point
This chapter presents how to configure and manage your access point.
It contains the following sections:
System time is the time displayed while the access point is running. The system time you configure here will be used for other time-based functions like Reboot Schedule. You can choose the way to obtain the system time as needed.
 Note:
Note:
When working in Client/Multi-SSID mode, setting up system time is not available.
1.Visit http://tplinkap.net, and log in with the password you set for the access point.
2.Go to System Tools > Time Settings.
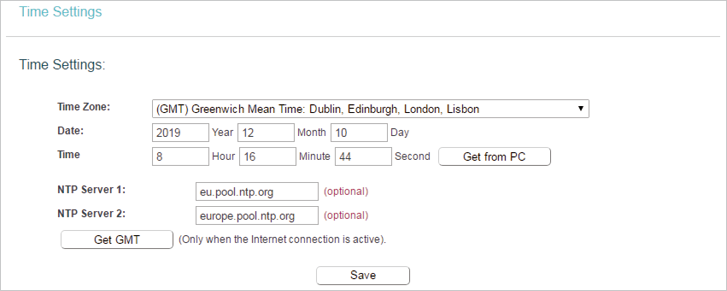
3.Configure the system time using the following methods:
•Manually - Select your time zone and enter your local time.
•Get from PC - Click this button if you want to use the current managing PC’s time.
•Get GMT - Click this button if you want to get time from the internet. Make sure your router can access the internet before you select this way to get system time.
4.Click Save to make your settings effective.
5.After setting the system time, you can set Daylight Saving time according to your needs. Select Enable Daylight Saving, set the start and end time and then click Save.

Diagnostic is used to test the connectivity between the access point and the host or other network devices.
1.Visit http://tplinkap.net, and log in with the password you set for the access point.
2.Go to System Tools > Diagnostic.
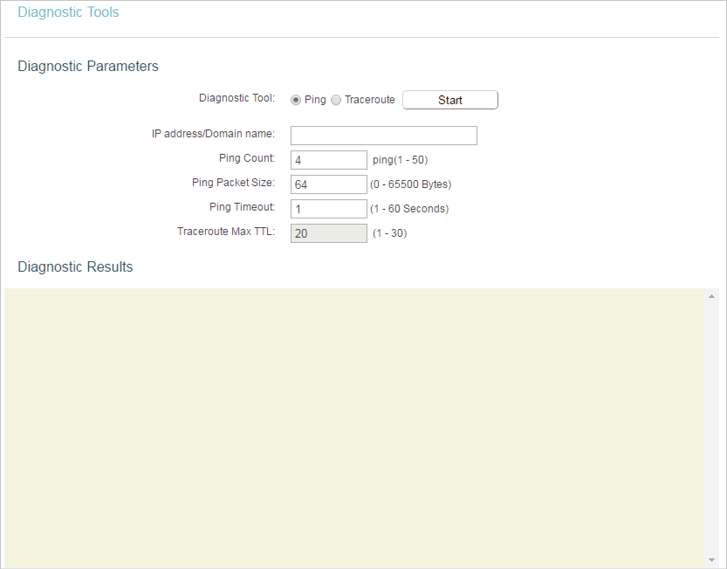
3.Enter the information with the help of page tips:
1 )Choose the Diagnostic Tool as needed.
•Ping - This diagnostic tool troubleshoots connectivity, reachability, and name resolution to a given host or gateway.
•Tracerouter - This diagnostic tool tests the performance of a connection.
Note:
You can use ping/traceroute to test both numeric IP address or domain name. If pinging/tracerouting the IP address is successful, but pinging/tracerouting the domain name is not, you might have a name resolution problem. In this case, ensure that the domain name you are specifying can be resolved by using Domain Name System (DNS) queries.
2 )Enter the destination IP address (such as 192.168.0.254) or Domain name (such as www.tp-link.com) in the IP address/Domain name field.
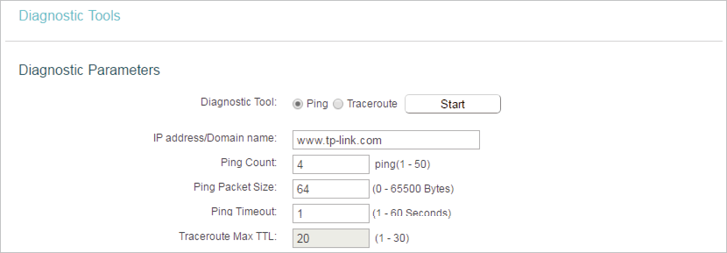
3 )(Optional) Enter the Ping Court/Ping Packet Size/Ping Timeout/Traceroute Max TTL as needed. It’s recommended to keep the default value.
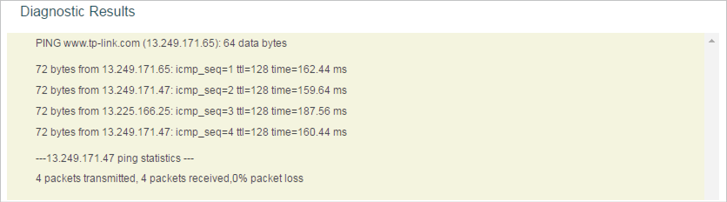
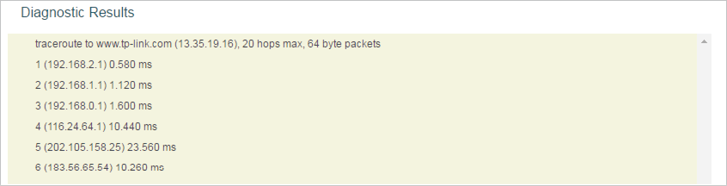
4.Click Start to check the connectivity of the Internet. The Diagnostic results will display as below.
Simple Network Management Protocol (SNMP) is a popular network monitoring and management protocol. It allows management applications to retrieve status updates and statistics from the SNMP agent with this device.
Note:
When working in Client/Range Extender mode, setting SNMP is not available.
1.Visit http://tplinkap.net, and log in with the password you set for the access point.
2.Go to System Tools > SNMP Settings.
3.Enable SNMP Agent and fill in the blanks as needed.
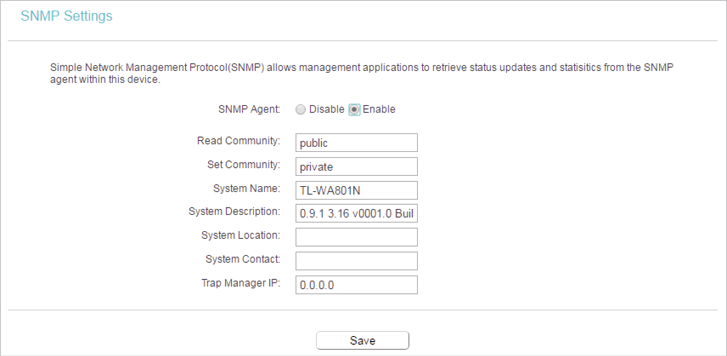
4.Click Save.
The Ping Watch Dog is dedicated for continuous monitoring of the particular connection to remote host using the Ping tool. It makes the access point continuously ping a user defined IP address (it can be the internet gateway for example). If it is unable to ping under the user defined constraints, the access point will automatically reboot.
Note:
When working in Client/Range Extender mode, Ping Watchdog is not available.
1.Visit http://tplinkap.net, and log in with the password you set for the access point.
2.Go to System Tools > Ping WatchDog.
3.Select Enable and fill in the blanks.

4.Click Save.
TP-Link is dedicated to improving and richening the product features, giving users a better network experience. We will release the latest firmware at TP-Link official website. You can download the latest firmware file from the Support page of our website
www.tp-link.com and upgrade the firmware to the latest version.
Note:
•Make sure the latest firmware file is matched with the hardware version (as shown in the download section of the Support page).
•Make sure that you have a stable connection between the access point and your computer. It is NOT recommended to upgrade the firmware wirelessly.
•Backup your access point configuration.
•Do NOT power off the access point during the firmware upgrade.
1.Download the latest firmware file for the access point from our website www.tp-link.com.
2.Visit http://tplinkap.net, and log in with the password you set for the access point.
3.Go to System Tools > Firmware Upgrade.
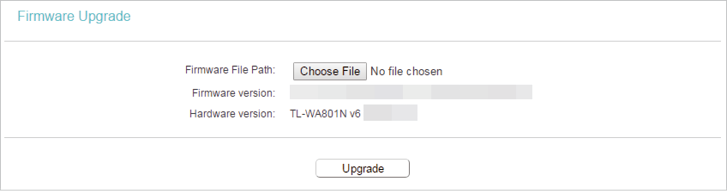
4.Click Choose File to locate the downloaded firmware file, and click Upgrade.
5.Wait a few minutes for the firmware upgrade to complete and the access point to reboot.
1.Visit http://tplinkap.net, and log in with the password you set for the access point.
2.Go to System Tools > Factory Defaults. Click Restore to reset all settings to the default values.

The configuration settings are stored as a configuration file in the access point. You can back up the configuration file in your computer for future use and restore the access point to the previous settings from the backup file when needed.
1.Visit http://tplinkap.net, and log in with the password you set for the access point.
2.Go to System Tools > Backup & Restore.
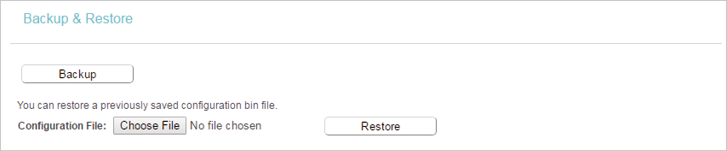
•To back up configuration settings:
Click Backup to save a copy of the current settings in your local computer. A “.bin“ file of the current settings will be stored in your computer.
•To restore configuration settings:
1 )Click Choose File to locate the backup configuration file stored in your computer, and click Restore.
2 )Wait a few minutes for the restoring and rebooting.
Note:
During the restoring process, do not power off or reset the access point.
1.Visit http://tplinkap.net, and log in with the password you set for the access point.
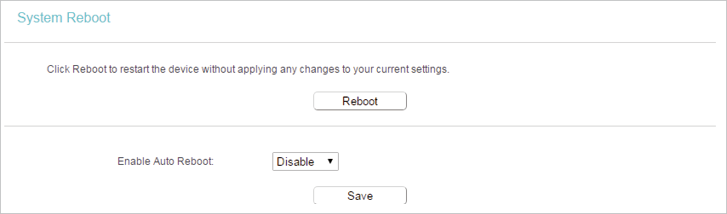
2.Go to System Tools > Reboot, and you can restart your access point. If you want to auto reboot the access point, select Enable and click Save.
Note:
Some settings of the access point will take effect only after rebooting, including:
•Change the LAN IP Address (system will reboot automatically).
•Change the DHCP Settings.
•Change the Working Modes.
•Change the Web Management Port.
•Upgrade the firmware of the access point (system will reboot automatically).
•Restore the access point to its factory defaults (system will reboot automatically).
•Update the configuration with the file (system will reboot automatically).
1.Visit http://tplinkap.net, and log in with the password you set for the access point.
2.Go to System Tools > Password.
3.Enter the old password of the access point and set a new one.
4.Click Save.

1.Visit http://tplinkap.net, and log in with the password you set for the access point.
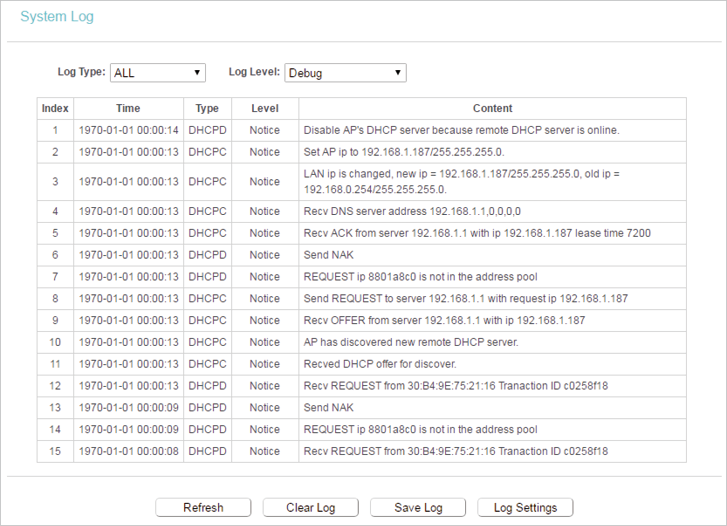
2.Go to System Tools > System Log, and you can view the logs of the access point.
1.Visit http://tplinkap.net, and log in with the password you set for the access point.
2.Click Logout at the bottom of the main menu, and you will log out of the web page and return to the login window.