How to use TP-Link network adapters on Windows 8
This FAQ contains 2 parts:
Part 1: How to install TP-Link network adapters on Windows 8.
Part 2: After a successful installation, how to connect to the wireless network.
NOTE:
Old or useless drivers may affect the installation of the new driver, it is recommended to remove the old driver first, please refer to the FAQ 3769
Part 1: How to install
Due to that Windows 8 has integrated with many adapter drivers, most TP-Link network adapters can be
Plug & Play. When you plug a Plug & Play adapter into a computer with Windows 8, the system will pop up a window as below:
.png)
When the installation process is finished, this window will be closed automatically.
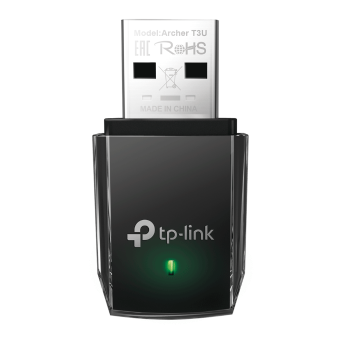
If the adapter is successfully installed, there are some symbols:
1. The LED light on the adapter is flashing.
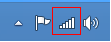
2. Unplug the network cable from your computer, you may find the wireless network connection icon at the right bottom corner of the screen. And if you click on it, you can see the wireless network list.

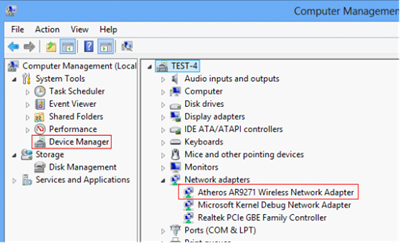
3. Right click Computer on your desktop, click Manage to open the window Computer Management and find Device Manager. Then click Network Adapters, and you’ll find the adapter you just installed.
NOTE :
If you are not an administrator, you will be prompted to type an administrator password, and then click on Yes.
.png)
If the adapter is not installed successfully, you will find the uninstalled network adapter in the Other Devices:

If the Windows 8 automatic installation fails, please double check the compatibility list and download the Windows 8
driver from the list, then you can follow this guide to install the driver manually.
Part 2: After a successful installation, how to connect to the wireless network
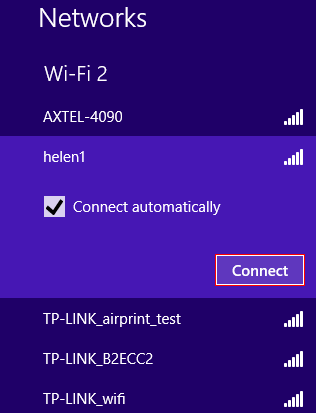
Step 1: Find the wireless icon at the right bottom corner of the screen, and click on it.

Step 2: In the pop-up window, select your wireless network and click Connect.
It is recommended to tick “Connect automatically”.
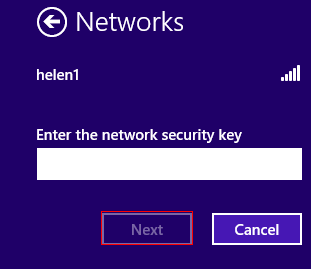
Step 3: Type in the right wireless password (The password is often called security key or network key, which is
created by your wireless modem/router. If you have no idea about it, please contact the wireless modem/router's
tech support). Then click Next.
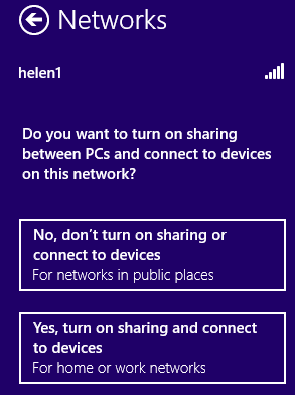
Step 4: Select Yes or No according to your needs.
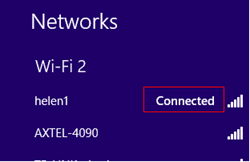
Then the computer should be successfully connected to the wireless network, the wireless icon and the wireless
network list will be as below:
If there are any further problems, please feel free to contact TP-Link support.
Is this faq useful?
Your feedback helps improve this site.


TP-Link Community
Still need help? Search for answers, ask questions, and get help from TP-Link experts and other users around the world.