How to edit Home/Away Mode of my cameras
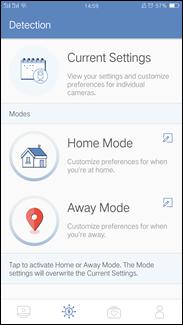
Detection Tab Introduction
- Current setting: Choose the camera you want to have a customized edit.
- Home & Away Mode: After customized edit you can switch detection settings of your all cameras by one-time click
Let’s start to set up home/away mode and take NC250/450 for example:
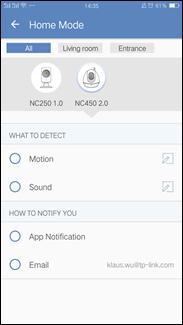
1. Tap the edit button of “Home/Away Mode”
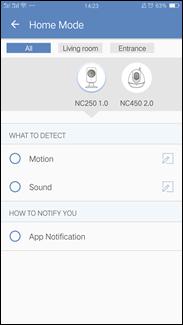
2. Choose one of your camera, let’s begin with NC250 first.
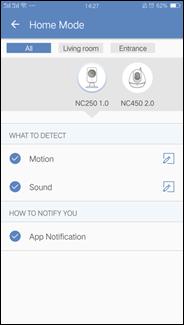
You can tick Motion/Sound and then click “edit”.
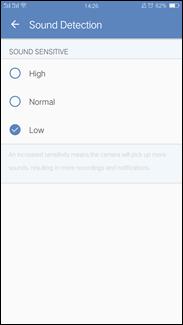
You can refer to How to use motion detection function on tpCamera APP for operation.
For NC250, you can only set App Notification on App, if you want to use SMTP Email Notification, please refer to:
How to use motion detection function on Web-UI?
How to set Gmail or Hotmail as sender Email address in cloud camera Notification Delivery Function?
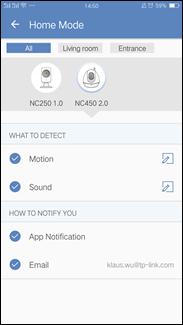
3. After completing the setting of NC250, choose another camera NC450
The difference is only NC450/NC260 supports Cloud Email Notification. It will send email to your Cloud account when there detect something.
Please notice that Cloud Email is different from SMTP Email: Every camera has 60 Cloud email alters each month. Once it reaches the limitation, an email for renew email alters will be sent to customer and user has to renew to apply more. At most 4 renewals per month, namely 300 email alters. However, there’s no limit in SMTP Email.
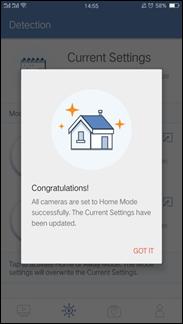
4. ![]() When completing all settings, tap “
When completing all settings, tap “  ”on the top left corner
5. Now you can tap the icon to switch all of your cameras’ detection settings.

Is this faq useful?
Your feedback helps improve this site.
TP-Link Community
Still need help? Search for answers, ask questions, and get help from TP-Link experts and other users around the world.