How to add manager account for TP-Link ISP-customized Router
Introduction
Each Network has only one owner with full authority to manage the network, including changing network settings and adding or removing devices. If you want to create another account for families to help manage the network system, the Manager function can fulfill such requirements.
Configuration
Method 1: Via Aginet app
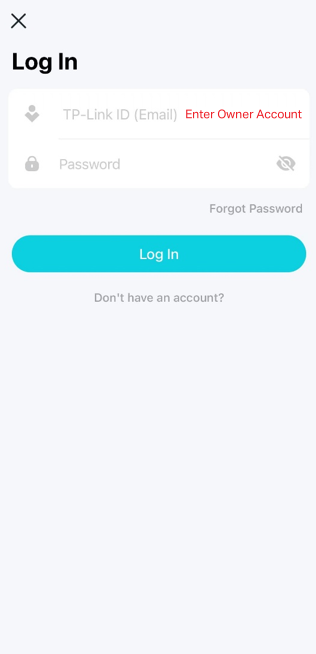
Step 1. Log in to the Aginet app with the owner account.
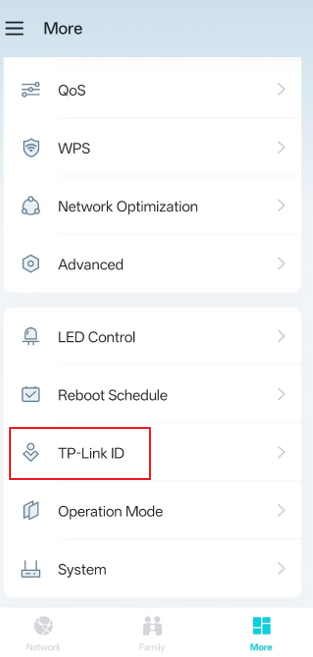
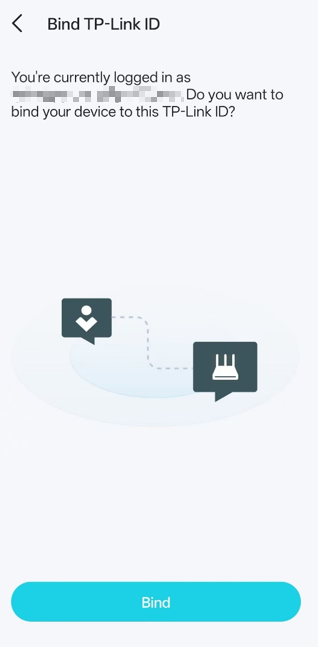
Step 2. Go to More > TP-Link ID, and bind your device to your TP-Link ID first.
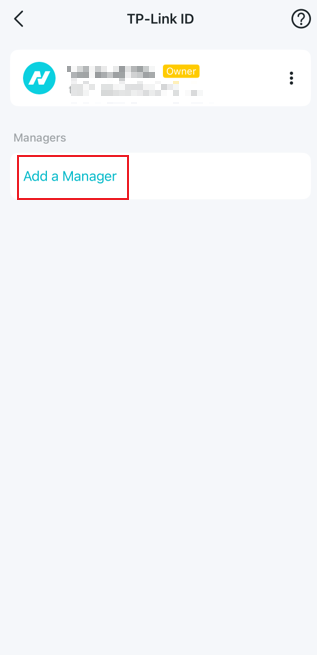
Step 3. Select Add a Manager and enter the registered TP-Link ID (email).
Method 2: Via the Web Interface Page
Step 1. Ensure your device is connected to the router via Wi-Fi or an Ethernet port. Open a web browser and enter one of these addresses in the browser bar to access the web interface:
- For models starting with E/H: http://tplinkwifi.net
- For models starting with V/N/M: http://tplinkmodem.net
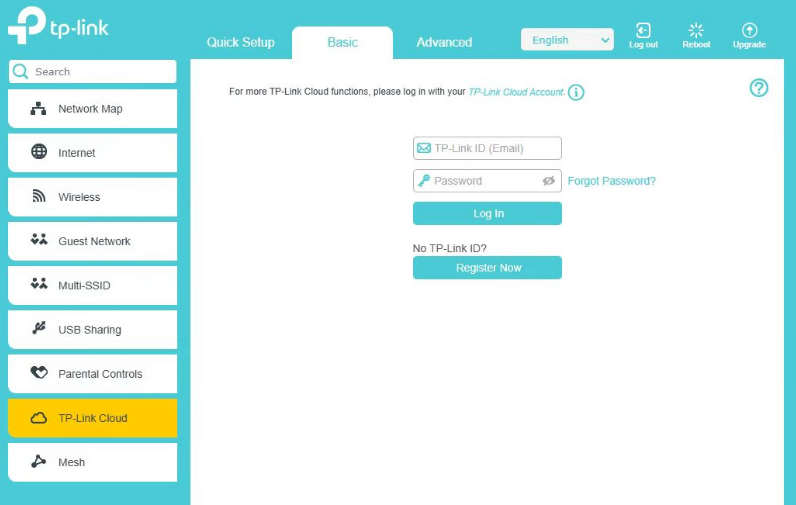
Step 2. Go to Basic > TP-Link Cloud, then bind your device to your TP-Link ID.
Step 3: Go to Bound Accounts, click Bind, enter another TP-Link ID as needed, and save it.
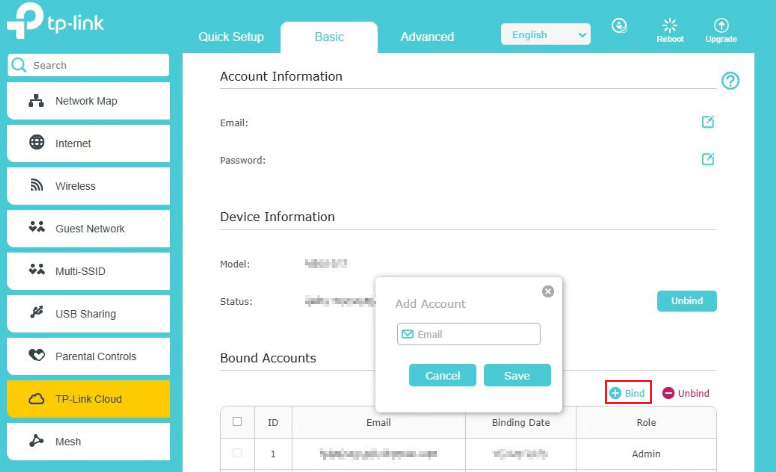
The new TP-Link ID will be displayed in the Bound Accounts table as a User.

QA
Q1: What’s the difference between an owner account and a manager account?
A1: Managers have the same permissions as the owner to modify network settings, but they do not have the privileges to add or remove manager accounts or remove Aginet devices.
Q2: How many manager accounts can be added to a single network?
A2: The owner can assign up to eight manager accounts for a single network.
Get to know more details of each function and configuration, please go to the Download Center to download the manual of your product.
Είναι χρήσιμο αυτό το FAQ;
Τα σχόλιά σας συμβάλλουν στη βελτίωση αυτού του ιστότοπου.