How to create an IoT Network on TP‑Link ISP‑customized Router
Introduction
The IoT Network feature lets you create a dedicated wireless network for IoT devices, including smart lights, sensors, plugs, and cameras.
Separating IoT devices from the main Wi-Fi network can improve connection stability and enhance security by isolating low-bandwidth or high-volume IoT traffic.
This article explains the purpose of the IoT Network and provides step-by-step instructions for configuring it via the web management interface of your ISP Customized Router.
Configuration
In this example, we use HB210 Pro(EU1) 1.0 as the demonstration model.
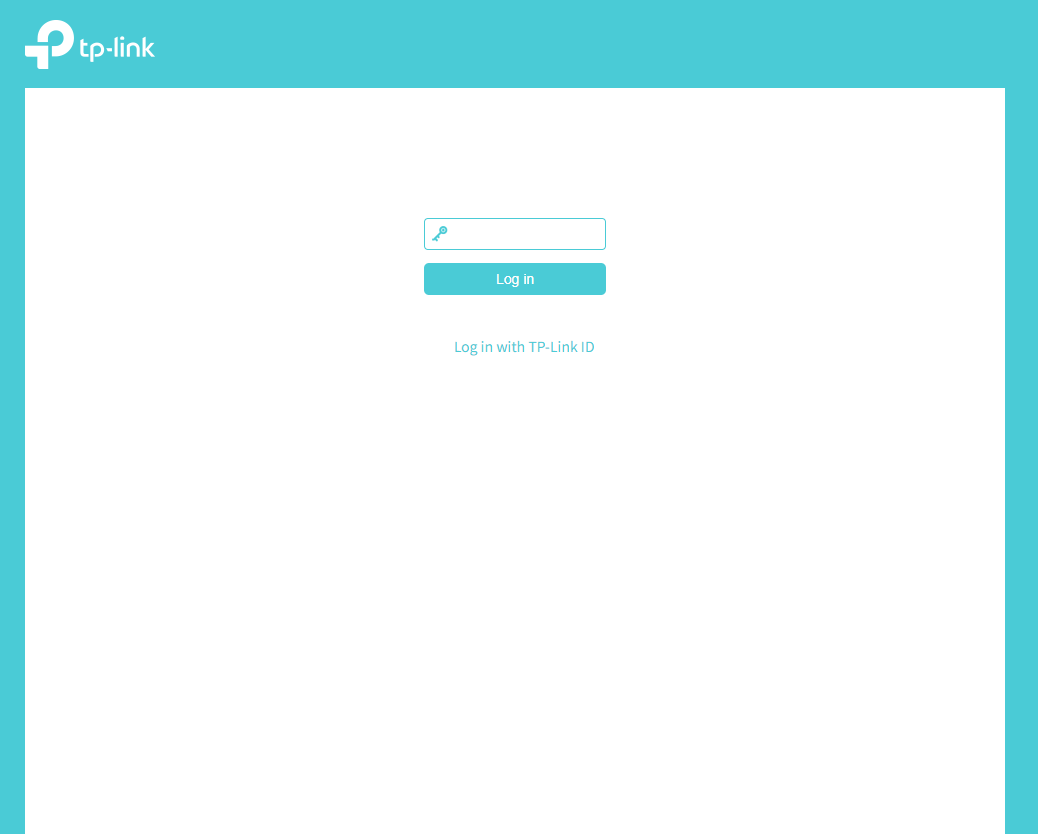
Step 1. Connect your device to the router (via Wi-Fi/Ethernet), then access its web interface by entering the model-specific URL in a browser:
- E/H-series models: http://tplinkwifi.net
- V/N/M-series models: http://tplinkmodem.net
Log in to the web portal using the login password.
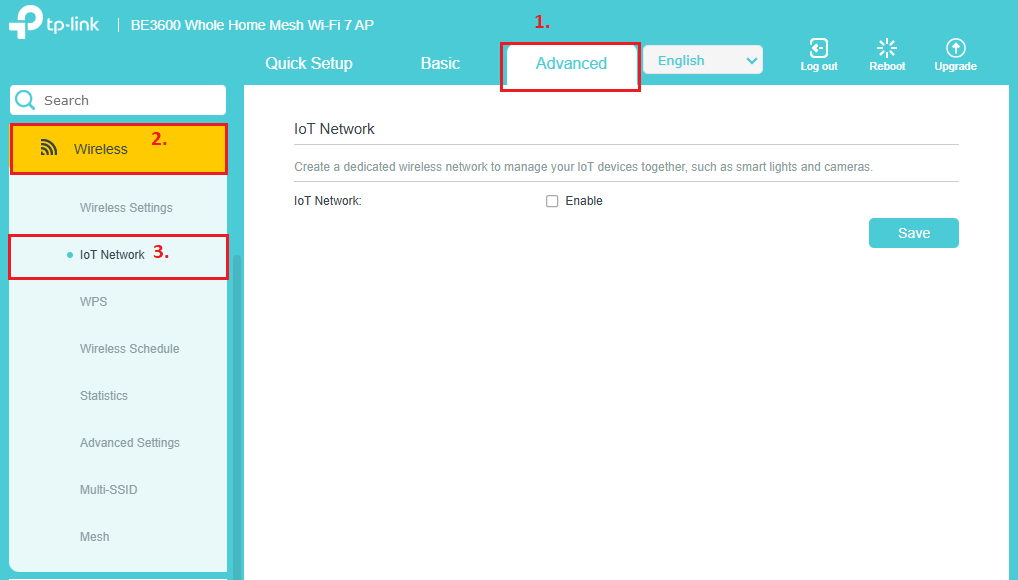
Step 2. Go to Advanced > Wireless > IoT Network.
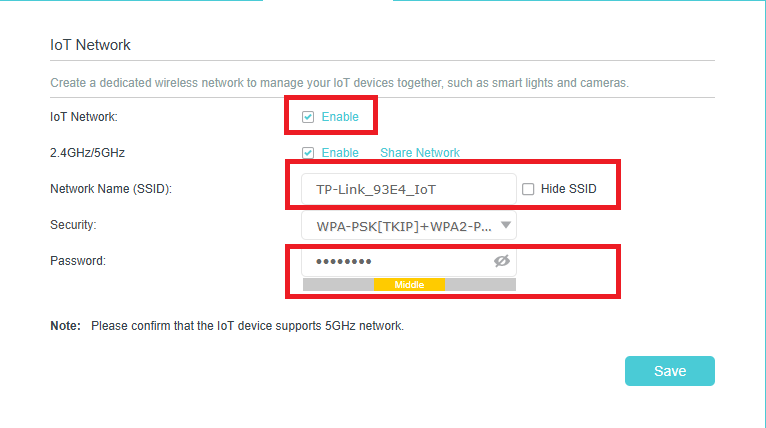
Step 3. Enable the IoT Network, then set a Network Name (SSID) and Password.
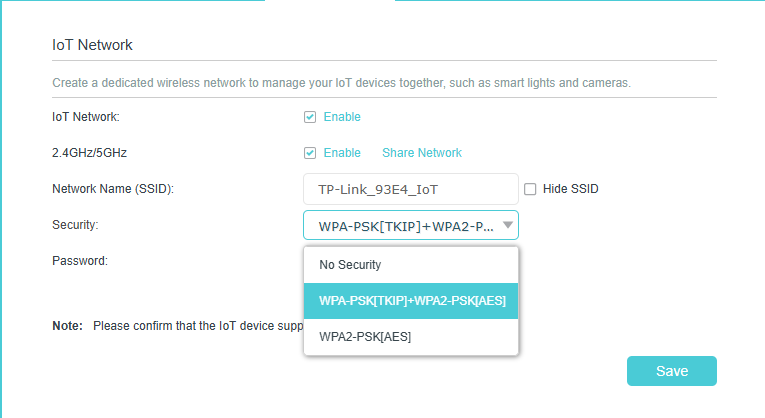
Step 4. Select the Security option and choose a Wi‑Fi security protocol.
If No Security is selected, no password will be required for the IoT Network. Then click Save to save the IOT Network settings.
Done.
Your IoT devices can now be connected to the dedicated IoT Network.
QA
Q1: Why don't I see the IoT Network option?
A1: Some ISP‑Customized Router models may not support the IoT Network feature. Ensure that your router model and firmware version include this feature.
Q2: Will enabling an IoT Network affect devices on my main network?
A2: No. The IoT Network operates separately from the main Wi‑Fi, helping you organize and manage IoT traffic without affecting other devices.
Is this faq useful?
Your feedback helps improve this site.


TP-Link Community
Still need help? Search for answers, ask questions, and get help from TP-Link experts and other users around the world.