How do I install my Kasa Cam Outdoor adapter inside?
This Article Applies to:
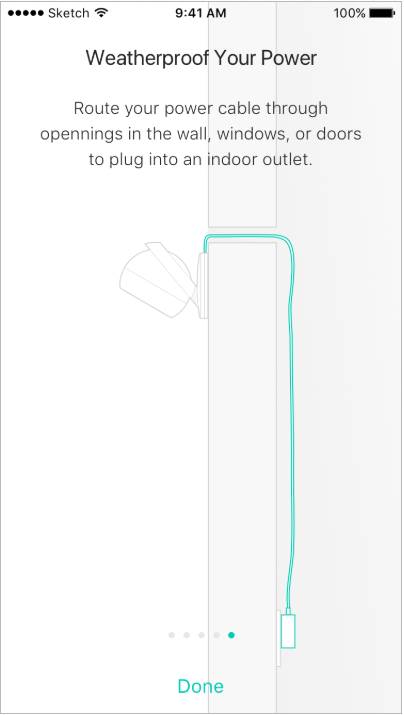
Kasa Cam Outdoor is IP65 certified and is shipped with an adapter designed to be plugged indoors. This will require you to guide the USB cable through an exterior wall of you home to the interior, where a power outlet is available. Before starting the installation process, please ensure a suitable location and cable path has been selected. The camera cable length is 3m(10ft).
- Ensure your camera has suitable Wi-Fi signal strength when determining its placement.
- Consider routing the cable through existing holes, walls or windows.
- Use appropriate tools specific to your housing material to make a hole.
- The cable hole must be large enough to accommodate the standard USB connector end.
- Its recommended not to install the camera right over the hole as this will prevent the base from sitting flush against the wall. This means a small portion of the cable will be exposed but can be painted over. Alternately, you can choose to make the cable hole closer to your indoor outlet, to minimize visible cable on the inside of your home.
- Ensure proper weatherproofing around the cable hole that it suitable for the exterior of your home.
- Finally, use cable clamps provided with the Kasa Cam Outdoor to secure the cable. Both the cable and cable clamps can be painted over.
Is this faq useful?
Your feedback helps improve this site.

TP-Link Community
Still need help? Search for answers, ask questions, and get help from TP-Link experts and other users around the world.