How to connect to Internet by using Windows XP built-in PPPoE Wizard with a modem at bridge mode
Here we take Windows XP as an example, and please make certain that your Ethernet Adapter is working well.
For Windows Vista, the procedure is very similar:
Start Menu—Control Panel—Network and Sharing Center—Setup a Connection—Connect to the Internet—Broadband (PPPoE)—Username and Password—Finish.
Note: The ADSL modem/router should be configured to work on Bridge mode in order to use the New Connection Wizard to set up the Internet connection.
Step 1 On the Windows taskbar, click the Start->Control Panel, then select and double-click Networking Connections.
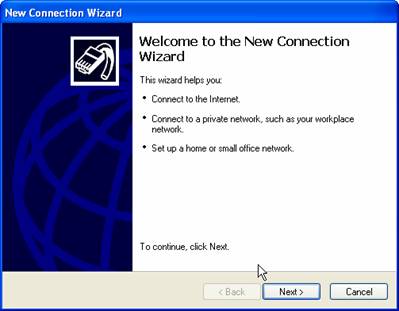
Step 2 Select Creat a new connection. The New Connection Wizard will appear then Next.
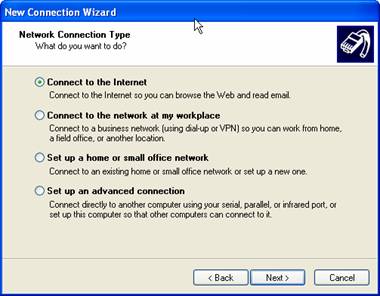
Step 3 On the Network Connection Type page, choose Connect to the Internet then Next.
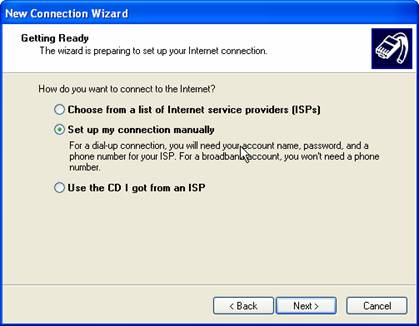
Step 4 On the Getting Ready page, choose Set up my connection manually then Next.
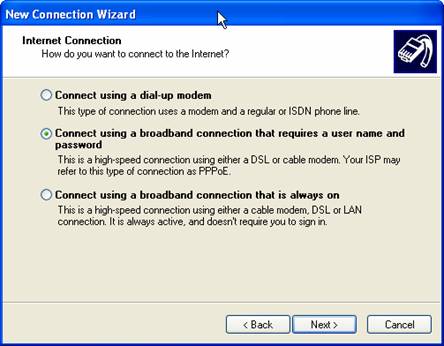
Step 5 On the Internet Connection page, choose Connect using a broadband connection that requires a user name and password then Next.
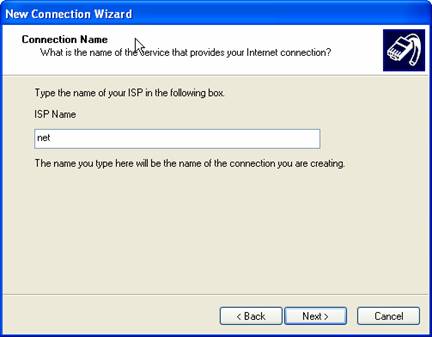
Step 6 On the Connection Name page, ISP Name is whatever if you like, then Next.
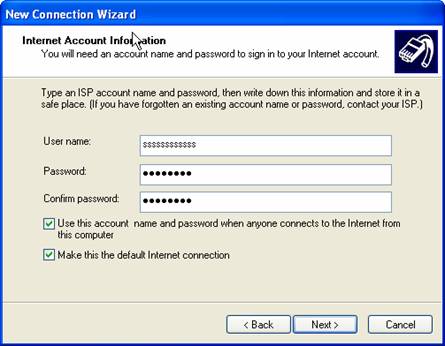
Step 7 On the Internet Account Information page, input the User name and Password by provided from your ISP if you have applied a broadband service, then Next.
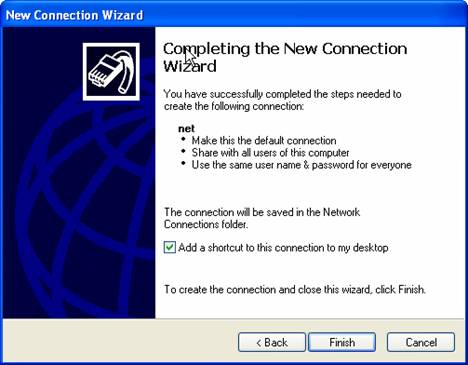
Step 8 Ok, what is needed to access the Internet has configured. If you would like to connect the Internet quickly each time, select Add a shortcut to this connection to my desktop. Then click Finish, it will save the configuration automatically.
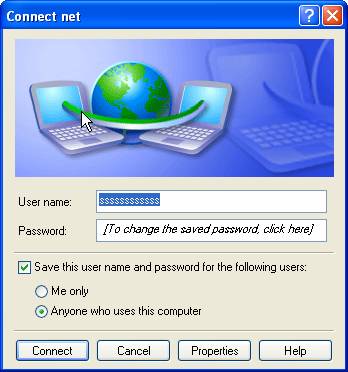
Step 9 After saving the configuration, the connection to the Internet will appear. Check the User name and Password, if they are right, click Connect then you will access the Internet.
Is this faq useful?
Your feedback helps improve this site.


TP-Link Community
Still need help? Search for answers, ask questions, and get help from TP-Link experts and other users around the world.