Setup Guide
Tapo Smart Light Bulb/Spotlight: TL13E/Tapo L430C/L430P/L510E/L520E/L530E/L530EA/L535E/L610/L630
Welcome to the setup guide.
To ensure equal access for all users, we offer this accessible setup guide. This guide is designed to meet accessibility needs, enabling a successful setup. It will introduce the appearance of the light bulb and then guide you through the setup process.
Step 1. Know about Your Smart Light Bulb
1. You can find your light bulb in the package.
2. Next, hold your light bulb and feel the metallic part at the bottom. It is the bulb's base that determines how the bulb connects to the electrical supply and is essential for proper fit and function.
The TL13E/Tapo L430C/L430P/L510E/L520E/L530E/L530EA/L535E has a cylindrical screw-in base with smooth edges and a flat bottom, while the Tapo L610/L630 has a GU10 base with two flat pins at the bottom, spaced 10 millimeters apart, which lock the bulb into the socket.
| Model | Appearance | Lamp Base |
|---|---|---|
| TL13E | 3.0-package_20250812024130a.png) |
an E27 base, a screw-in base with a diameter of 27 millimeters |
| Tapo L430C | _EU_3.0_overview_01-1_20250812024257z.jpg) |
an E14 base, a screw-in base with a diameter of 14 millimeters |
| Tapo L430P | 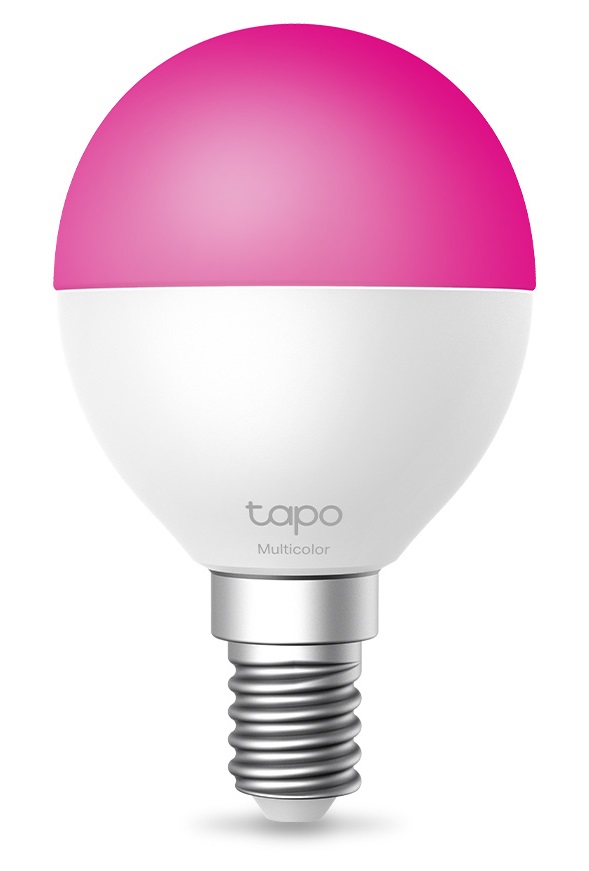 |
an E14 base, a screw-in base with a diameter of 14 millimeters |
| Tapo L510E | 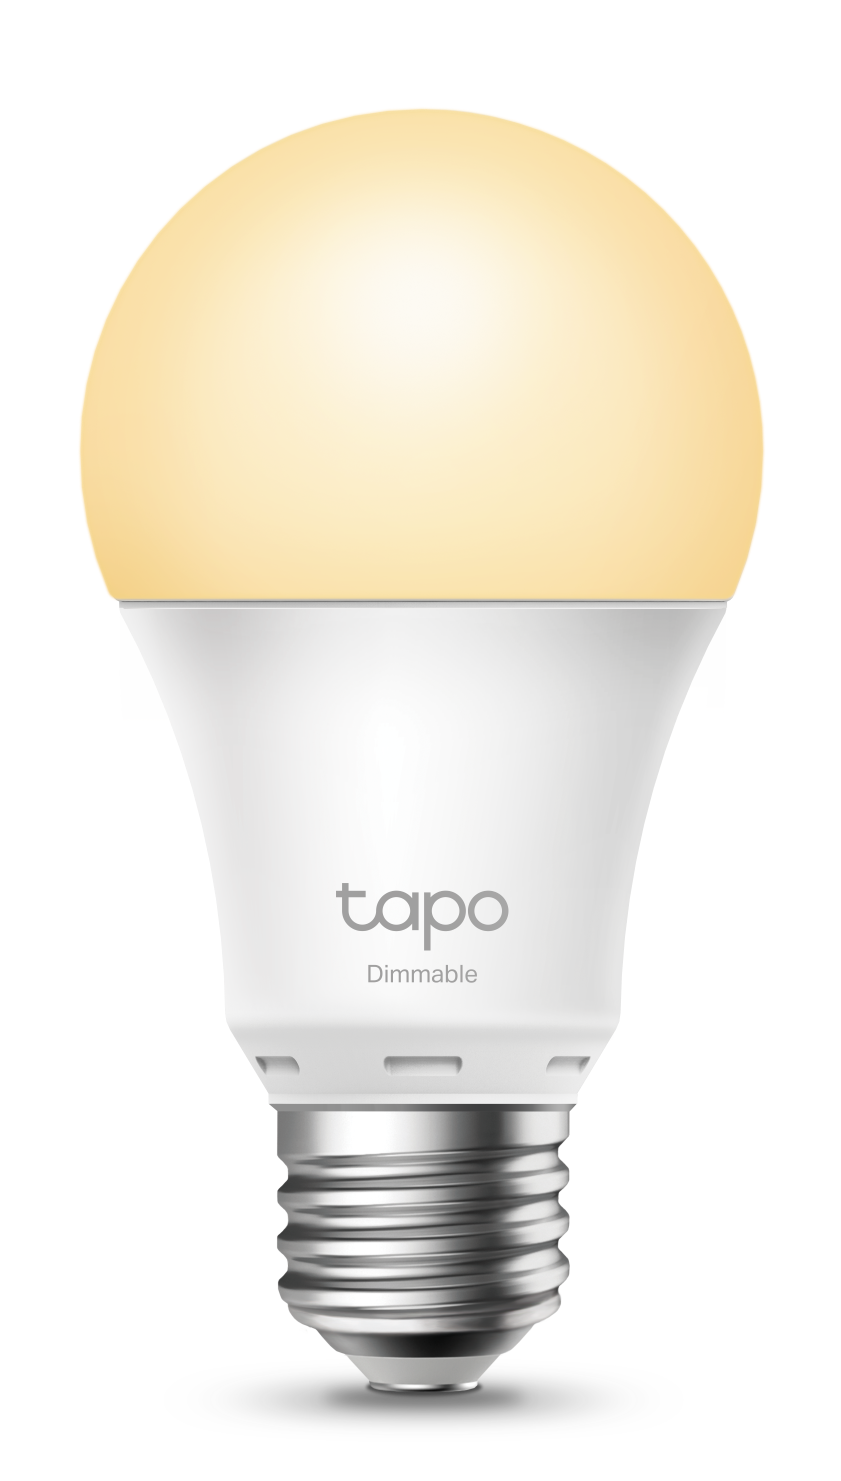 |
an E27 base, a screw-in base with a diameter of 27 millimeters |
| Tapo L520E | 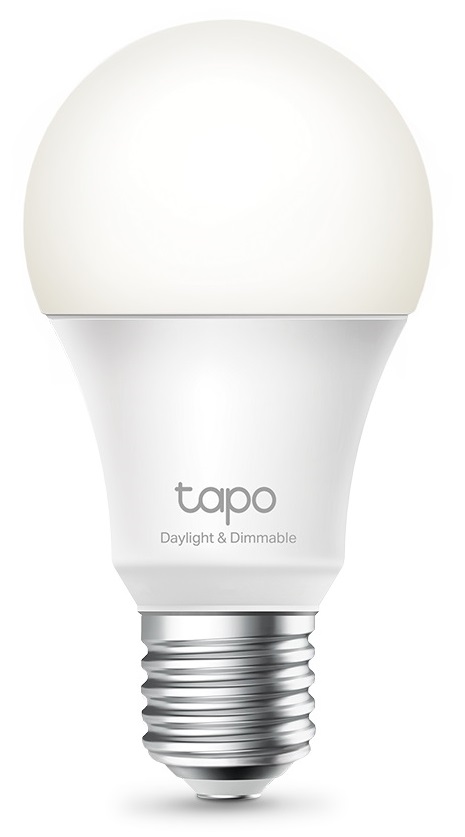 |
an E27 base, a screw-in base with a diameter of 27 millimeters |
| Tapo L530E | 3.0-package_20250812024708v.png) |
an E27 base, a screw-in base with a diameter of 27 millimeters |
| Tapo L530EA | 3.0-package_20250812024741r.png) |
an E27 base, a screw-in base with a diameter of 27 millimeters |
| Tapo L535E | 3.0-package_20250812024934b.png) |
an E27 base, a screw-in base with a diameter of 27 millimeters |
| Tapo L610 | 1.20_2000px_20250812025749g.png) |
a GU10 base with two flat pins at the bottom, spaced 10 millimeters apart |
| Tapo L630 | 1.20_2000px_20250812025917u.png) |
a GU10 base with two flat pins at the bottom, spaced 10 millimeters apart |
Step 2. Install the Smart Light Bulb
1. Before you start, make sure the light switch is turned off to avoid any electrical hazards.
2. Take the smart light bulb and align it with the socket. For screw-in bases (E27 and E14), gently insert the bulb and turn it clockwise until snug and securely in place. For GU10 bases, align the pins with the socket holes, push the bulb in, and twist clockwise to lock it. Avoid overtightening or applying excessive force to prevent damage.
Step 3. Power Up the Smart Light Bulb
Turn the light switch back on. Wait 2 minutes for the light to start up.
Step 4. Set Up the Smart Light Bulb
1. Get the Tapo app from the App Store or Google Play, and log in.

2. Tap the + button in the app and select your product model. Follow the app instructions to complete setup.
If you need help, please visit https://www.tapo.com/support/ for technical support, the user guide, FAQs, warranty & more.
For details on Tapo app accessibility, please check Accessibility Support.
English: Safety Information
NOT FOR EMERGENCY LIGHTING.
Keep the device away from water, fire, humidity or hot environments.
Do not attempt to disassemble, repair, or modify the device. If you need service, please contact us.
Do not use the device where wireless devices are not allowed.
For lamps with a weight significantly higher than that of the lamps for which they are a replacement, attention should be drawn to the fact that the increased weight may reduce the mechanical stability of certain luminaires and lampholders and may impair contact making and lamp retention.
Please read and follow the above safety information when operating the device. We cannot guarantee that no accidents or damage will occur due to improper use of the device. Please use this product with care and operate at your own risk.