
Table of Contents
Installation and User Guide
About This Guide
This guide provides a brief introduction to the 2K Battery Video Doorbell and the Tapo app, as well as regulatory information. Please note that features available in Tapo may vary by model and software version. Tapo availability may also vary by region. All images, steps, and descriptions in this guide are only examples and may not reflect your actual Tapo Doorbell experience.
Conventions
In this guide, the following convention is used:
| Convention | Description |
|---|---|
| Blue | Key information appears in blue, including management page text such as menus, items, buttons and so on. |
| Underline | Hyperlinks are in blue and underlined. You can click to redirect to a website. |
| Note |
Ignoring this type of note might result in a malfunction or damage to the device. |
More Info
Specifications can be found on the product page at https://www.tapo.com.
Our Technical Support and troubleshooting information can be found at https://www.tapo.com/support/.
The setup video can be found at https://www.tp-link.com/support/setup-video/#cloud-cameras.
Introduction
With the doorbell, you always know who’s there. No wires means you can place the doorbell wherever you like. The ultra-wide 160° FOV offers exceptional coverage, ensuring you see everything from head to toe in a single, uninterrupted frame. With a clear 2K video, nothing will go unnoticed.
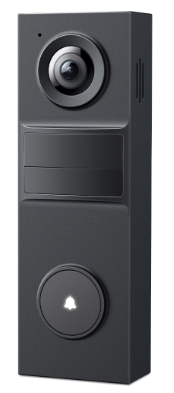
• Sharp 2K Live View – When it comes to protecting your home, every detail matters. With a clear 2K video, nothing will go unnoticed.
• Ultra-Wide 160° FOV – Offers exceptional coverage, ensuring you see everything from head to toe in a single, uninterrupted frame.
• Smart AI Detection and Notification – Smart AI identifies people, pets, and packages, notifying users as needed.
• Accurate Alerts: AI Detection with No Fees – Receive smart, real-time notifications when people are at your doorstep – no subscription required.
• Doorbell Calls – Get a call when a visitor presses your doorbell, and talk to them instantly.
• Quick Response – When you're busy, send a preset Quick Response to reply to your visitor.
• Two-Way Audio – Have a real-time conversation with visitors at your door with clear video.
• Custom Activity Zones – Only get alerts when people enter your specified zones.
• IP54 Weatherproof – Built to handle rain, dust, and changing seasons.
• Seamless Integration – Get instant chime alerts with your existing Tapo Hub or smart assistant.
• Battery Powered – Built-in rechargeable battery provides up to 180 days of battery life per charge.
▲180-day battery life is based on TP-Link’s laboratory testing with 300 seconds per day of use. The time of use includes recording and watching live views. Actual battery life may vary due to device settings, usage, router specifications, and environmental factors.
• Flexible Storage Choices – Saves recorded videos on the hub-installed microSD card* (up to 512 GB ) or by using Tapo Care** cloud storage services.
*microSD card needs to be purchased separately.
**Subscribe for cloud storage at https://www.tapo.com/tapocare/.
Learn more about microSD card compatibility
Appearance
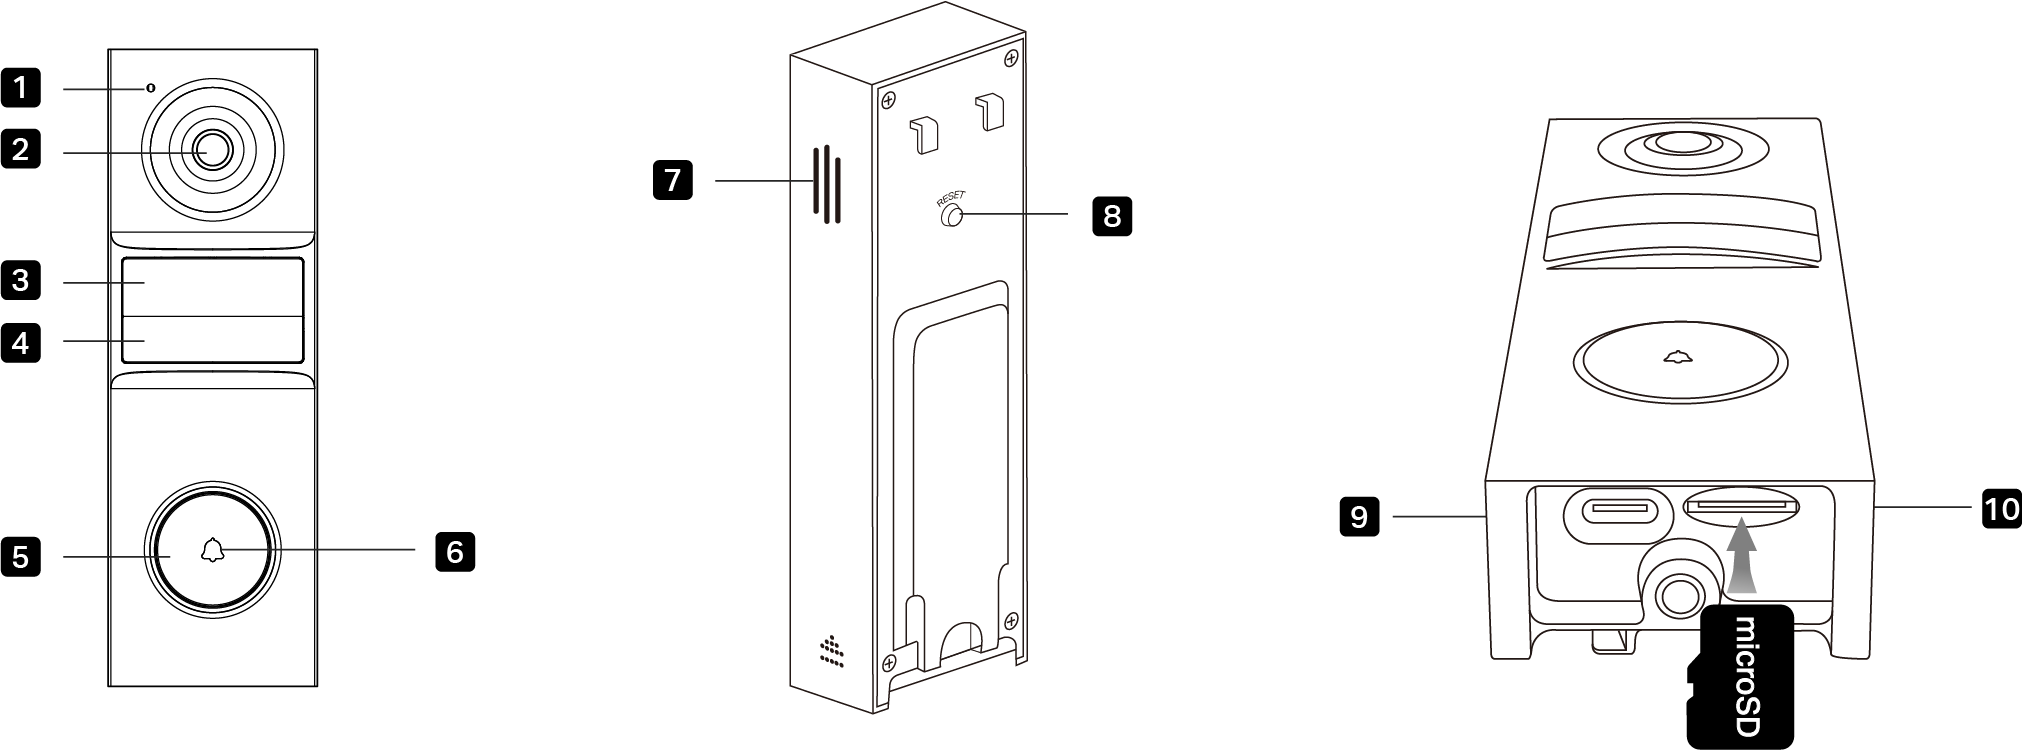
1. Microphone
2. Lens: For capturing things within its view.
3. Motion Sensor: For detecting motion.
4. IR LED
5. Ring Button: For ringing the doorbell.
6. Status LED: Indicates the status of your doorbell.
Turn to the side and back panels of your doorbell to find:
7. Speaker
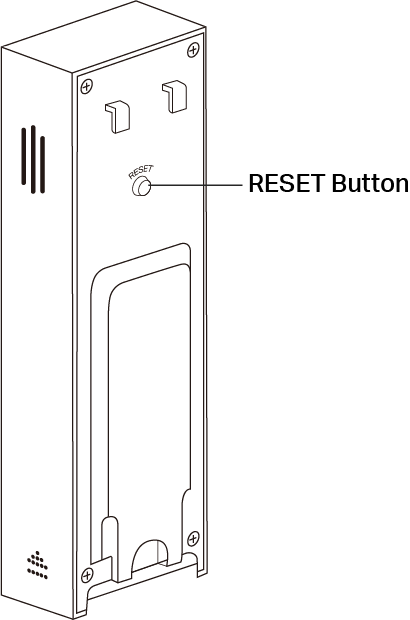
8. RESET Button: Press and hold for about 5s: Reset the doorbell
Turn to the bottom of your doorbell to find:
9. USB Type-C Port
10. microSD Card Slot: Insert a microSD card. Initialize it on the Tapo app for local recording.
Status LED Indication
| LED Status | Indication |
|---|---|
| Solid red | Starting up |
| Blinking red and green | Ready for setup |
| Blinking red slowly | Connecting to Wi-Fi |
| Solid amber | Connected to Wi-Fi |
| Solid white | Connected to the cloud |
| Blinking red quickly | Doorbell resetting |
| Blinking white quickly | Doorbell updating |
| Blinking amber quickly for 3 seconds | Charging the doorbell |
Set Up Your Doorbell
Follow the steps below to get started with your new doorbell.
Step 1. Download Tapo App
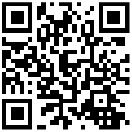
Get the Tapo app from the App Store or Google Play, or by scanning the QR code below.

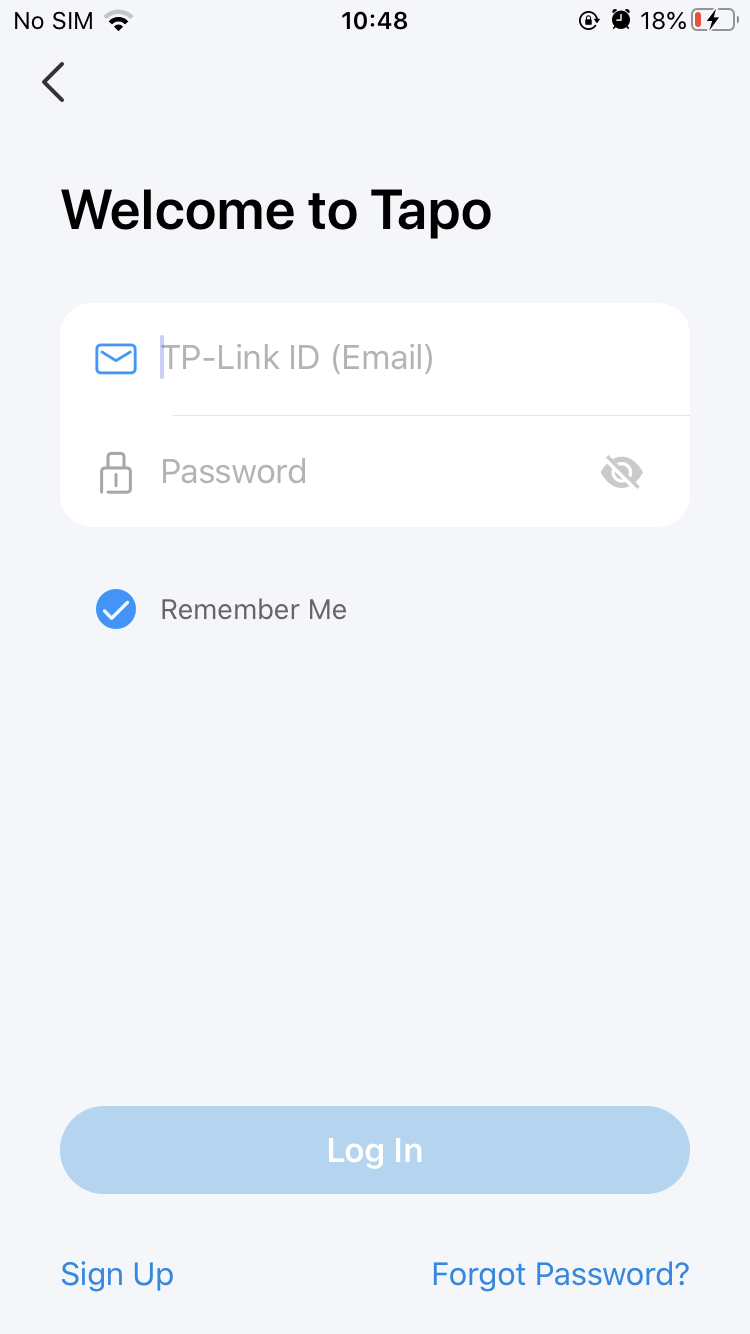
Step 2. Log In
Open the app, and log in with your TP-Link ID. If you don't have an account, create one first.
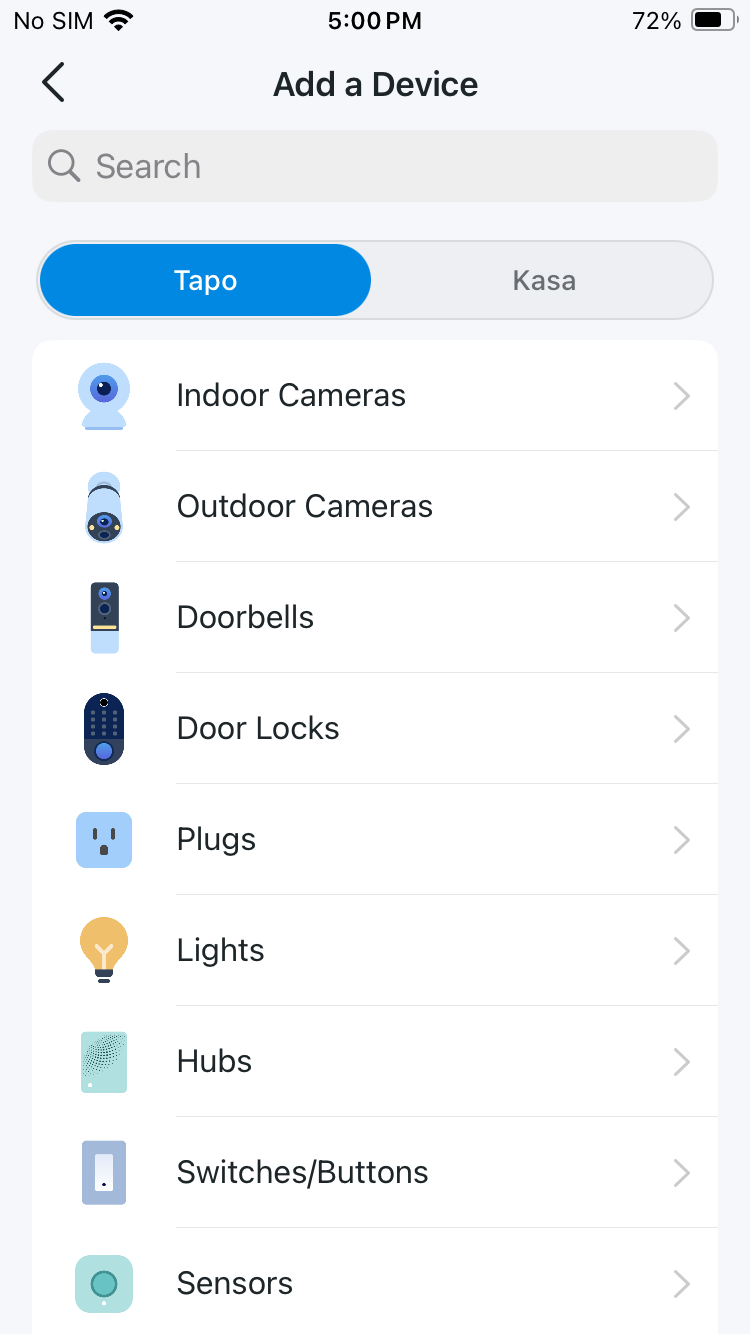
Step 3. Add Your Doorbell
Tap the + button in the app and search your doorbell's model. Follow app instructions to set up your doorbell.
Install a microSD Card
Follow the steps below to install the microSD card for local recording.
You can go to the Settings page in the Tapo app to check the card status or format your card.
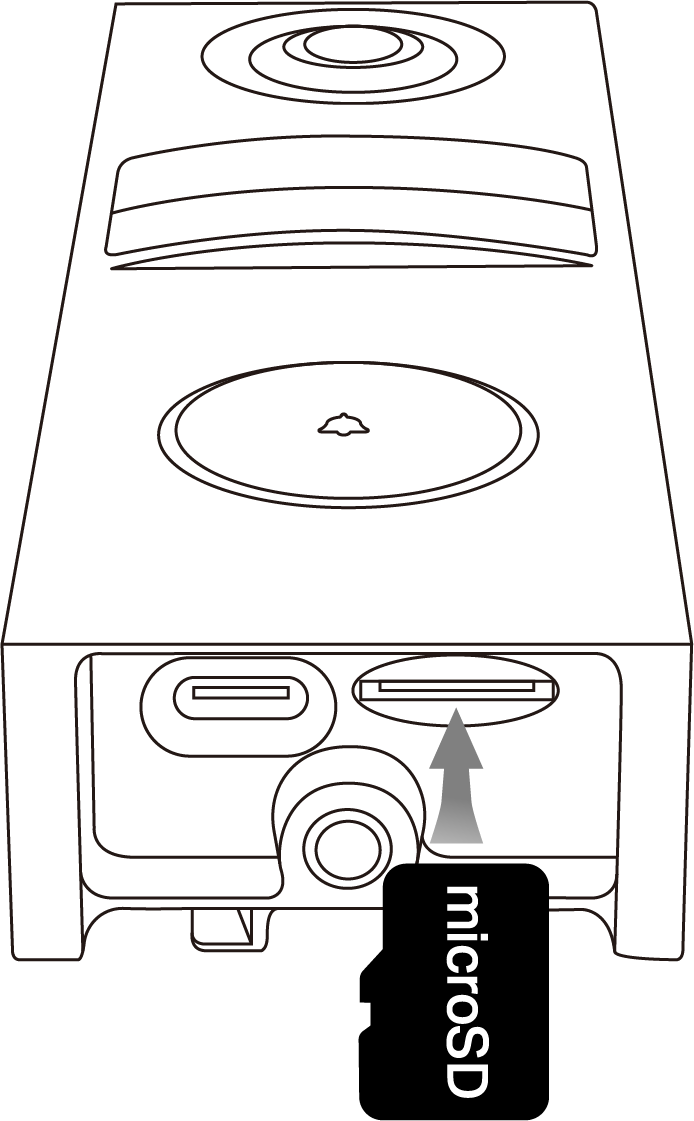
1. Remove the bracket from the doorbell if you haven't done so.
2. Identify the direction of the microSD card and carefully insert the card into the slot. Push in the card until you hear a clicking sound.
Mount Your Doorbell
When you finish adding your doorbell to the Tapo app, you can mount it on a wall or stick it to a smooth wall.
Option 1: Stick to a smooth wall
1. Attach the included adhesive to the back of the bracket or wedge. If you use the wedge to adjust angle, first affix the bracket and the wedge with the mounting wedge screws.
Note: The adhesive is for one-time use. Avoid re-using the adhesive to ensure its adhesion.
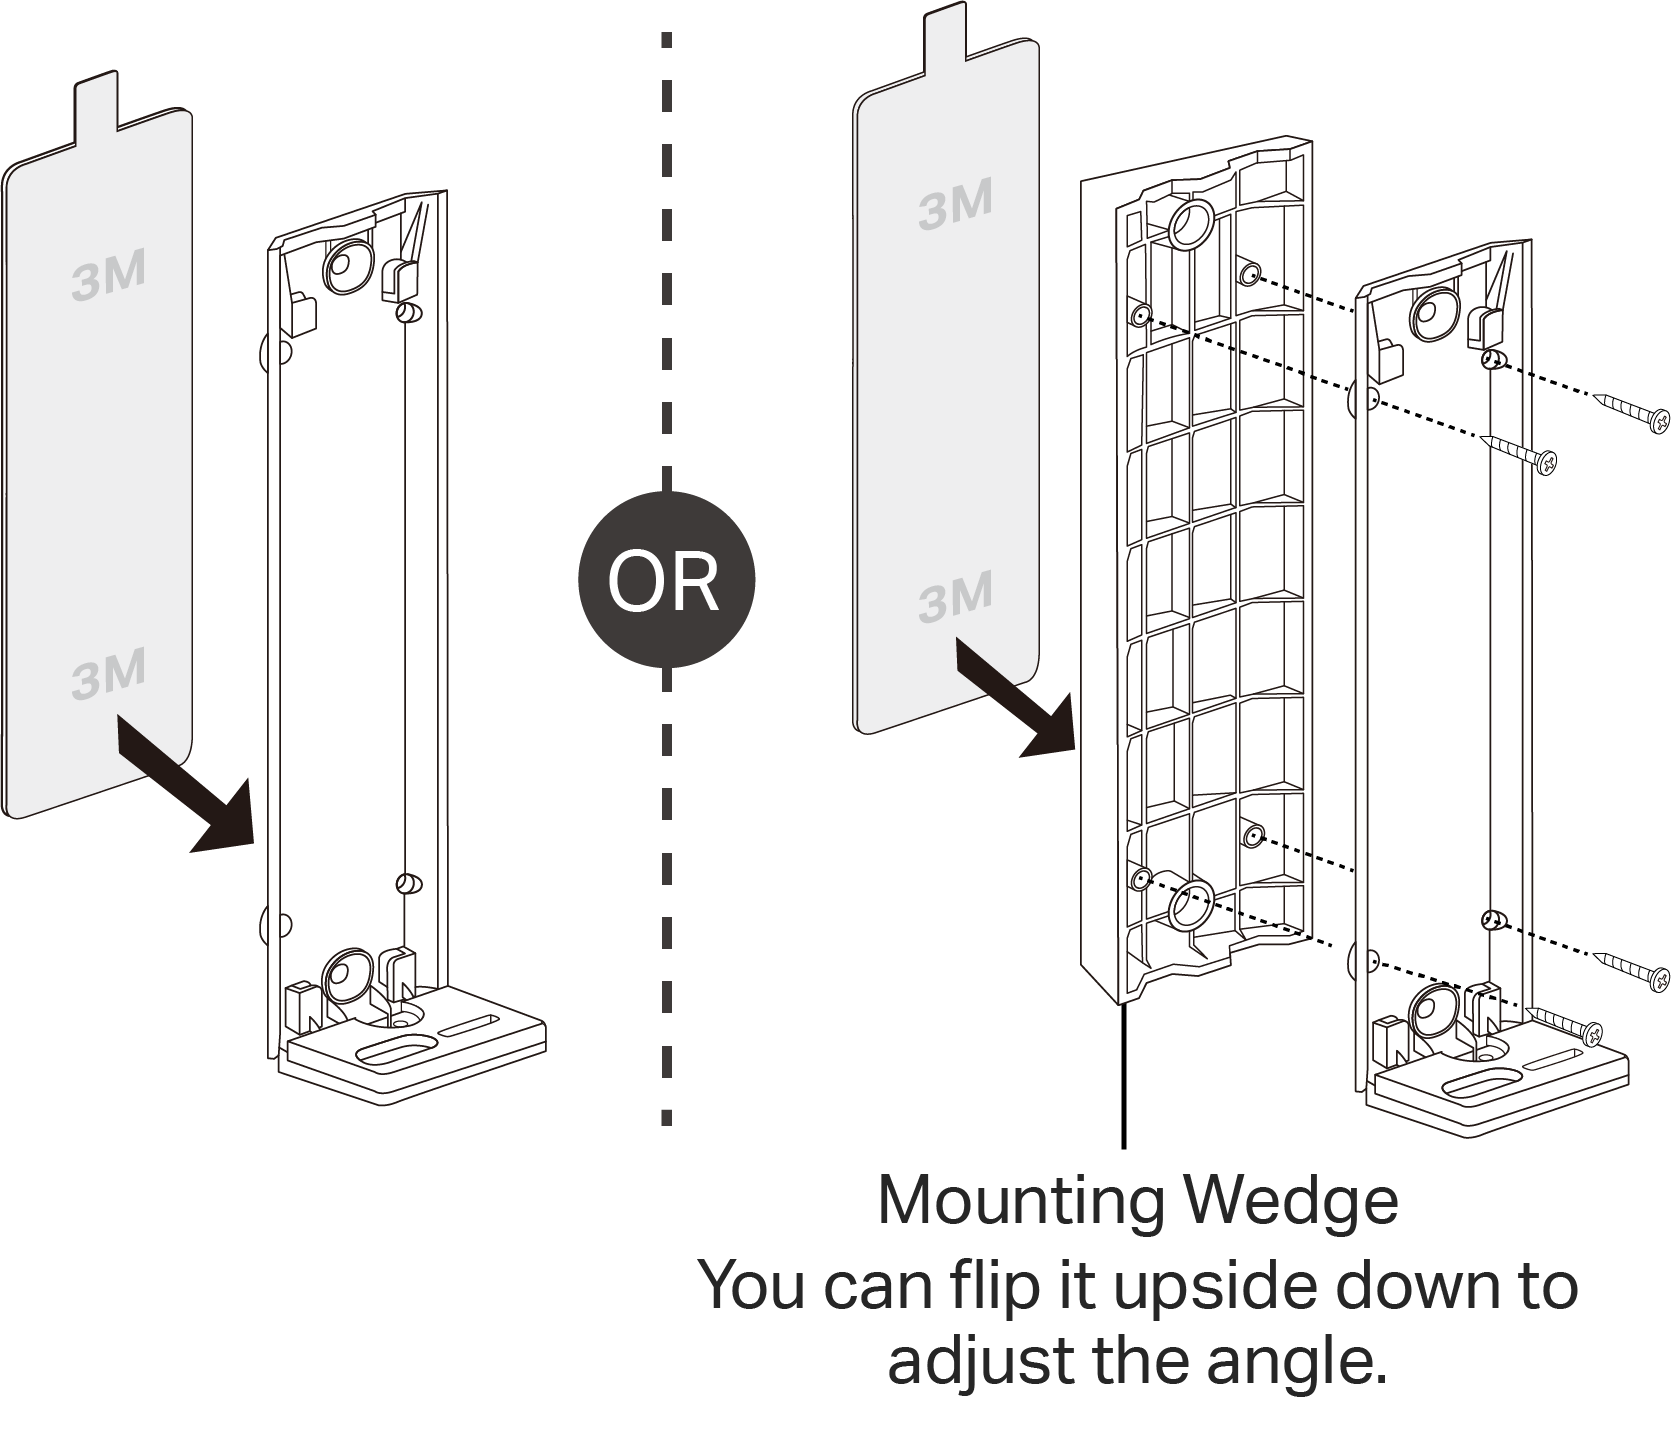
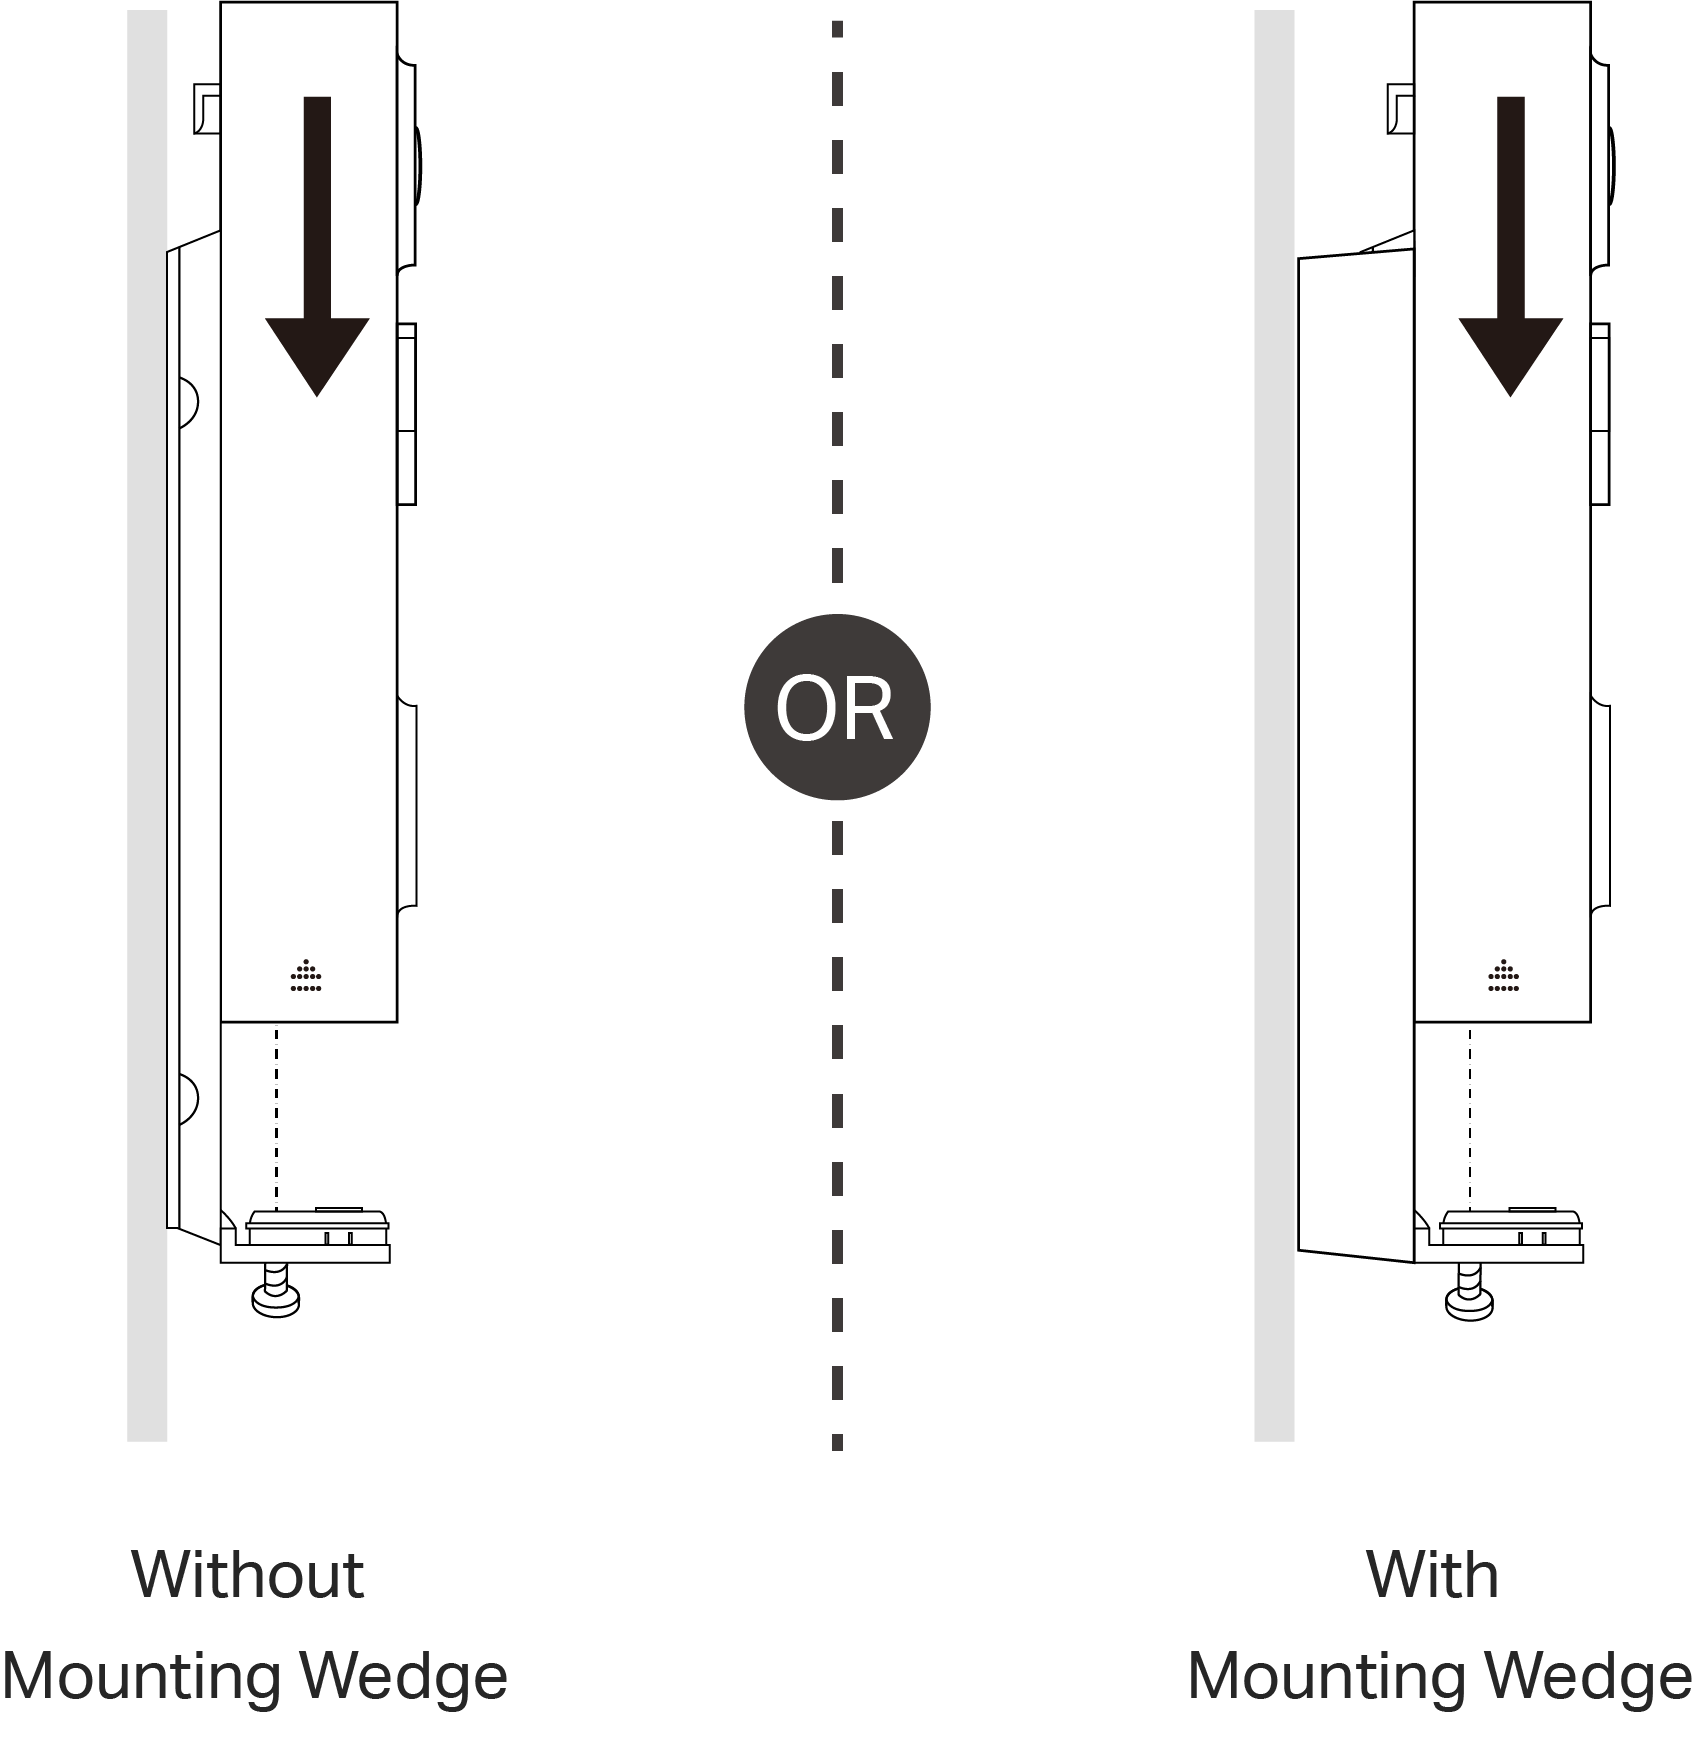
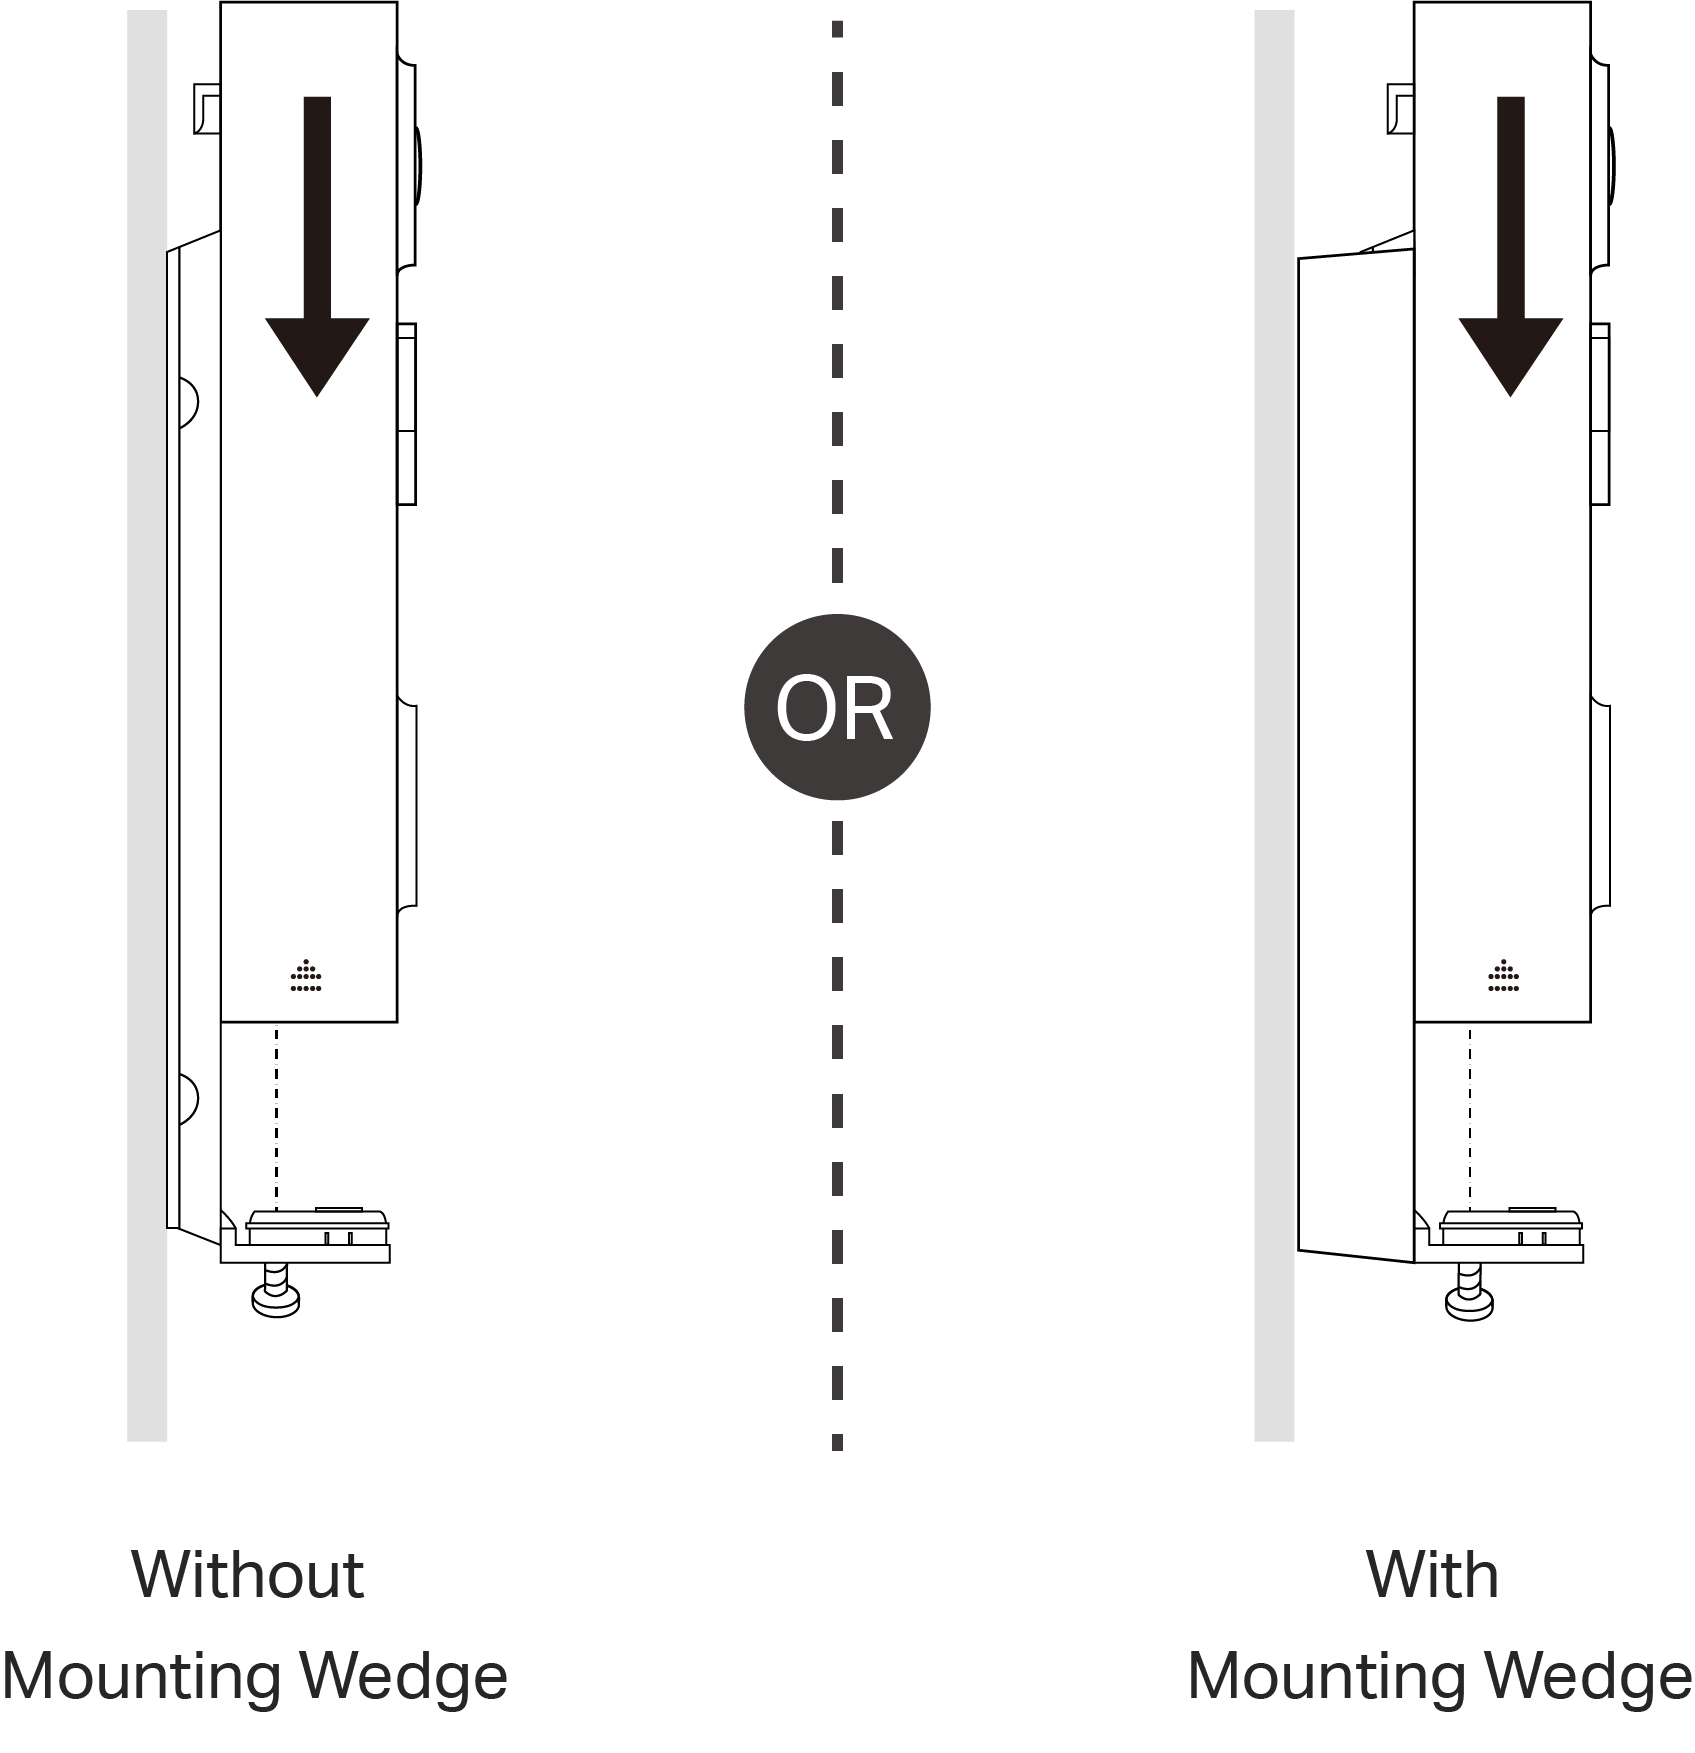
2. Wipe off the dust from the surface, stick the bracket or wedge with adhesive to a clean wall, and press it down for 15 seconds to ensure the bracket is firmly attached. Attach the doorbell to the bracket, sliding down to the bottom until it clicks into place. Then tighten the screw at the bottom to secure the doorbell.
Note: This is applicable with tile, glass, marble, metal, stainless steel, and smooth wall surfaces.
Option 2: Mount to the wall
1. Stick the mounting template Sticker to the desired mounting place. Drill two holes according to the template.
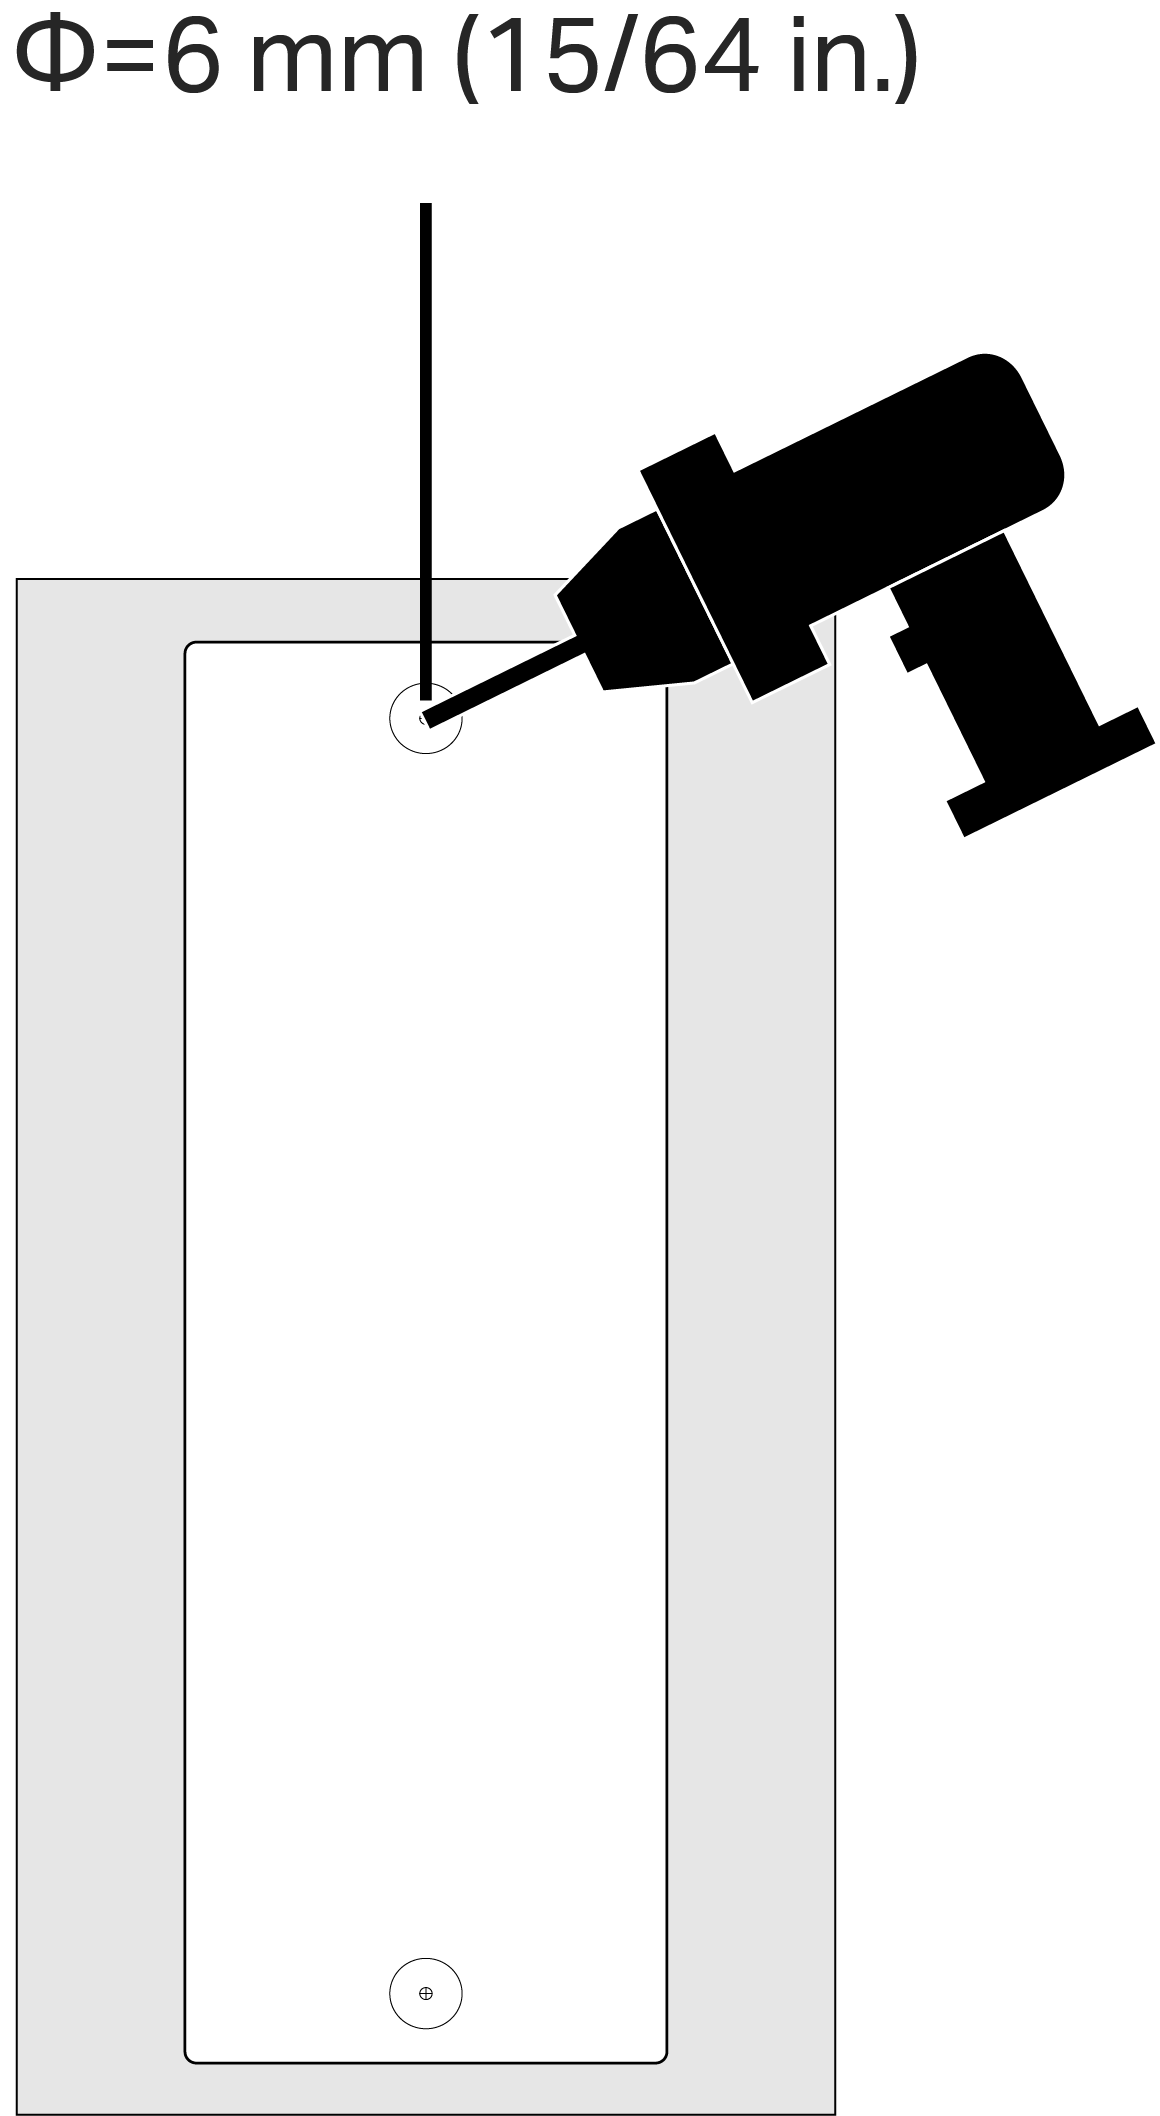
2. Insert two anchors into the holes. Use the mounting screws to affix the bracket (or wedge with bracket if you use the wedge to adjust angle) over the anchors.
Note: When mounting to uneven walls, stick the foam pad on the back of the wedge.
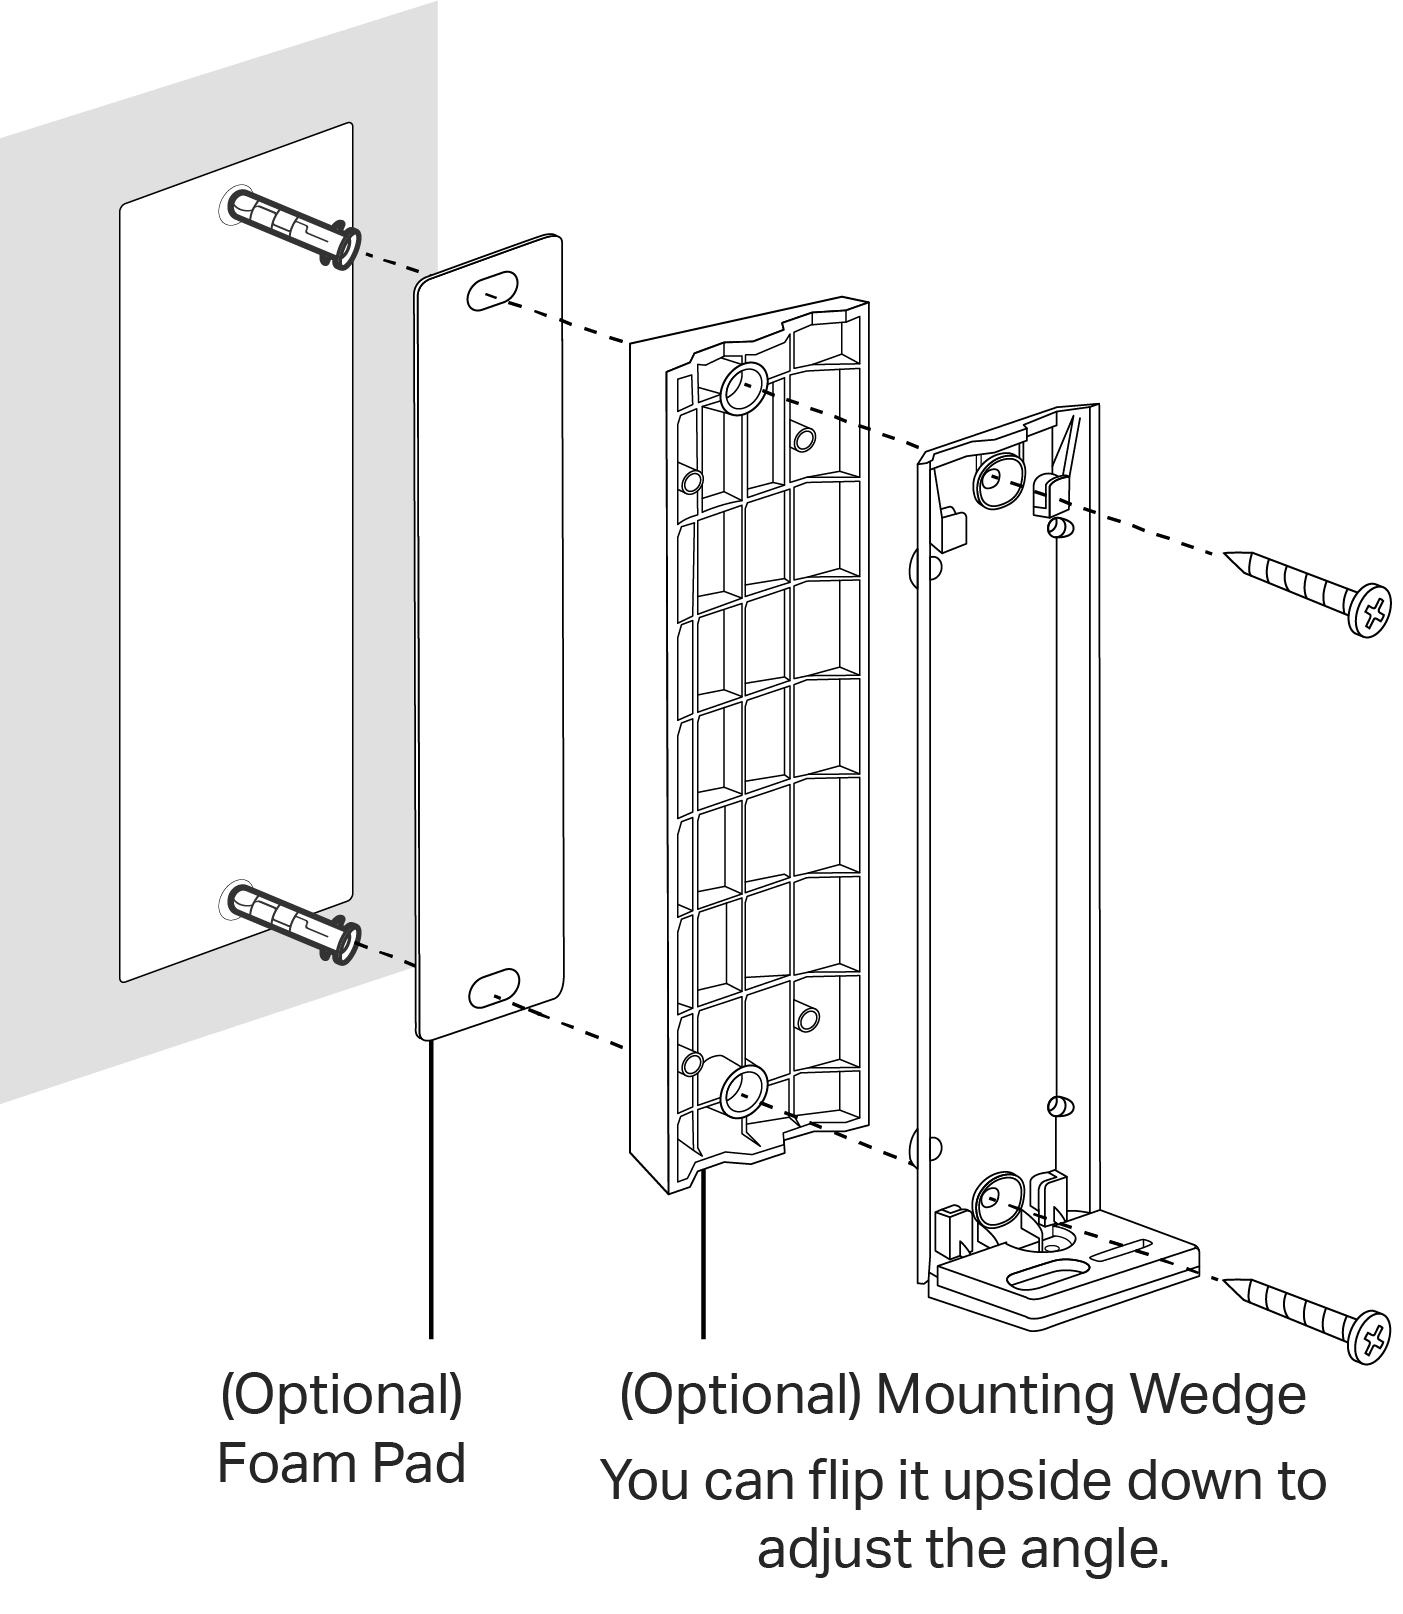
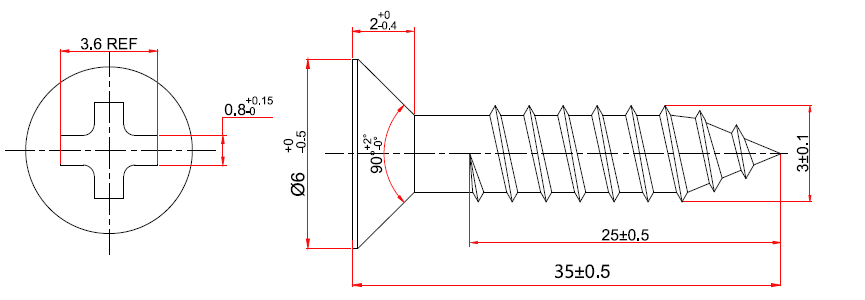
3. Attach the doorbell to the bracket, sliding down to the bottom until it clicks into place. Then tighten the screw at the bottom to secure the doorbell.
Reset Your Doorbell
Follow the steps below to reset your doorbell via the Reset button.
You can also go to the doorbell's Settings page in the Tapo app and tap Remove Device at the bottom to factory reset your doorbell.
Press and hold the RESET button for 5 seconds to reset the doorbell.
Support
For technical support, the user guide, FAQs, warranty and more, please visit https://www.tapo.com/support/
Authentication
FCC compliance information statement

Product Name: 2K Battery Video Doorbell
Model Number: TDH20
Responsible Party:
TP-Link Systems Inc.
Address: 10 Mauchly, Irvine, CA 92618
Website: http://www.tp-link.com/us/
Tel: +1 626 333 0234
Fax: +1 909 527 6804
E-mail: sales.usa@tp-link.com
This equipment has been tested and found to comply with the limits for a Class B digital device, pursuant to part 15 of the FCC Rules. These limits are designed to provide reasonable protection against harmful interference in a residential installation. This equipment generates, uses and can radiate radio frequency energy and, if not installed and used in accordance with the instructions, may cause harmful interference to radio communications. However, there is no guarantee that interference will not occur in a particular installation. If this equipment does cause harmful interference to radio or television reception, which can be determined by turning the equipment off and on, the user is encouraged to try to correct the interference by one or more of the following measures:
• Reorient or relocate the receiving antenna.
• Increase the separation between the equipment and receiver.
• Connect the equipment into an outlet on a circuit different from that to which the receiver is connected.
• Consult the dealer or an experienced radio/ TV technician for help.
This device complies with part 15 of the FCC Rules. Operation is subject to the following two conditions:
1. This device may not cause harmful interference.
2. This device must accept any interference received, including interference that may cause undesired operation.
Any changes or modifications not expressly approved by the party responsible for compliance could void the user’s authority to operate the equipment.
Note: The manufacturer is not responsible for any radio or TV interference caused by unauthorized modifications to this equipment. Such modifications could void the user’s authority to operate the equipment.
FCC RF Radiation Exposure Statement
This equipment complies with FCC RF radiation exposure limits set forth for an uncontrolled environment. This device and its antenna must not be co-located or operating in conjunction with any other antenna or transmitter.
“To comply with FCC RF exposure compliance requirements, this grant is applicable to only Mobile Configurations. The antennas used for this transmitter must be installed to provide a separation distance of at least 20 cm from all persons and must not be co-located or operating in conjunction with any other antenna or transmitter.”
We, TP-Link Systems Inc., has determined that the equipment shown as above has been shown to comply with the applicable technical standards, FCC part 15. There is no unauthorized change is made in the equipment and the equipment is properly maintained and operated.
Issue Date: 2026-06-09
Safety Information
• Do not use damaged charger or USB cable to charge the device.
• Do not use any other chargers than those recommended.
• Do not use the device where wireless devices are not allowed.
• Adapter shall be easily accessible.
• Use only power supplies which are provided by manufacturer and in the original packing of this product. If you have any questions, please don't hesitate to contact us.
• Keep the device away from fire or hot environments. DO NOT immerse in water or any other liquid.
• Do not disassemble, repair or modify the product.
• Do not place near automatically controlled devices such as fire alarms. Radio waves emitted from this product may cause such devices to malfunction resulting in an accident.
• Observe restrictions on using wireless products in fuel depots, chemical plants or when blasting operations are in progress.
• Do not use liquid to clean the product. Only use a dry cloth.
• Never put metal objects inside the product. If a metal object enters the product turn off the circuit breaker and contact an authorised electrician.
• This product is not intended to be used when providing medical care. Consult the manufacturer of any personal medical devices, such as pacemakers or hearing aids to determine if they are adequality shielded from external RF (radio frequency) energy.
• Do not use this product in health care facilities. Hospitals or health care facilities may be using equipment that could be sensitive to external RF energy.
• Do not place heavy objects on top of the product.
• When you leave the product unused for a long time unplug the product from the power outlet.
• This product may interfere with other electronic products such as TV, radios, personal computers, phones or other wireless devices.
• Always follow the local waste and recycle laws when you get rid of the used battery.
• Do not use the product if the casing has been broken. Danger of electric shock.
• Never touch the product with wet hands.
• This equipment can be powered only by equipments that comply with Power Source Class 2 ( PS2) or Limited Power Source (LPS) defined in the standard of IEC 62368-1.
• The mounting height should not be higher than 2 meters.
• Operating Temperature: -20 °C ~ 45 °C (-4 °F ~ 113 °F)
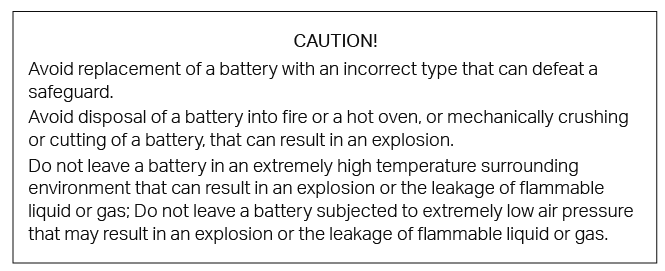
Please read and follow the above safety information when operating the device. We cannot guarantee that no accidents or damage will occur due to improper use of the device. Please use this product with care and operate at your own risk.
Explanation of the symbols on the product label
Note: The product label is on the bottom of the product and its power supply. Symbols may vary from products.
| Symbol | Explanation |
|---|---|
 |
Class II equipment |
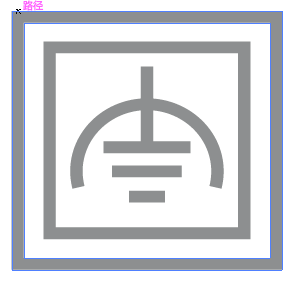 |
Class II equipment with functional earthing |
 |
Alternating current |
 |
DC voltage |
 |
Polarity of output terminals |
 |
Indoor use only |
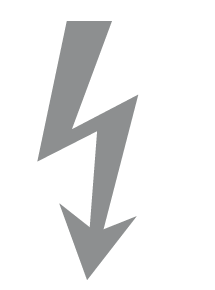 |
Dangerous voltage |
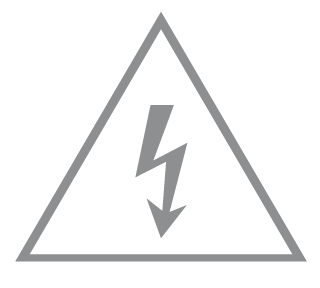 |
Caution, risk of electric shock |
 |
Energy efficiency Marking |
 |
Protective earth |
 |
Earth |
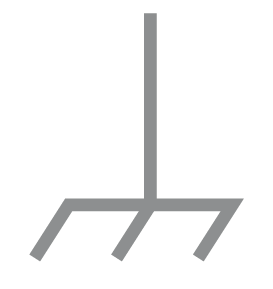 |
Frame or chassis |
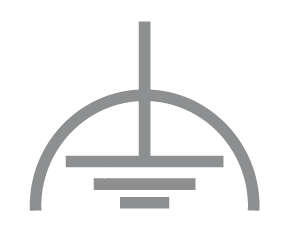 |
Functional earthing |
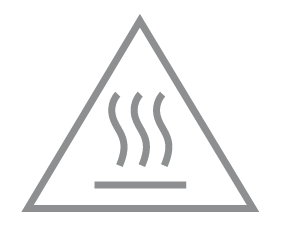 |
Caution, hot surface |
 |
Caution |
 |
Operator’s manual |
 |
Stand-by |
 |
“ON”/”OFF” (push-push) |
 |
Fuse |
 |
Fuse is used in neutral N |
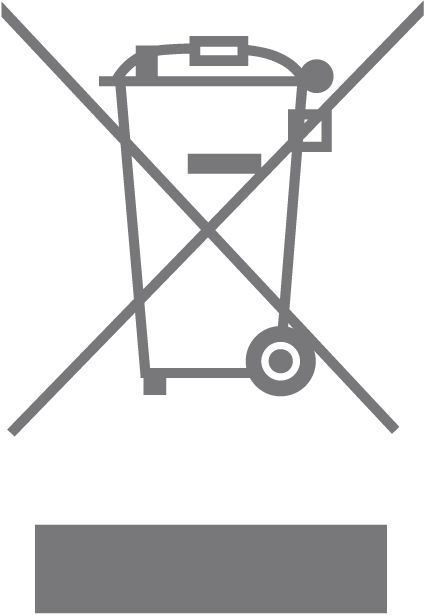 |
RECYCLING This product bears the selective sorting symbol for Waste electrical and electronic equipment (WEEE). This means that this product must be handled pursuant to European directive 2012/19/EU in order to be recycled or dismantled to minimize its impact on the environment. User has the choice to give his product to a competent recycling organization or to the retailer when he buys a new electrical or electronic equipment. |
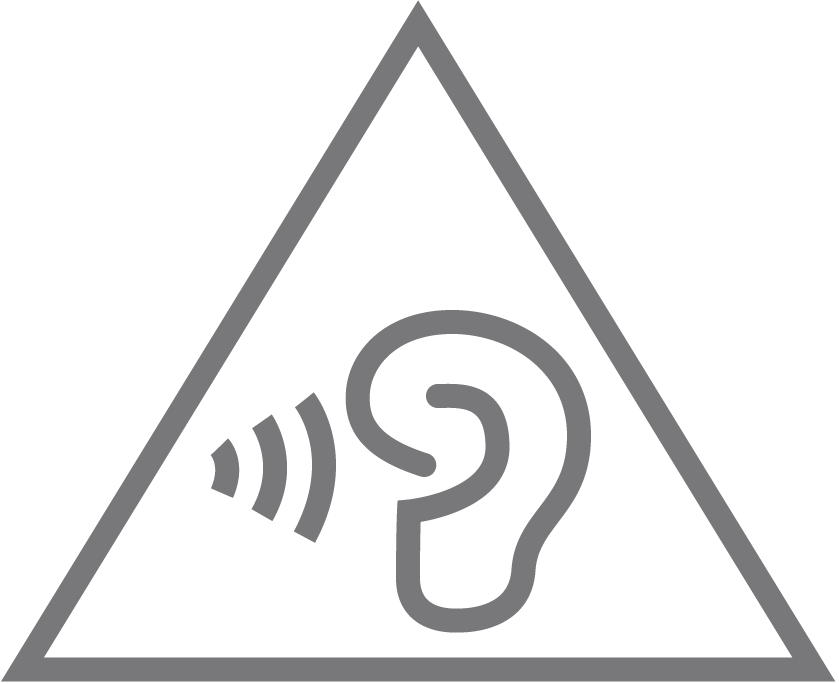 |
Caution, avoid listening at high volume levels for long periods |
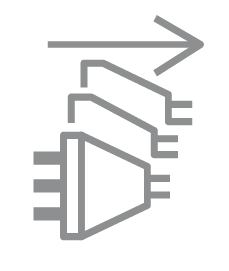 |
Disconnection, all power plugs |
| m | Switch of mini-gap construction |
| µ | Switch of micro-gap construction (for US version) Switch of micro-gap / micro-disconnection construction (for other versions except US) |
| ε | Switch without contact gap (Semiconductor switching device) |