How to use Time Machine function on TP-Link routers(case 1)
With Time Machine function, you can select the USB drive connecting to TP-Link router as the backup disk of your MacBook.
Settings on router
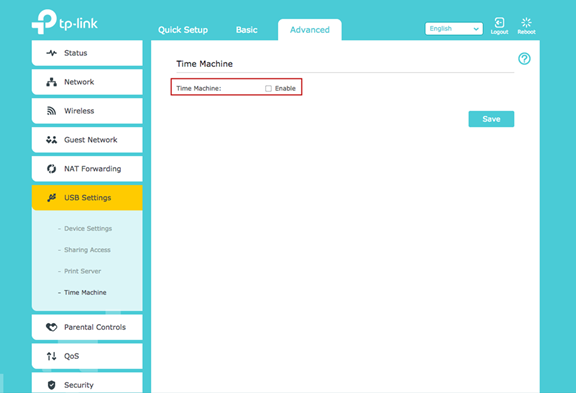
Step 1
Go to Advanced – USB Settings – Time Machine and then enable the function.
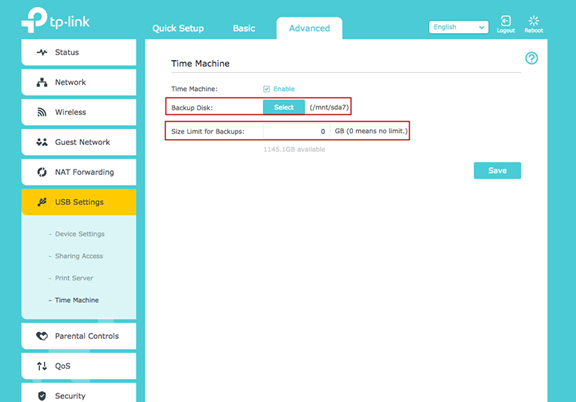
Step 2
Select a backup disk and set up the size limit for backup and then save it.
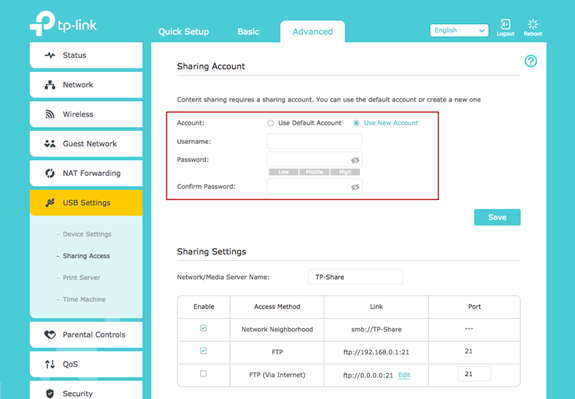
Step 3
Go to Advanced – USB Settings – Sharing Access, set up your Sharing Account and then save it.
Settings on MacBook
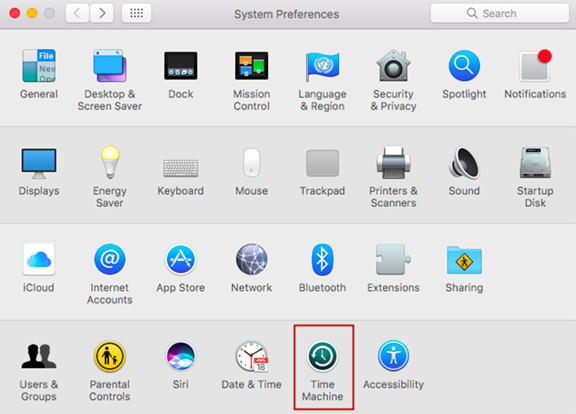
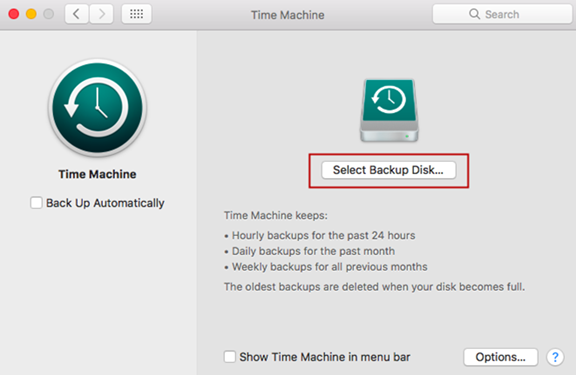
Step 4
Make sure your MacBook is connected to the router. Open System Preferences and click on Time Machine on your MacBook.
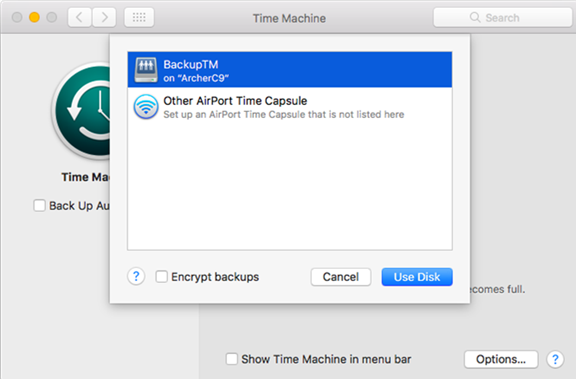
Step 5
Select BackupTM on Archer C9 as Backup Disk.
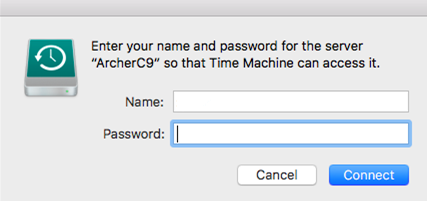
Step 6
Enter the Sharing Account of the router and then Connect.
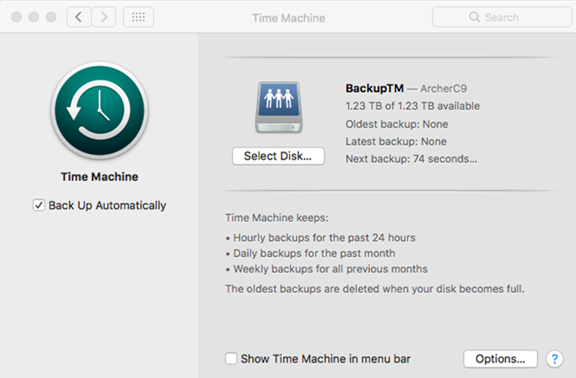
Step 7
Succeed! You can back up your data to the external disk now.
Get to know more details of each function and configuration please go to Download Center to download the manual of your product.
¿Es útil esta pregunta frecuente?
Sus comentarios nos ayudan a mejorar este sitio.
-1.0-A_normal_1584496536672l.png)