VIGI Security Manager User Guide
Configure Your Cameras and NVRs
This chapter guides you on how to configure cameras and VIGI NVRs added to VIGI Security Manager. You can configure events on cameras, the information, display parameters and network settings of devices. For VIGI Security Manager, You can also check and configure system settings and upgrade its firmware. This chapter includes the following sections:
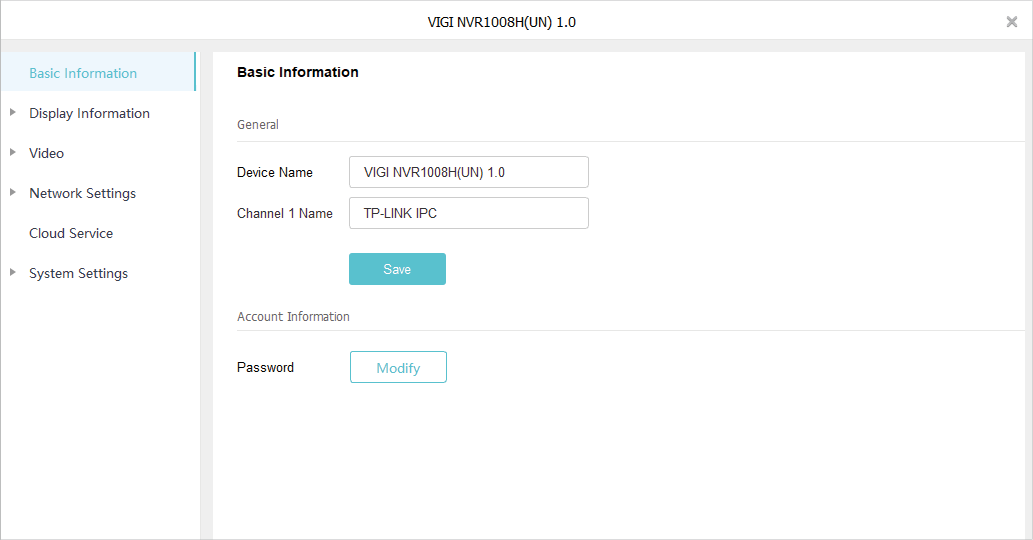
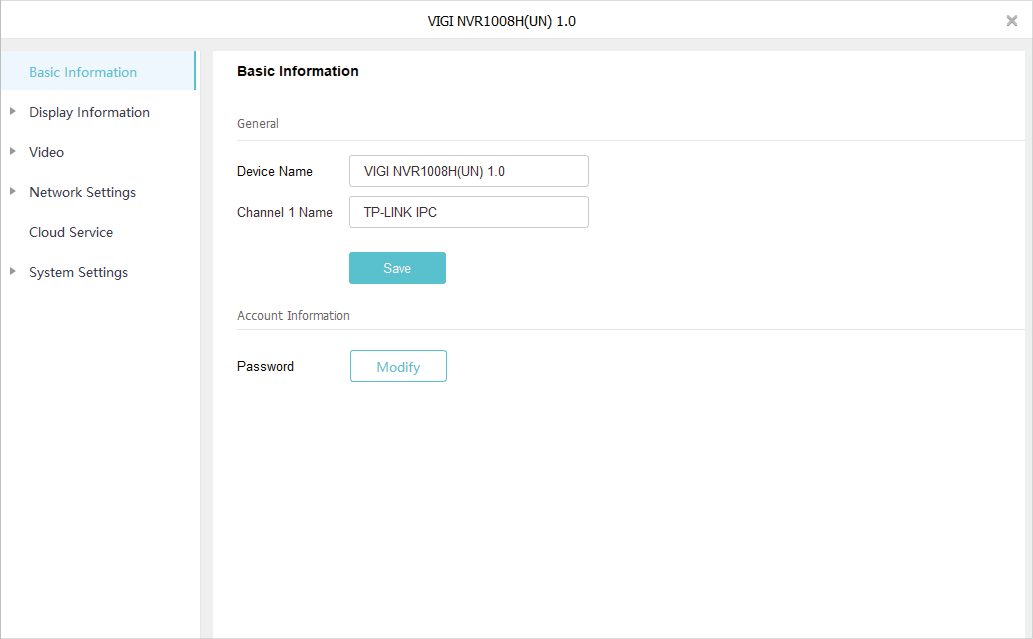
�? Configure Basic Information
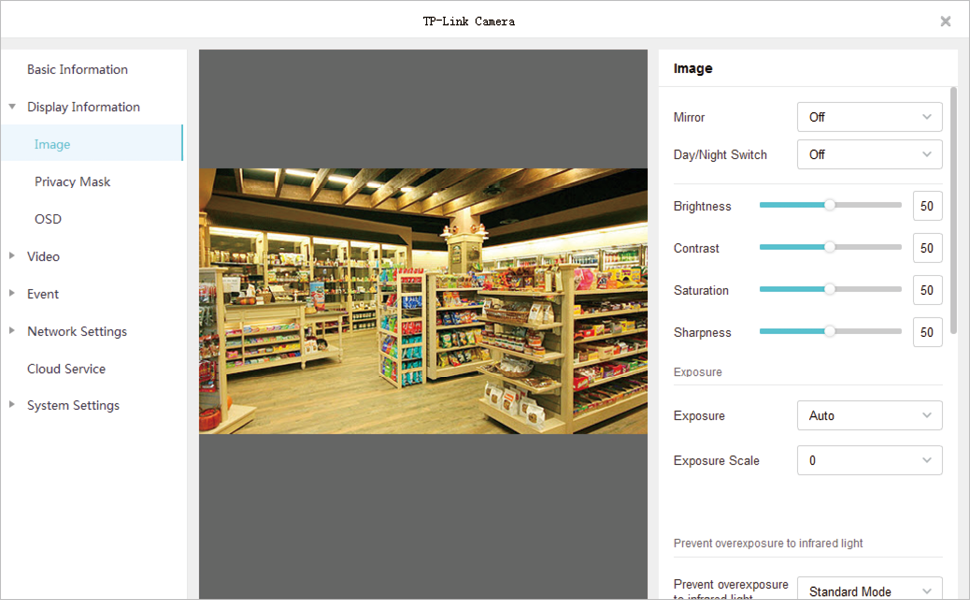
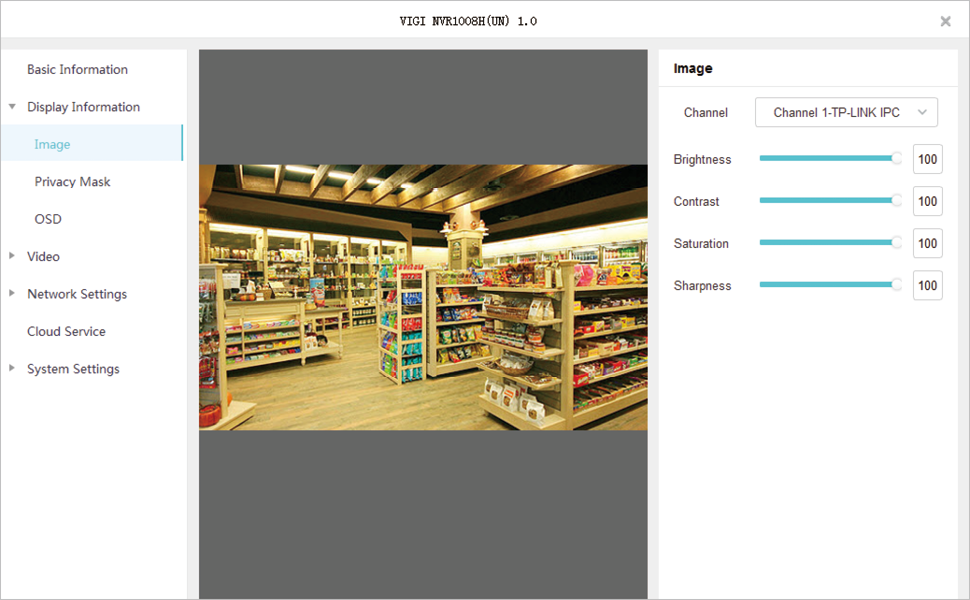
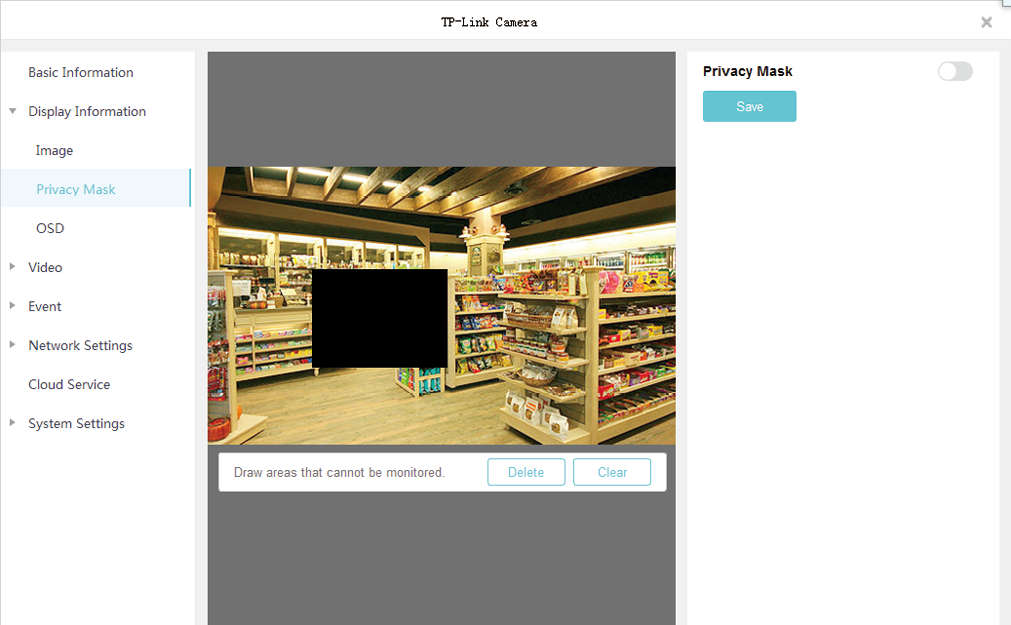
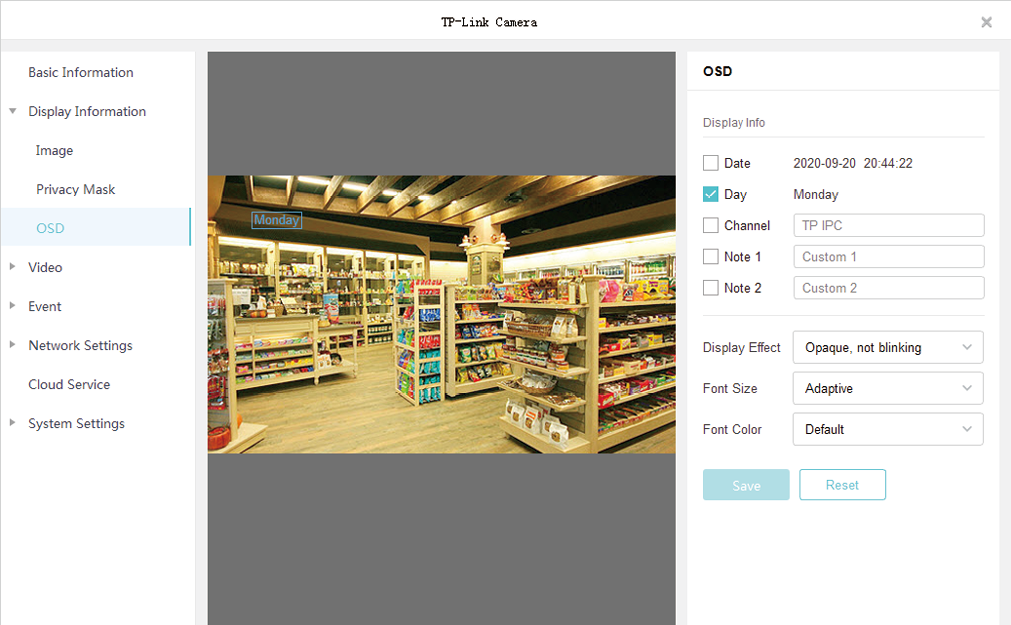
�? Configure Display Information
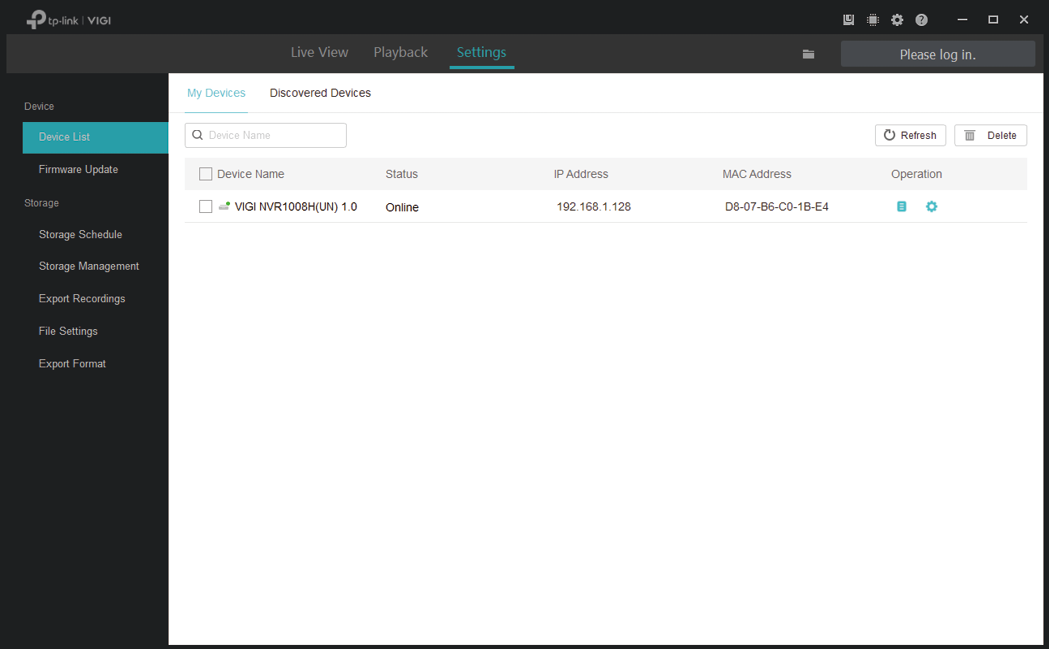
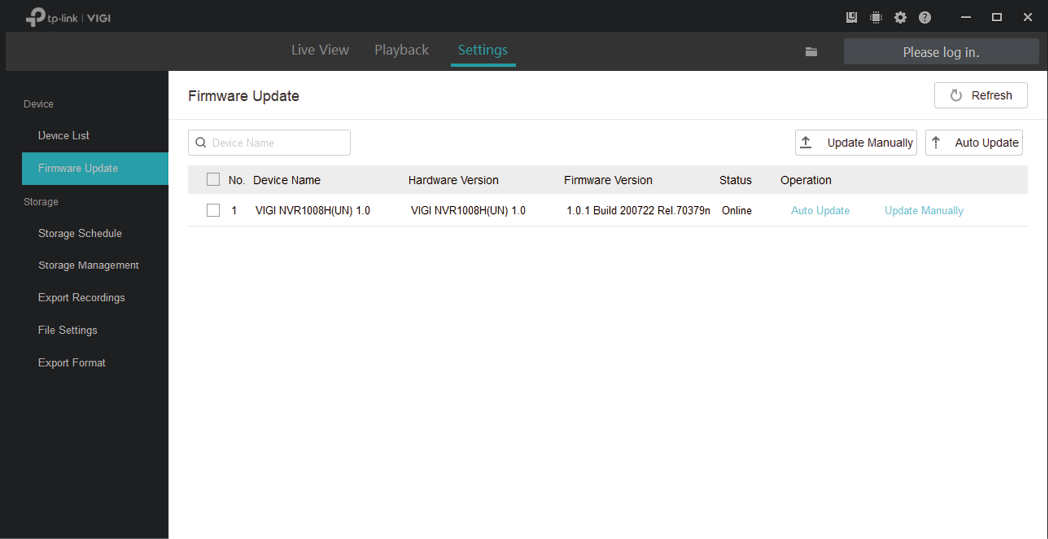
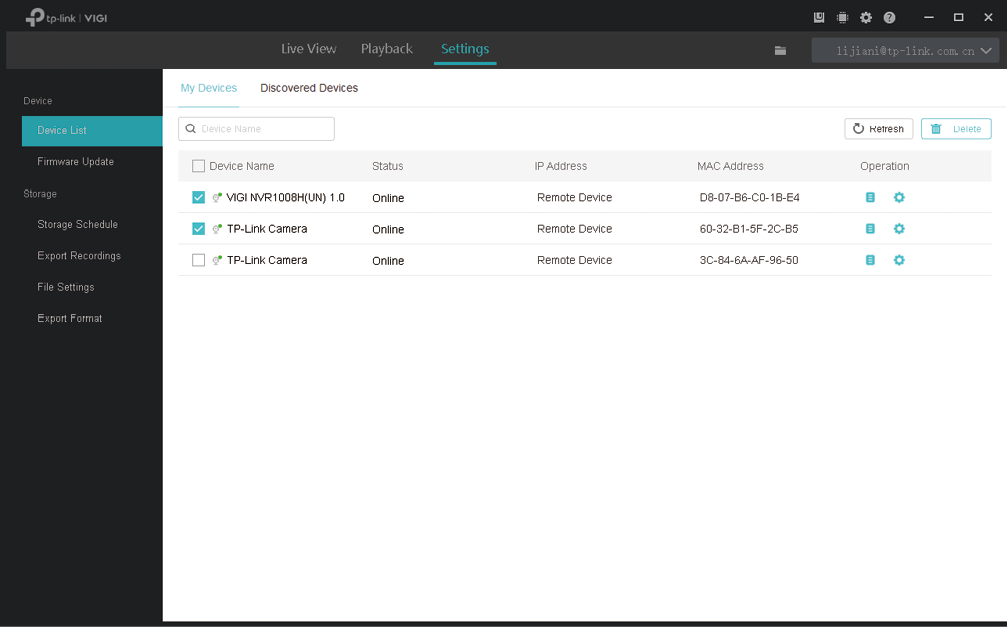
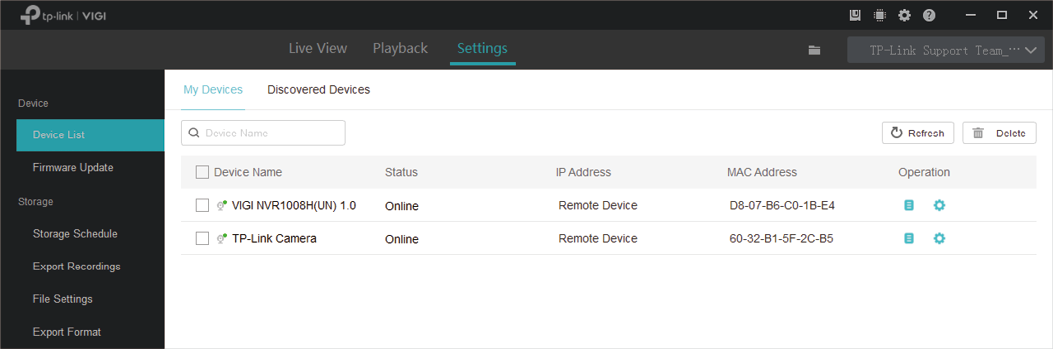
In Device List, all devices added to VIGI Security Manager are listed. If you have logged in with your TP-Link ID, only the devices bound with the TP-Link ID are listed.
|
Device Name |
|
Status |
and follow the instructions for troubleshooting. |
|
IP Address |
Remote Device is displayed. |
||
|
MAC Address |
|
Operation |
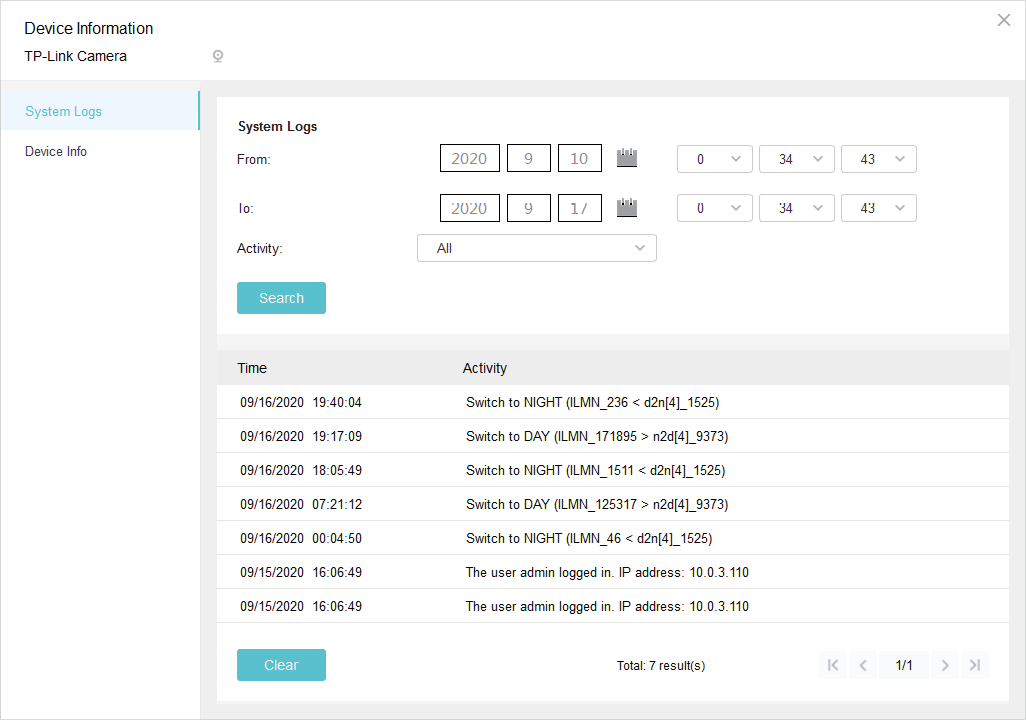
: Click to view more information of the device. For all managed NVRs and cameras, you can view their information in Device List. For cameras, you can also view system logs to monitor them. : Click to configure the device functions, such as display information, network settings, and cloud service. |
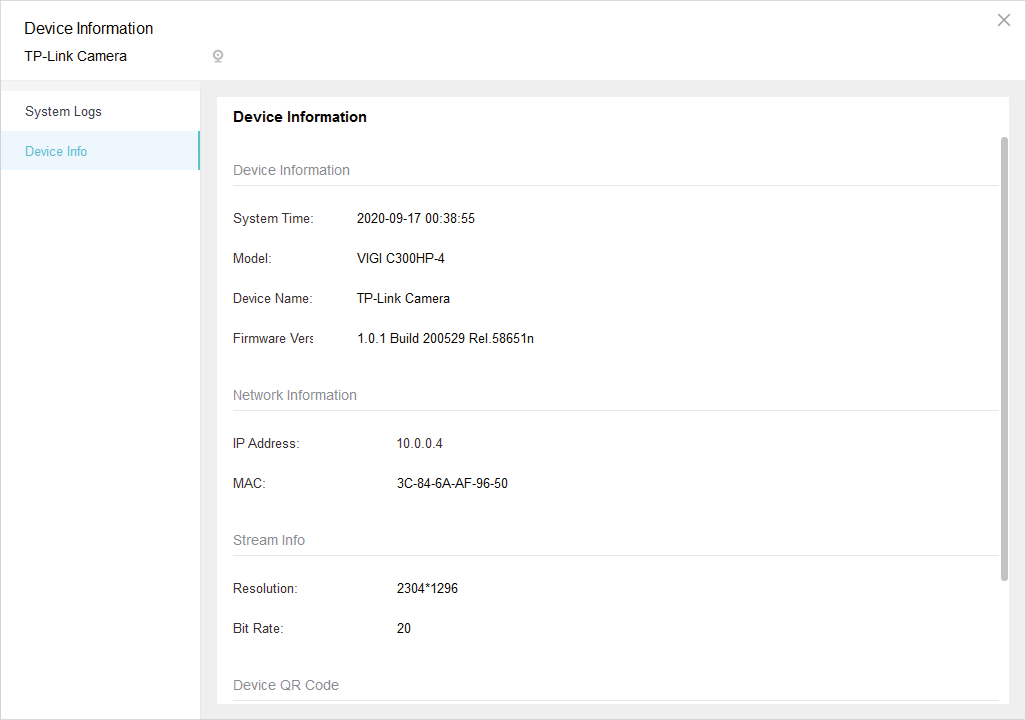
7. 1. 1 View Device Information
Go to
Settings
>
Device List
>
My Devices
and click
![]() in the list. Click
Device Info
. The following information are listed in the window.
in the list. Click
Device Info
. The following information are listed in the window.
 in the list. Go to
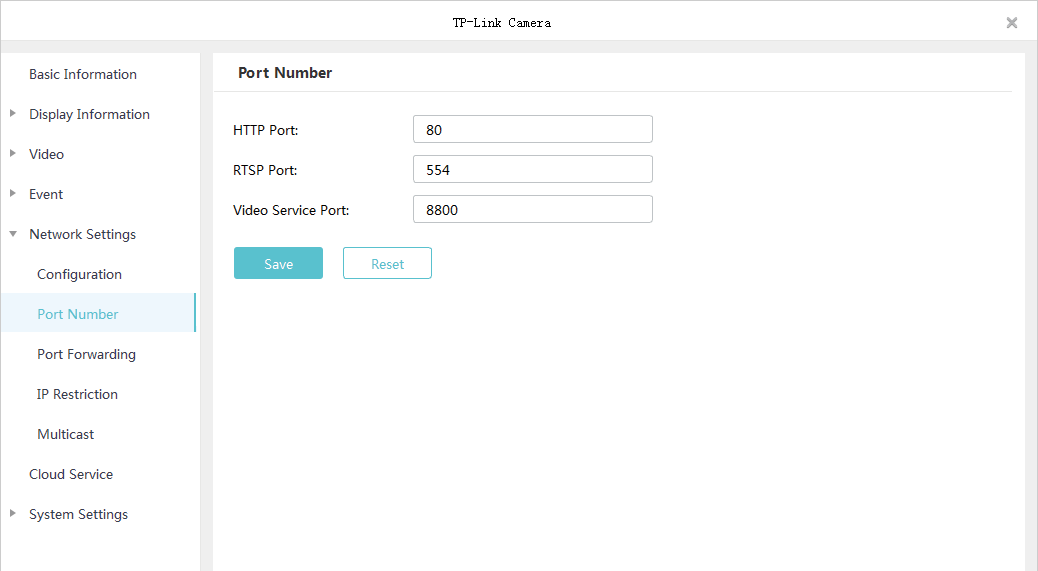
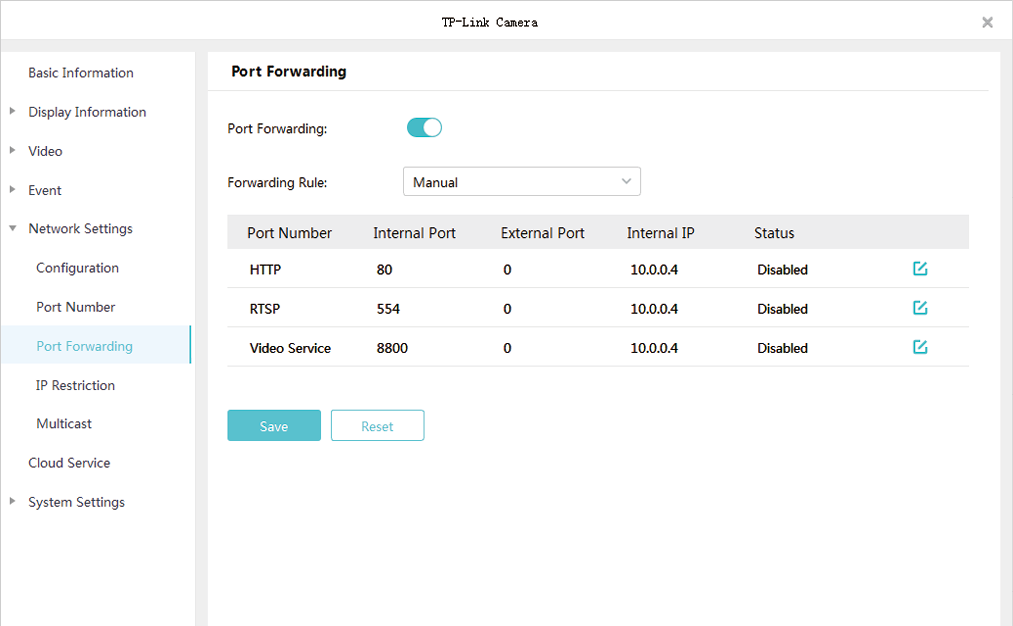
 to specify the external port.