VIGI Security Manager User Guide
Add Devices to VIGI Security Manager
This chapter guides you on how to add cameras and VIGI NVRs to VIGI Security Manager. You can add cameras and VIGI NVRs locally and remotely based on your needs. This chapter includes the following sections:
2. 1 Add Devices in Local Network
To add NVRs and cameras locally, ensure that your devices should be in the same subnet as your computer.
2. 1. 1 Add Devices to VIGI Security Manager When TP-Link ID isn’t Logged in
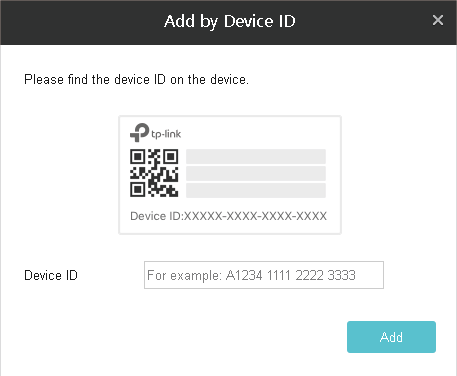
Choose one of the methods below ( Add Devices Singly , Add Devices in Batches , Add Devices Manually )and follow the steps to add your devices.
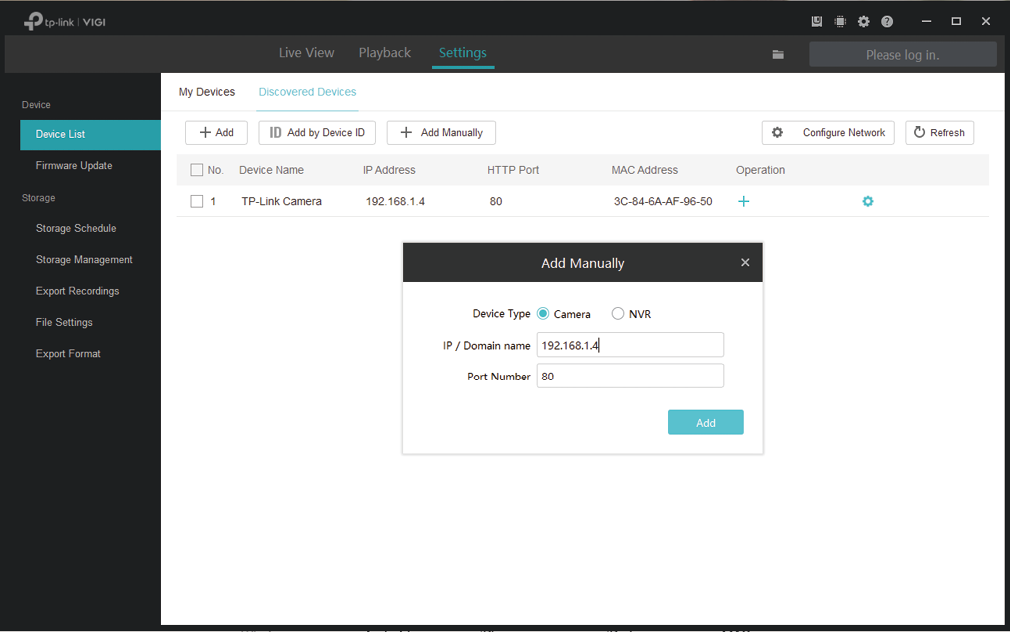
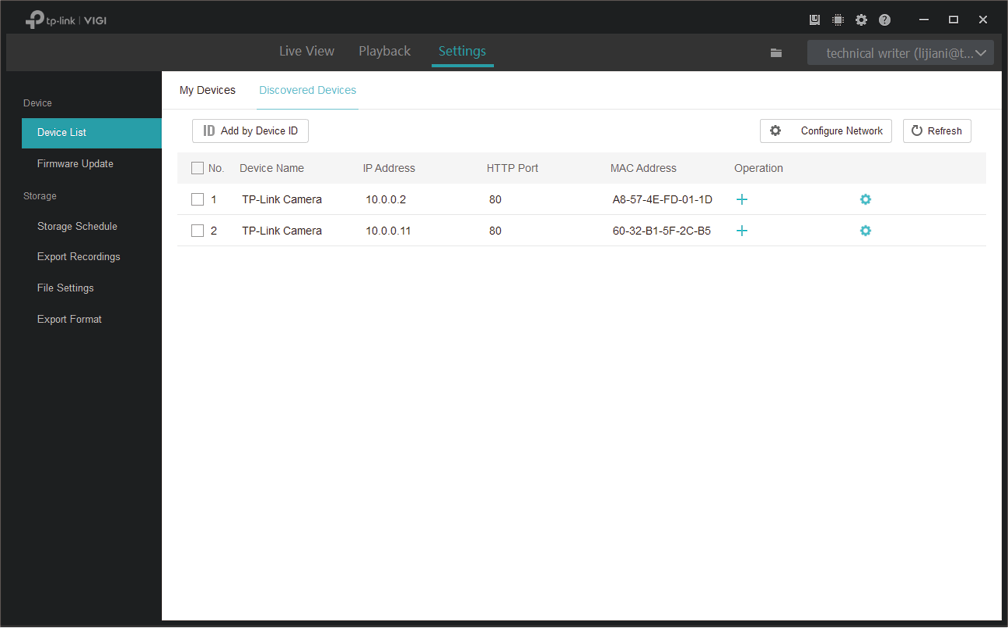
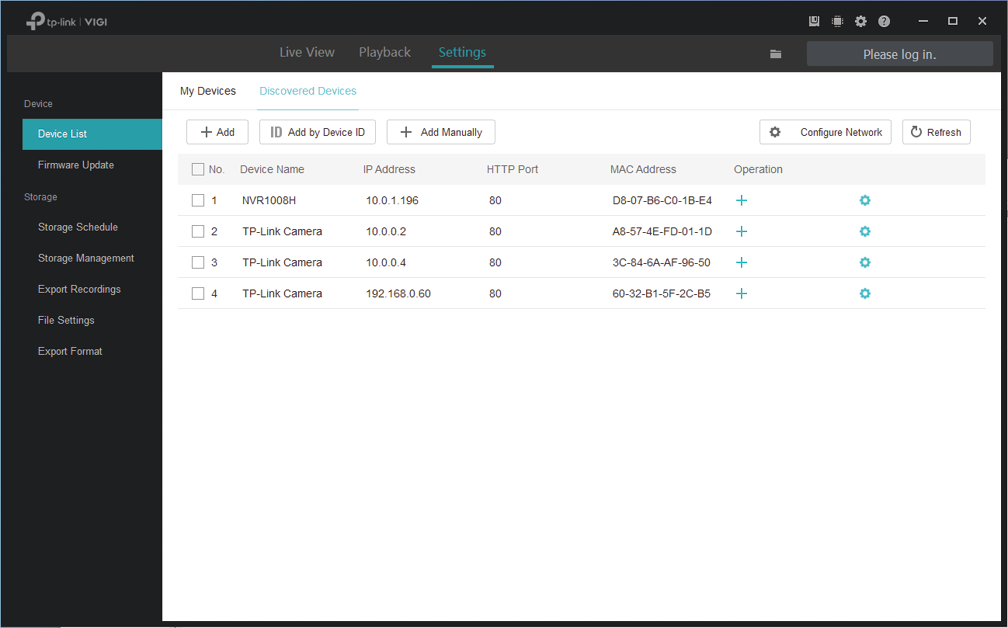
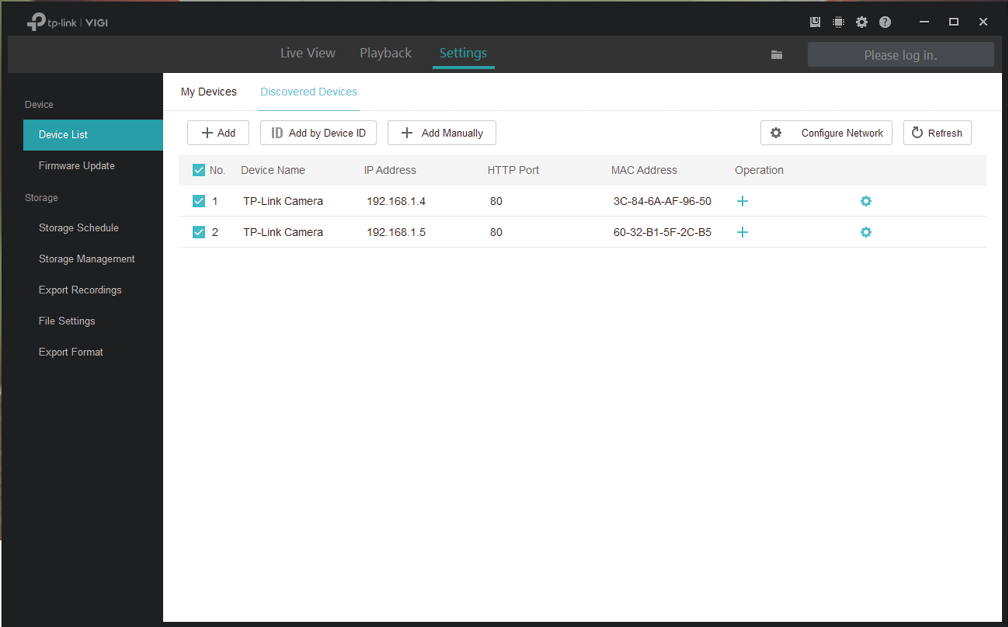
1.
Go to
Settings
>
Device List
>
Discovered Devices
and click
 in the list.
|
|
|
|
|


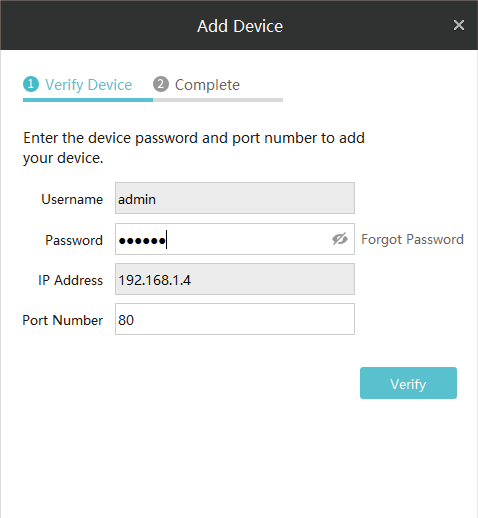
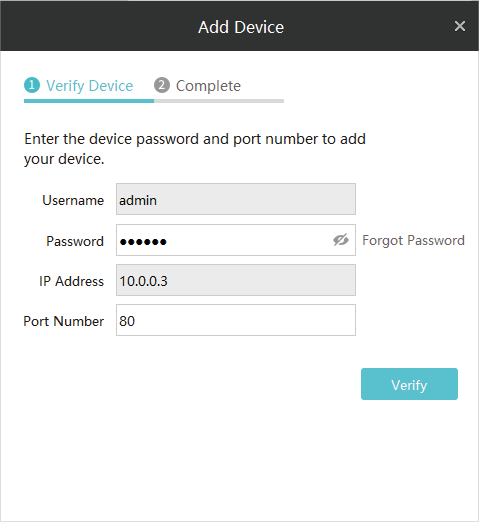
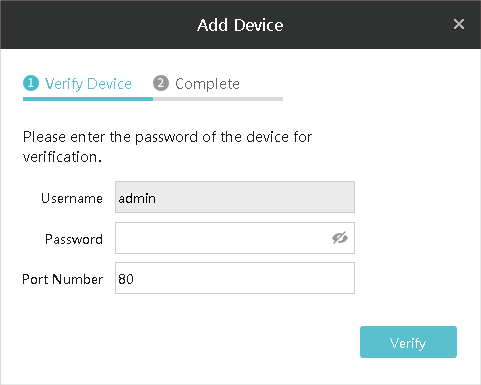
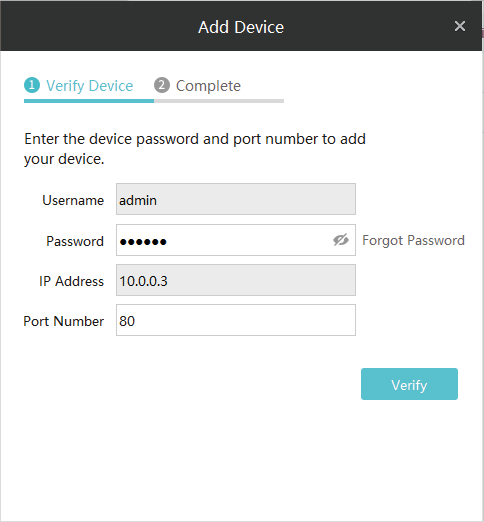
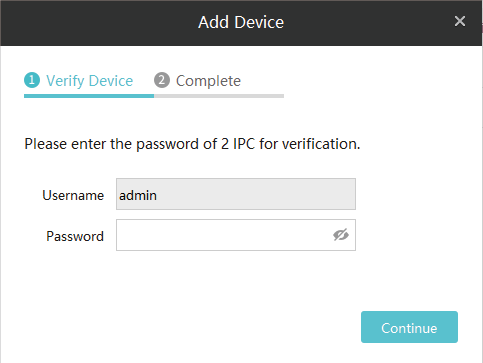
2. Enter the password of your device. VIGI Security Manager can automatically detect the IP address and port number of the device, and you can keep them as default. Click Verify .
Note:
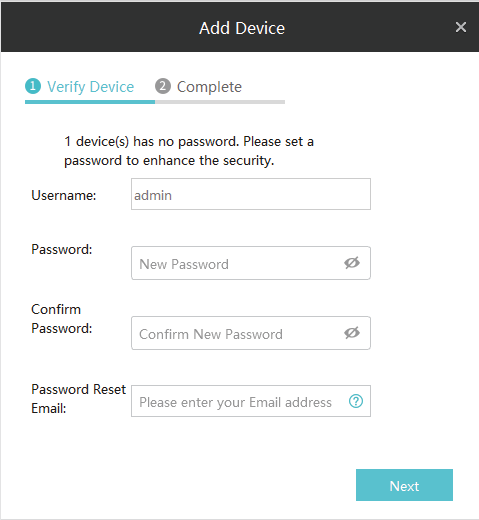
�? For the camera with no password, you need to set a password and a password reset email to enhance the security before adding it.
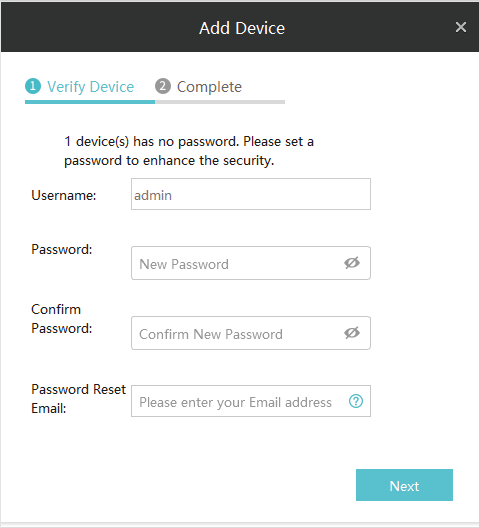
|
Username |
|
Password |
|
Confirm Password |
|
Password Reset Email |
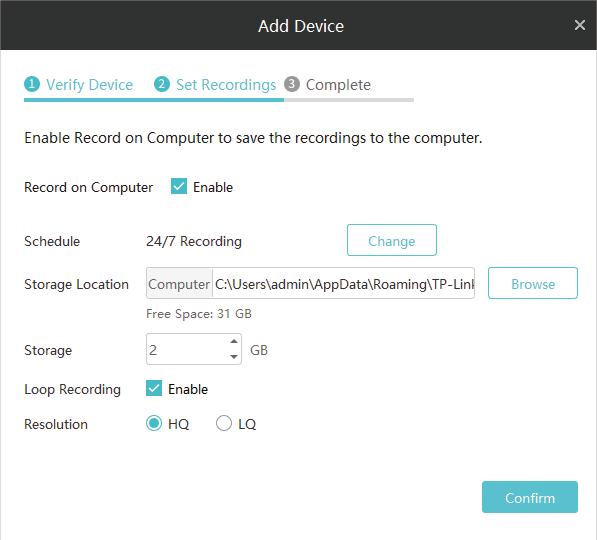
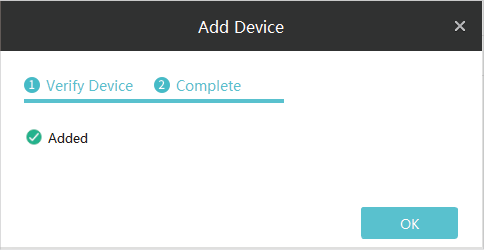
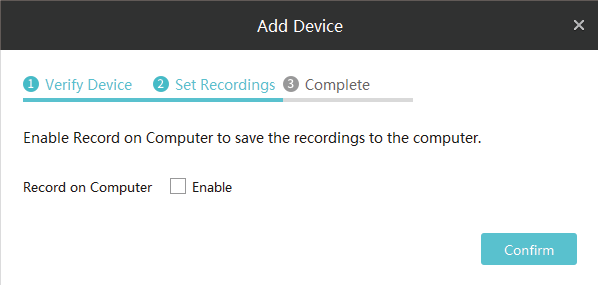
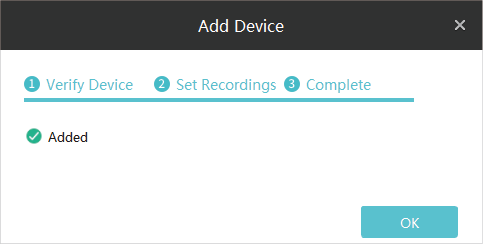
�? For the NVR that has not been used, create a login password on NVR itself and set it up first before adding it. 3. (Only for cameras) If you don’t want to save the recordings of your camera to your computer, directly click Confirm .
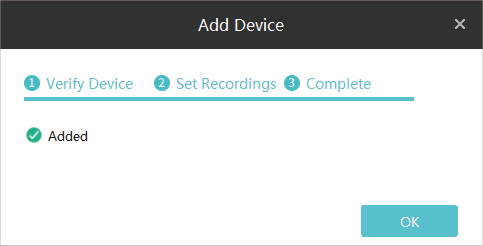
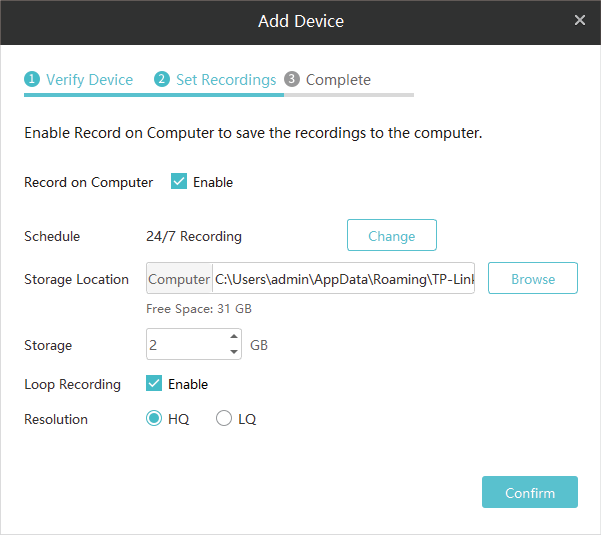
If you want to save the recordings of your camera to your computer, you can click the checkbox of Enable Record on Computer . Configure the following parameters and click Confirm .
|


 to select the storage location of files.
 .
.

 .
.