TL-WR902AC V3 User Guide
- About This Guide
- Chapter 1 Get to Know About Your Router
- Chapter 2 Connect the Hardware
- Chapter 3 Set Up Internet Connection Via Quick Setup Wizard
- Chapter 4 Configure the Router in Wireless Router Mode
- Chapter 5 Configure the Router in Access Point Mode
- Chapter 6 Configure the Router in Range Extender Mode
- Chapter 7 Configure the Router in Client Mode
- Chapter 8 Configure the Router in Hotspot Router Mode
- FAQ
- Authentication
Chapter 3 Set Up Internet Connection Via Quick Setup Wizard
This chapter introduces how to connect your router to the internet via the web-based Quick Setup Wizard.
It contains the following sections:
With a web-based utility, it is easy to configure and manage the router. The web-based utility can be used on any Windows, Macintosh or UNIX OS with a web browser, such as Microsoft Internet Explorer, Mozilla Firefox or Apple Safari.
Follow the steps below to log in to your router.
1.Set up the TCP/IP Protocol in Obtain an IP address automatically mode on your computer.
2.Visit http://tplinkwifi.net, and log in with the username and password you set for the router. The default one is admin (all lowercase) for both username and password.
Note: If the login window does not appear, please refer to FAQ.
The Quick Setup Wizard will guide you through the process to set up your router.
2.1. Standard Wireless Router Mode
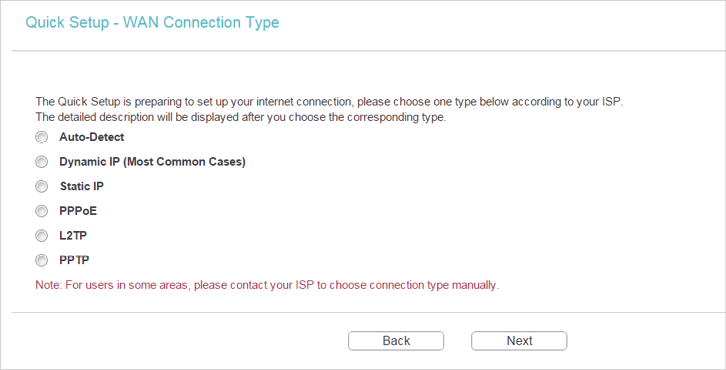
1.Select the WAN Connection Type. When using the router in a hotel room or a small office, select Dynamic IP.
Note:
•If you use DSL line and you are only provided an account name and a password by your ISP, choose PPPoE.
•If you use cable TV or fiber cable, choose Dynamic IP.
•If you are provided more information such as IP address, Subnet Mask and Default Gateway, choose Static IP.
•Contact your ISP if you are not sure about the WAN connection information. You can also select Auto-Detect to let the router detect your connection type automatically.
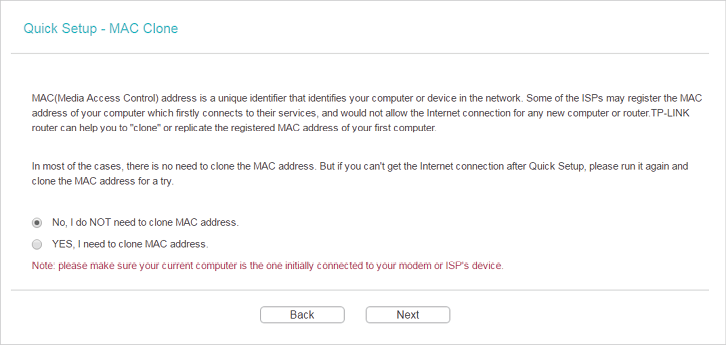
2.In this case, we take Dynamic IP for instance. Please select to clone the mac address or not and click Next. For other connection types, please enter the parameters provided by your ISP, and then click Next.
3.Select the wireless band you want to enable. It’s suggested to keep the two bands both enabled. And click Next.

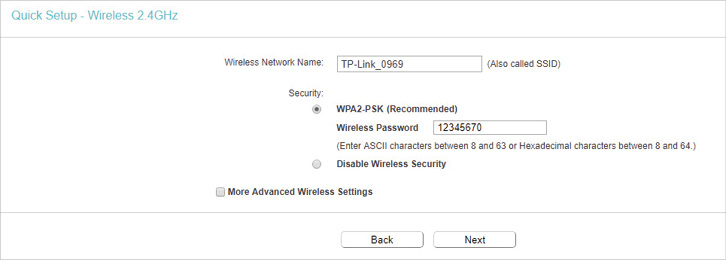
4.Either customize your Wireless Network Name and Wireless Password for the 2.4GHz/5GHz wireless network or keep the default ones , and then click Next.
5.Click Save to apply the settings.
2.2. Access Point Mode
1.Select Access Point for the operation mode of the router.

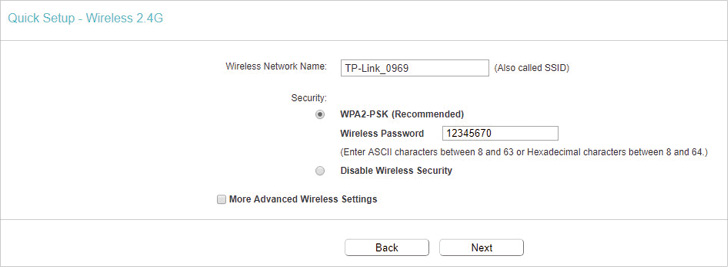
2.Either customize your Wireless Network Name and Wireless Password for the 2.4GHz/5GHz wireless network or keep the default ones, and then click Next.
3.Select the LAN IP type of the router or leave the default settings Smart IP for most cases, and then click Next.

4.Click Finish to apply the settings.
2.3. Range Extender Mode
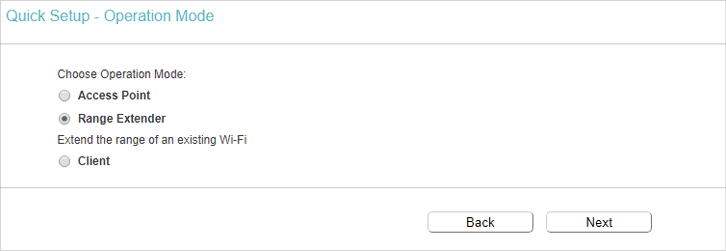
1.Select Range Extender for the operation mode of the router.
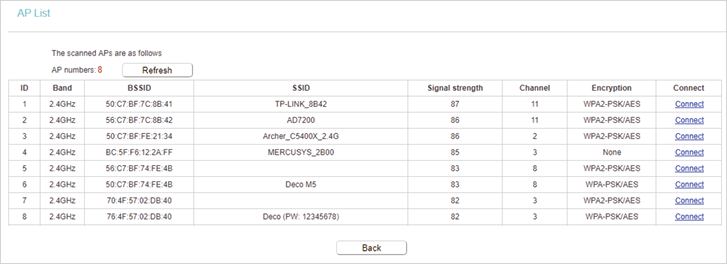
2.Click Connect to connect to the host network in the AP List page.
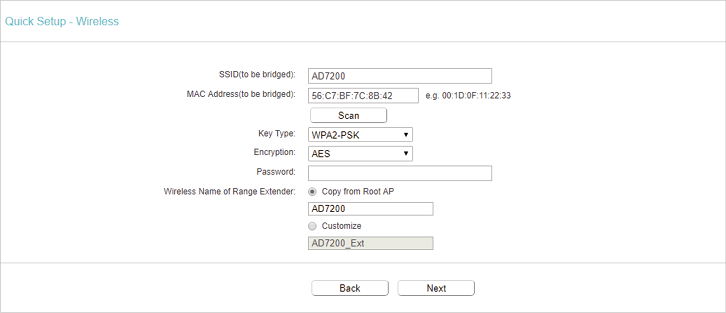
3.Enter the password of the host network and then either copy the Wireless Name from the host network or customize it.
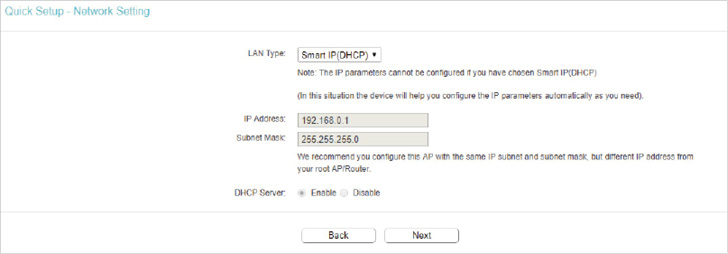
4.Select the LAN IP type of the router or leave the default settings Smart IP for most cases, and then click Next.
5.Click Finish to apply the settings.
6.Relocate the router about halfway between your host netowork and the Wi-Fi dead zone. The extended network shares the same Wi-Fi password as that of your host network, but may have different wireless network name if you have customized it during the configuration.
2.4. Client Mode
1.Select Client for the operation mode of the router.

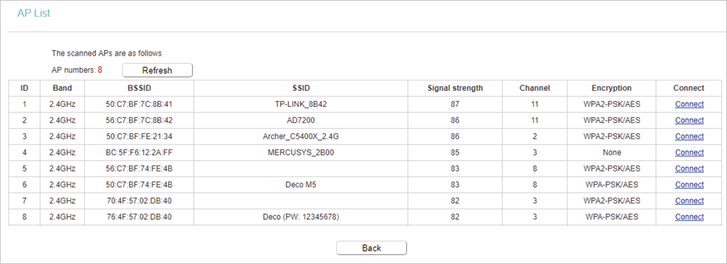
2.Click Connect to connect to the host network in the AP List page.
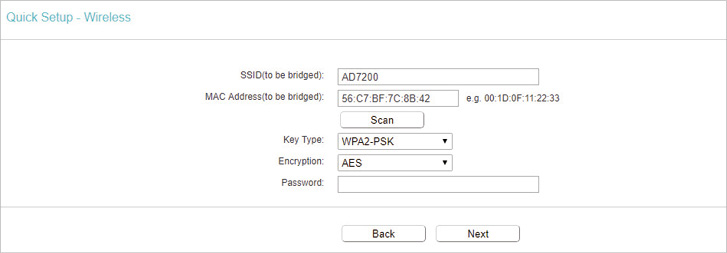
3.Enter the password of the host network.
4.Select the LAN IP type of the router or leave the default settings Smart IP for most cases, and then click Next.

5.Click Finish to apply the settings. Now connect your wired-only device to the router with an Ethernet cable.
2.5. Hotspot Router Mode
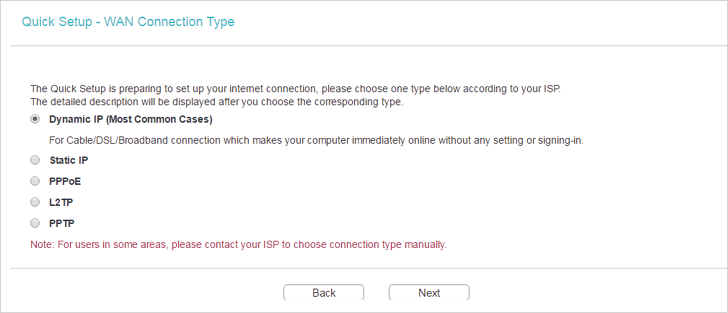
1.Select the WAN Connection Type. When using the router in a hotel room or a small office, select Dynamic IP. In this case, we take Dynamic IP that requires no more parameters for instance. For other connection types, please enter the parameters provided by your ISP.
2.Click Connect to connect to the public Wi-Fi in the AP List page.

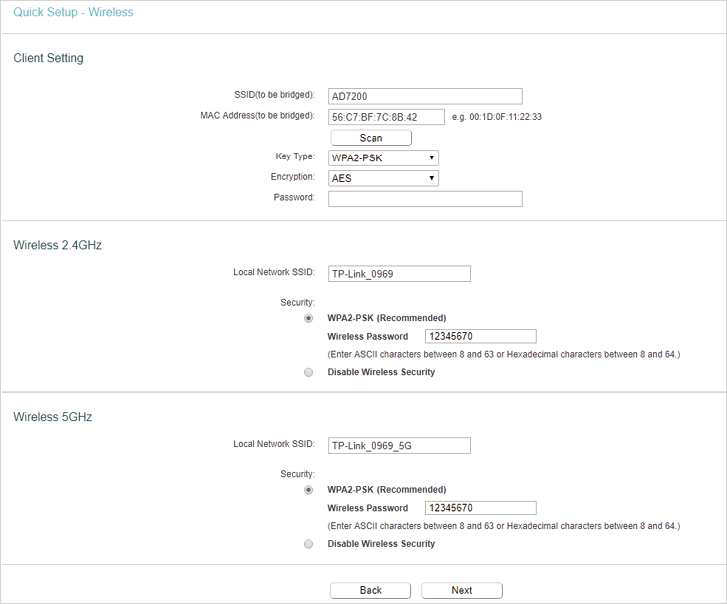
3.Enter the password of the public Wi-Fi in the Password field of the Client Setting section. In the Wireless 2.4GHz/5GHz section, either customize your Local Network SSID and Wireless Password for the 2.4GHz/5GHz network or keep the default ones, and then click Next.
4.Click Finish to apply the settings.