Using the Deco M5 Advanced Settings
Launch the Deco App.
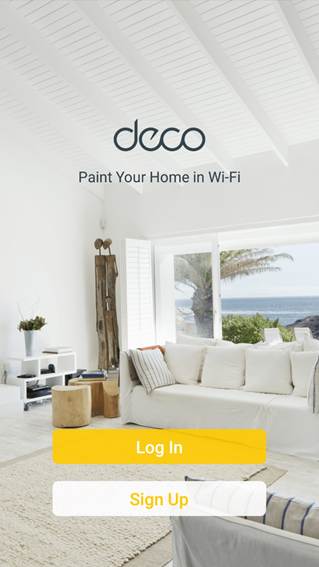
Log in or tap Sign Up to set up a TP-Link ID.
*Note: If you are already logged in, this screen will be skipped.
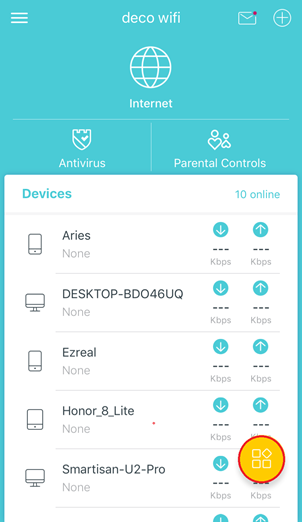
Tap the “Menu” icon.
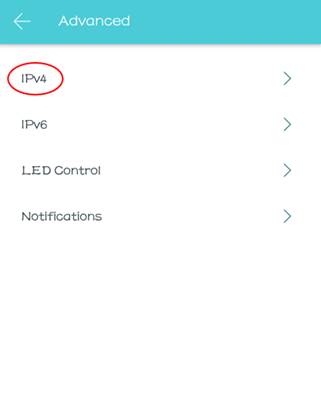
Tap on “Advanced”
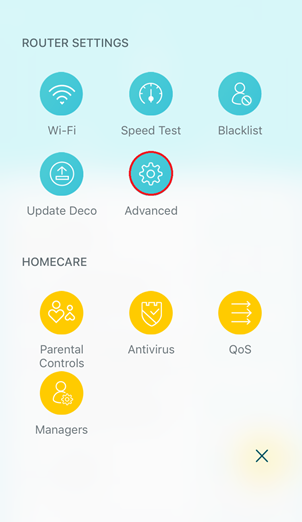
From here you can manage the IPv4 or IPv6 settings for your WAN connection, edit you LED settings and control the app notifications.
*Note: To make changes to network settings, you must be connected to the Deco’s Wi-Fi and be logged into the app as the owner.
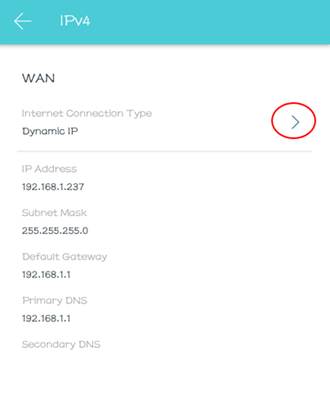
Tap on IPv4 to view the current state of your WAN settings.
To change the WAN and DNS settings, tap on the “>” option.
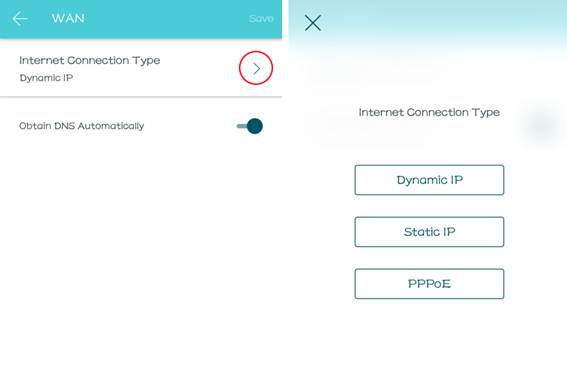
Tap the “>” option under Internet Connection Type to change the WAN connection type and to change the WAN settings to match your ISP connection type.
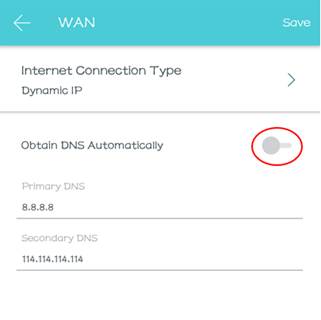
If you want to set your DNS servers, disable the slider and set the values manually.
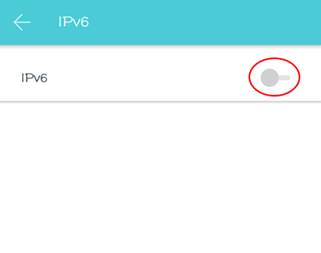
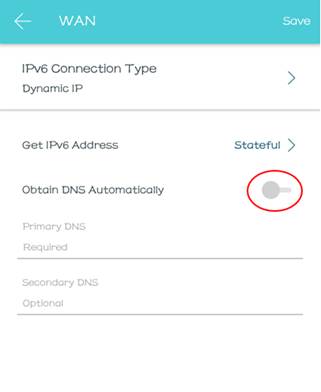
If your ISP uses IPv6, you can activate it here by moving the slider to the “on” position.
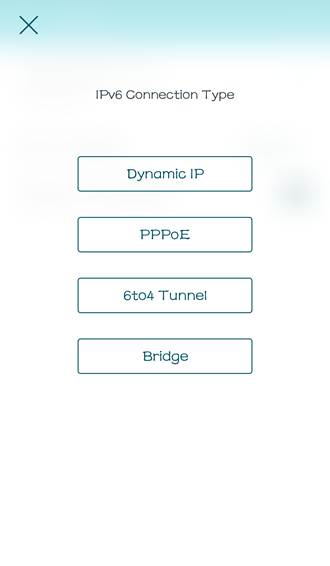
Choose your IPv6 connection type by tapping the “>” option next to IPv6 Connection Type.
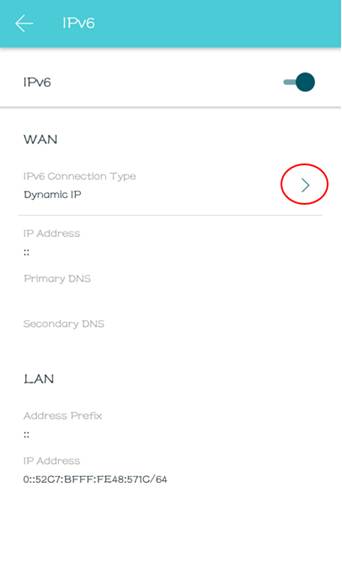
Select the WAN connection type that was provided by your ISP and complete the setup.
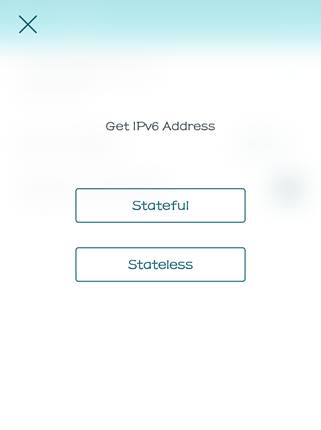
To change the state of your IPv6, tap the “>” option next to “Get IPv6 Address”
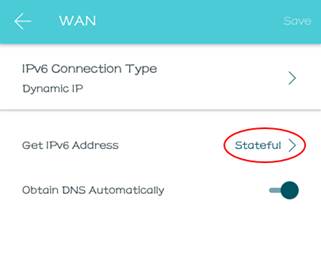
Choose if your IP is Stateful or Stateless
You may also change the DNS manually if you want by turning off the slider and setting the values.
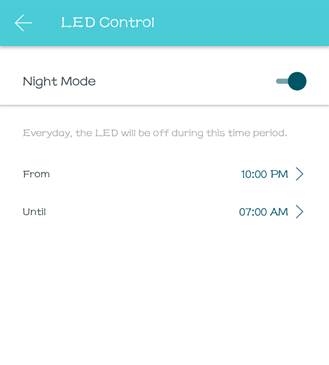
LED controls are for setting “Night Mode”
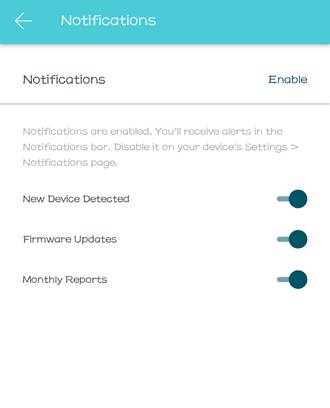
Notifications are for your devices’ Push notifications.
Bu SSS faydalı mı?
Your feedback helps improve this site.


