How to Set Up a WiFi Extender at Home: The Complete 2026 Guide
 Last Updated: July 2026
Quick Answer: How to Set Up a WiFi Extender
-
A WiFi extender connects to your router in under five minutes using the WPS button, then gets moved to a spot halfway between your router and the dead zone.
-
In Philippine concrete homes, generic "place it halfway" advice often fails; the extender needs to stay within the direct line of sight of the router's signal, not simply at the midpoint distance.
-
TP-Link's current WiFi 6 extenders can deliver speeds up to 3,000 Mbps, matching full-gigabit fiber plans now available from PLDT, Globe, and Converge in most Philippine cities.
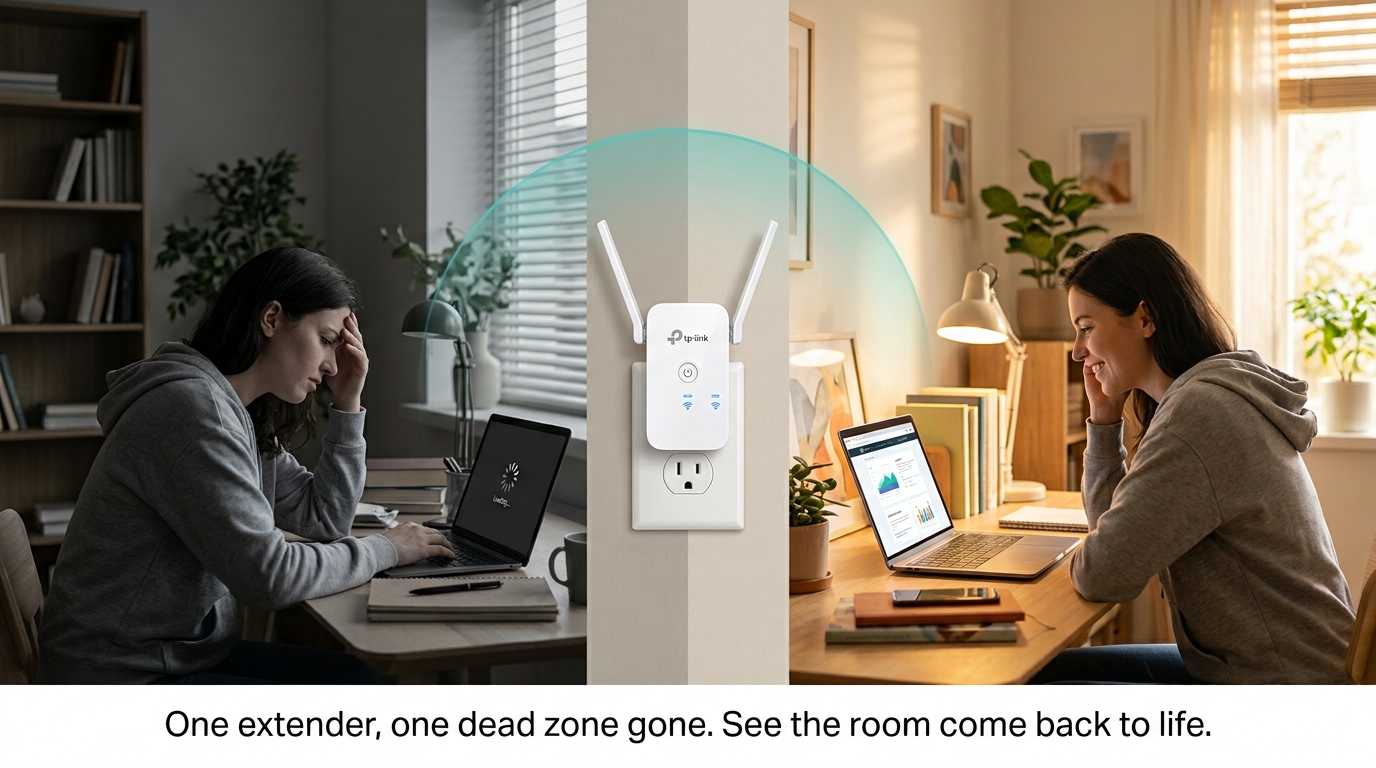
A WiFi extender is the fastest fix for a dead zone. Plug it in between your router and the weak-signal area, press WPS, and you have coverage in under five minutes. In 2026, TP-Link's latest WiFi 6 and WiFi 7 extenders can push speeds up to 3,000 Mbps, matching the full-gigabit fiber plans now available from PLDT, Globe, and Converge in most Philippine cities.
Adding a WiFi extender can be an easy way to get rid of dead spots and improve internet coverage in your home. These devices receive your WiFi signal from your network and retransmit it to areas with poor or no signal.
Table of Contents
How to Choose the Right WiFi Extender
How to Set Up Your WiFi Extender
Where to Place Your Extender in a Philippine Concrete Home
WiFi Extender vs Mesh System vs Powerline Adapter
Testing the Connection and Speed
Common WiFi Extender Setup Mistakes to Avoid in 2026
Best WiFi Extenders in the Philippines Today
What Is a WiFi Range Extender
The purpose of a WiFi range extender is to expand the coverage area of your current wireless network. It does this by receiving your existing WiFi signal, amplifying it, and then rebroadcasting it. Dead zones are areas in your house or workplace where the WiFi signal is poor or does not reach at all.
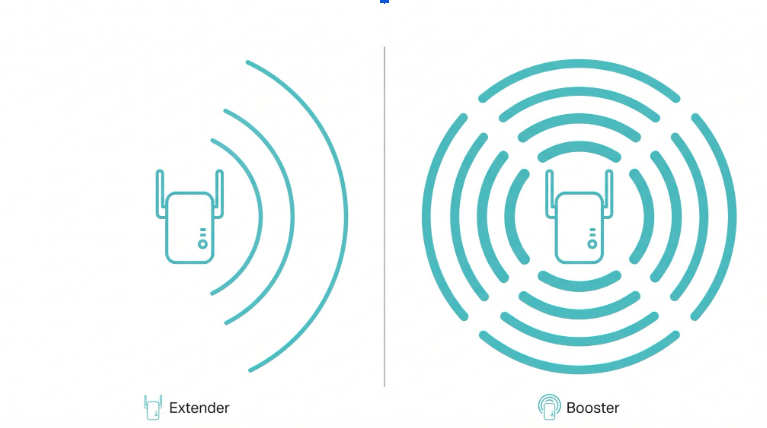
WiFi extenders act as an intermediary between your router and your device, rebroadcasting your signal to cover a larger area. Unlike WiFi boosters, which TP-Link frames as more focused on amplifying signal strength, extenders focus on increasing coverage by catching the router's signal and extending it further. For the full breakdown of how these terms relate, see WiFi Extender vs. Booster.
If placed in the right location, an extender can improve internet performance significantly in larger homes, multi-floor spaces, or areas where walls and obstacles interfere with your signal.
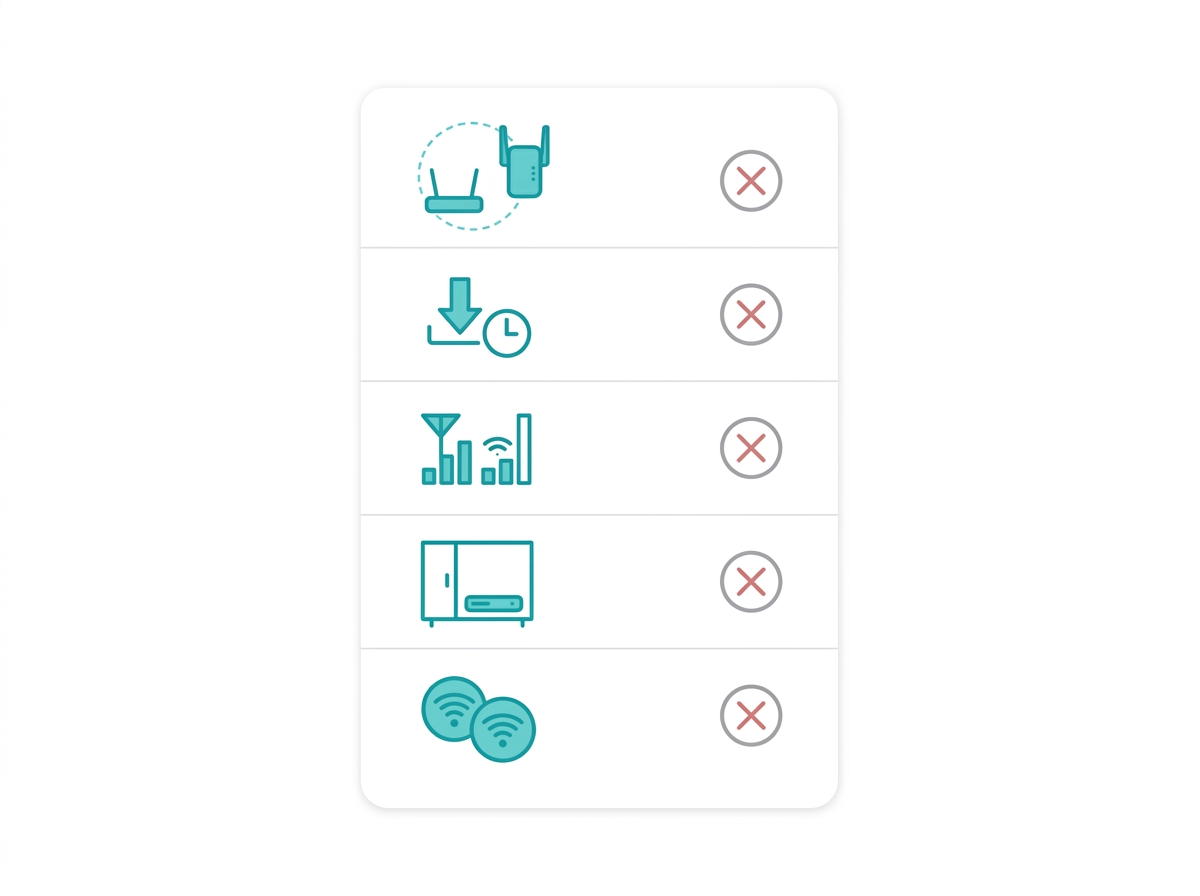
How to Choose the Right WiFi Extender
A few specs matter more than the rest when picking an extender for a Philippine home.
Compatibility. Ensure your extender works with your router, especially if you use an advanced modem or router with dual-band or tri-band technology like the Deco BE85.
Range coverage. Check the coverage range of the extender against your space. A small apartment needs a basic extender; larger homes benefit from a more powerful, longer-range model.
Speed capacity. Match the extender's speed with your internet plan. If your internet speed is high, look for an extender that supports equally high speeds to avoid creating a new bottleneck. Philippine fiber plans from PLDT, Globe, and Converge now reach up to 1 Gbps. Choose a WiFi 6 or WiFi 7 extender to keep up with plans at that tier.
Features. Some extenders come with added features like Ethernet ports for wired connections, multiple antennas, or smart signal indicators that show optimal placement.
How to Set Up Your WiFi Extender
WiFi extenders usually come with step-by-step setup instructions. Here is the general process.
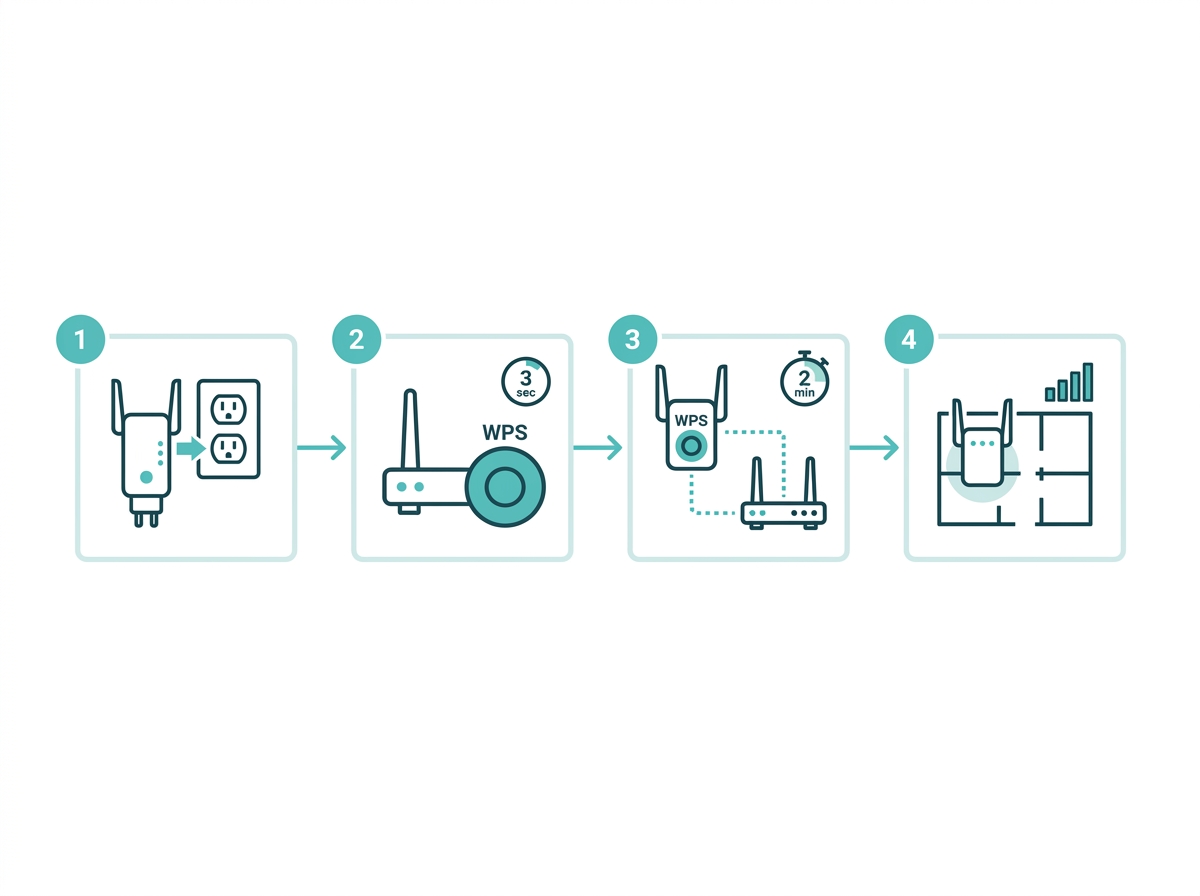
Method 1: Using the WPS Button
Most modern WiFi extenders support WPS (WiFi Protected Setup), which allows quick configuration without a password.
-
Plug in the extender. Place it in an outlet near your router to start. You can move it to a better location once setup is complete.
-
Press the WPS button on the router. Hold it for about 3 seconds.
-
Press the WPS button on the extender. Within 2 minutes of pressing the router's WPS button, press the extender's WPS button. The devices will connect, and an indicator light on the extender will confirm the connection.
-
Move the extender to the target location. Unplug it and relocate it to a spot halfway between the router and the weak-signal area. Avoid walls or appliances that may obstruct the signal.
Method 2: Using the Extender's Web Interface
If WPS is unavailable, set up the extender manually through its web interface.
-
Plug in the extender and wait until the power light turns on.
-
Connect your device to the extender's default network name (usually printed on the device or in the manual).
-
Open a web browser and enter the setup URL, typically a specific IP address or local address provided in the manual (e.g., http://extender.local).
-
Log in to the setup page (default credentials are often "admin"). Select your WiFi network, enter your WiFi password, and complete setup.
-
Relocate the extender to the best spot between the router and the weak-signal area.
Choose the Right Location
-
Halfway placement. Place the extender between your router and the dead zone, ensuring it still receives a strong signal from the router.
-
Avoiding obstacles. Keep the extender away from thick walls, metal objects, and appliances like microwaves and cordless phones.
-
Checking signal strength. Use your device to check WiFi strength in the area, and adjust the extender's position until you get a stable connection with good performance.
Where to Place Your Extender in a Philippine Concrete Home
Generic placement advice, "put it halfway," was written for timber-frame homes, where 2.4 GHz WiFi travels 30 meters through a wall with minimal loss. Philippine homes are built differently, and placement rules need to reflect that.

Two-Storey Concrete House
Reinforced concrete floors and walls absorb the 2.4 GHz signal by 10 to 15 dB per wall, roughly 70 to 90 percent signal reduction per barrier. 5 GHz is worse, losing 15 to 20 dB through the same concrete.
-
Place the extender on the staircase landing or in a central hallway, not in a bedroom at the far end of a floor.
-
Keep it within direct line of sight of the router's location on the floor below, even if that means running an extension cable to reach a better outlet position.
-
For a three-bedroom layout, a ground-floor router in the sala and an extender at the top of the stairs cover most two-floor homes. A second extender at the far end of the second floor serves master bedrooms more than 10 meters away from the stairs.
-
Use the TP-Link Tether app's signal indicator during placement; aim for 3 bars minimum before confirming the extender's final position.
Condominium Unit
Condo units above the 5th floor experience less neighbor interference but face internal concrete partition walls that are equally signal-blocking. Most Philippine condo units are long and narrow.
-
Place the router near the unit's entry door or living area, typically the widest point of the unit.
-
Place the extender two-thirds of the way toward the bedroom end of the unit, in a hallway outlet if available.
-
Avoid placing the extender inside a bedroom; the walls on both sides cut the signal path in both directions.
-
For studio units, a single router on the WiFi 6 band (5 GHz plus 2.4 GHz) with a unit-compatible extender placed near the bathroom partition handles most dead zone complaints.
Sari-Sari Store or Small Commercial Space
Commercial dead zones differ from home dead zones. The challenge is serving multiple customers at different distances simultaneously, not just reaching one device in a far room.
-
Place the extender at the front of the store facing outward, not at the counter where the router already reaches.
-
If your store has a covered extension (pantry, storage room, outdoor seating area), the extender should sit at the entry point of that extension.
-
For a Piso WiFi setup, the extender goes at the edge of your primary vending machine's coverage area, not in the same room as the machine.
-
Height matters: mount or place the extender 1.5 to 2 meters off the ground for maximum horizontal coverage. Lower placement wastes the signal downward into the floor.
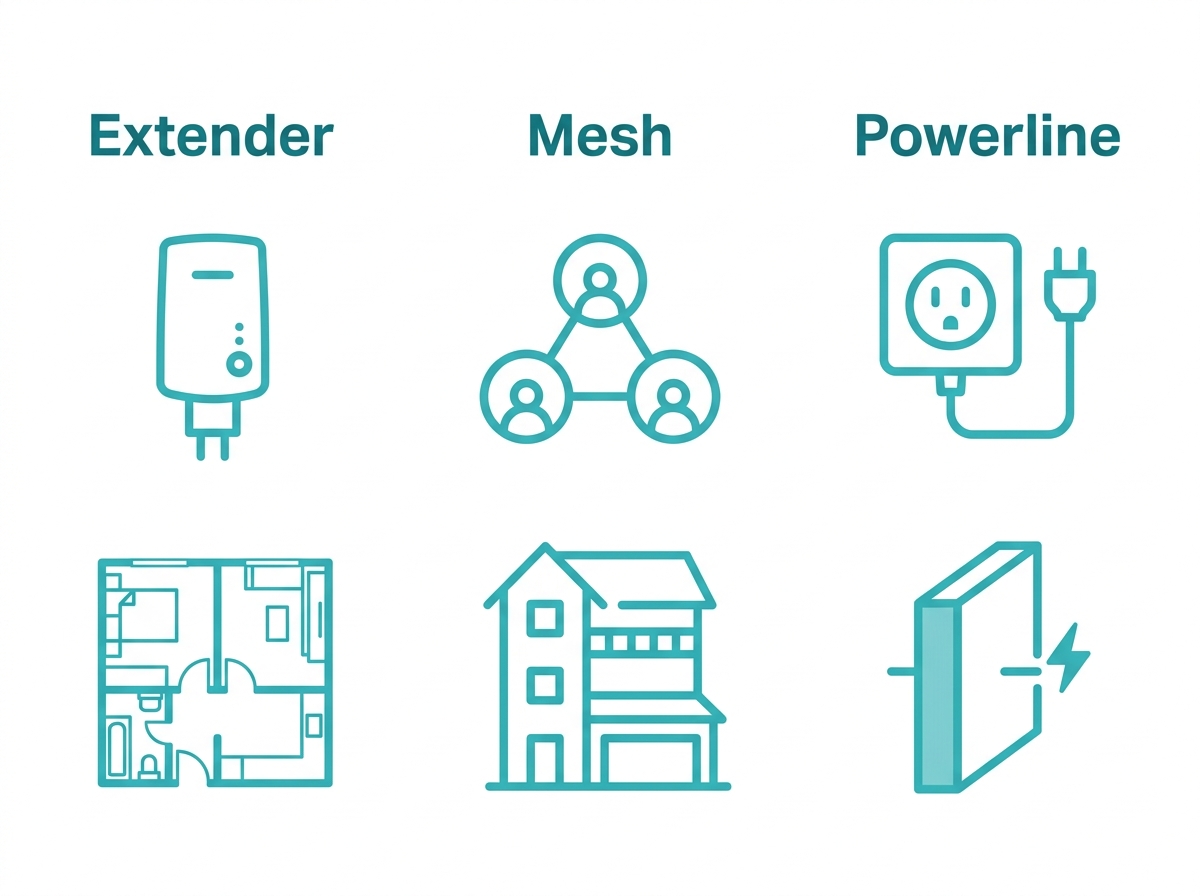
WiFi Extender vs Mesh System vs Powerline Adapter
After reading a setup guide, the most common follow-up question is whether a mesh system would have been the better call. Here is a direct comparison to help you decide or confirm that you made the right choice.
|
Factor |
WiFi Extender |
Mesh System |
Powerline Adapter |
|---|---|---|---|
|
Best for |
Small dead zones in medium homes |
Large or multi-floor homes with 4+ rooms |
Areas where WiFi cannot penetrate the thick concrete between floors |
|
Setup |
Easy - WPS button or web browser, 5 minutes |
Moderate - app-based, 15 to 30 minutes |
Easy - plug into a power outlet, pair |
|
Cost (PH market) |
PHP 1,500 to PHP 5,000 |
PHP 5,000 to PHP 20,000 plus |
PHP 2,000 to PHP 6,000 |
|
Wall penetration |
Limited - concrete walls reduce range |
Good - nodes placed around obstacles |
Excellent - travels through electrical wiring |
|
Scalability |
Add one extender per dead zone |
Add nodes at any time |
Limited to available outlets |
|
TP-Link option |
RE315, RE505X, RE705X |
Deco XE75, Deco X55, Deco X20 |
TL-PA7010 Kit |
The short version for Philippine homes:
-
Studio or one-bedroom condo with one dead zone: extender. Fast, affordable, and the dead zone disappears.
-
Two-story concrete house with 3 or more bedrooms: mesh system. Concrete floors kill extender-to-device speeds on the second floor; mesh handles it cleanly.
-
A specific room's WiFi cannot be reached even with an extender, such as a Powerline adapter. The electrical wiring bypasses the concrete barrier entirely.
-
Not sure which is right for your home size? See the full breakdown: mesh WiFi routers or WiFi 6, a complete comparison between mesh and extender setups.
Testing the Connection and Speed
Once your extender is set up, run a quick speed test to confirm the performance boost.
-
Use an online speed test tool to check download and upload speeds near the extender.
-
Compare results with the speeds you get directly from the router. If the speed is lower than expected, try repositioning the extender for a better connection.
Troubleshooting Common Issues
-
Connection drops. If the extender frequently loses connection, try moving it closer to the router.
-
Slow speeds. Double-check that the extender is placed in an optimal spot, away from interference.
-
Device compatibility issues. Some extenders may not work well with older routers. Check for firmware updates or consider upgrading your router if compatibility issues persist.
-
No internet access after setup. Make sure you have connected to the correct network and entered the right password. If needed, reset the extender to factory settings and try again.
Maximizing WiFi Extender Performance
-
Update firmware regularly. Manufacturers release firmware updates that improve performance and security. Check the TP-Link support page regularly.
-
Consider a mesh WiFi system. For larger homes, mesh may work better than a traditional extender, since it provides seamless coverage across multiple units rather than a single extended zone.
-
Limit devices. Connecting too many devices to the extender can reduce speed, especially on extenders with limited bandwidth. Reserve the extender's connection for devices actually in the weak-signal area.
Common WiFi Extender Setup Mistakes to Avoid in 2026
Most extender performance complaints trace back to one of these setup errors, seen frequently across PLDT, Globe, and Converge fiber environments in Philippine homes.
-
Placing the extender outside the router's range. If the extender cannot receive a clear signal from the router, it rebroadcasts a degraded signal rather than a strong one. Place it where the router's signal is still at least 50 percent strength, then let it extend from there.
-
Skipping the firmware update after setup. Extenders ship with firmware that may be months old. Connect the extender to the internet, open the TP-Link Tether app or admin panel, and update the firmware before leaving the setup page.
-
Mismatching WiFi standards. Pairing a WiFi 6 router with a WiFi 5 extender works, but the extended network runs at WiFi 5 speeds. For fiber plans above 300 Mbps, pair a WiFi 6 router with a WiFi 6 extender like the RE505X or RE705X to avoid the extender becoming the bottleneck.
-
Place the extender flat on a shelf or inside a cabinet. Extenders are designed for wall outlet mounting. Lying them flat or placing them behind furniture reduces antenna efficiency and can cause indicator lights to misread actual signal quality.
-
Using the same SSID for the router and extender without roaming support. If your devices do not support 802.11r fast roaming, they may lock onto one node and refuse to switch, even when the other node gives a stronger signal. If you notice this, rename the extender's SSID slightly (e.g., add "_EXT") to force manual selection, or move to a OneMesh-compatible setup that handles roaming automatically.
-
Not testing signal strength before finalizing placement. Walk through the intended area with your phone's WiFi bars visible before plugging the extender in. If bars drop below 2 in the target zone, the extender cannot fix what the router cannot reach. Move the router first, or add a second extender closer to the router.
Best WiFi Extenders in the Philippines Today
TP-Link offers a range of reliable extenders to enhance coverage and eliminate dead zones at home.
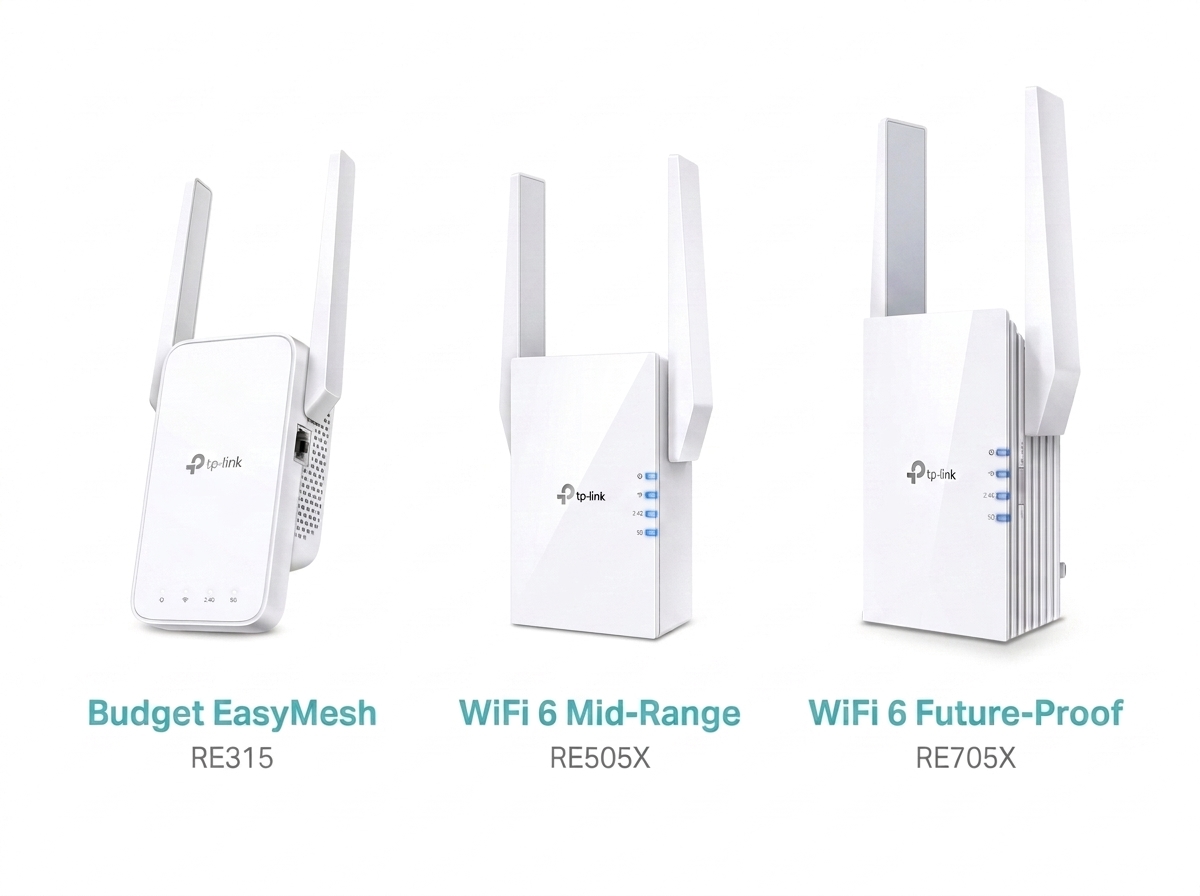
RE315 (AC1200 Mesh WiFi Range Extender) - An affordable, EasyMesh-compatible option delivering reliable performance for small to medium homes or apartments.
RE505X (AX1500 WiFi 6 Range Extender) - A WiFi 6 step-up with OneMesh compatibility and a Gigabit Ethernet port, well-suited for fiber plans up to 300 to 500 Mbps.
RE705X (AX3000 Mesh WiFi 6 Extender) - The current top recommendation for future-proofing your network, with EasyMesh compatibility, blazing-fast speeds, and reliable performance for heavy internet users on faster fiber plans.
If you already own an RE450 or RE650, both continue to function as extenders with any current router. For new purchases, TP-Link has listed the RE450 (AC1750 WiFi Range Extender) and RE650 (AC2600 WiFi Range Extender) as end-of-life, so the RE315, RE505X, and RE705X above are the current alternatives depending on your speed needs and budget.
Frequently Asked Questions
Will a WiFi extender slow down my internet?
An extender can reduce speeds in the extended zone by up to 50 percent on single-band models, because the extender uses the same radio to receive from the router and transmit to your device simultaneously. Dual-band extenders minimize this by dedicating one band to the router connection and one to your device. For fiber plans above 200 Mbps, choose a WiFi 6 dual-band extender to maintain fast speeds in the extended area.
Do I need a TP-Link router to use a TP-Link extender?
No. TP-Link extenders are compatible with any standard WiFi router, regardless of brand. Pairing a TP-Link extender with weak WiFi coverage with a TP-Link router specifically enables OneMesh support, a feature that merges the router and extender into a single network with automatic device roaming. Without OneMesh, the extender still works but operates as a separate network.
Is mesh WiFi better than an extender in a Philippine concrete home?
For most two-story or multi-room concrete homes, yes. Concrete floors and walls significantly reduce WiFi range between floors, and an extender placed on the wrong side of a concrete barrier rebroadcasts a weak signal. A mesh system places nodes throughout the home so each device connects to the nearest, strongest node, with no concrete barrier to fight. For single-floor homes or apartments with one or two dead zones, an extender remains the faster and more affordable fix.
How long does a WiFi extender setup actually take?
Most setups complete in 5 to 10 minutes using the WPS method, assuming your router has a working WPS button. The web interface method takes slightly longer, typically 10 to 15 minutes, since you are manually entering network credentials rather than using one-touch pairing. The bulk of the time investment in a successful setup usually goes into finding the right physical placement, not the initial connection process.
Can I use two extenders in the same home?
Yes, for larger homes with multiple dead zones in different areas. Each extender should connect directly to the main router rather than to another extender, since chaining extenders compounds signal loss at each hop. If your home needs three or more extenders to achieve full coverage, that is usually a sign that a mesh system would serve you better and more affordably in the long run.
Why does my extender show full signal but still feel slow?
A strong connection between your extender and router does not guarantee strong device-to-extender performance. Check how many devices are connected to the extender simultaneously; confirm you are connecting to the 5 GHz band rather than the 2.4 GHz band when both are available; and verify the extender's firmware is current. If all of that checks out, the bottleneck may simply be your ISP plan rather than the extender hardware.
Final Thoughts
Setting up a WiFi extender is a practical solution for improving your home's WiFi coverage, especially in areas where signal strength is weak or inconsistent. By following the steps above and applying the Philippine-specific placement guidance, you can get a stronger, more reliable connection across your space without overpaying for more hardware than you need.
TP-Link offers a variety of reliable WiFi extenders to eliminate dead zones in your home, and with easy-to-install models like the RE315, RE505X, and RE705X, seamless connectivity in every corner of your space is a five-minute setup away.
Last updated: July 2026 by Laviet Joaquin, Head of Marketing, TP-Link Philippines.
_20260709090929l.png)