Archer AX11000 V1 User Guide
- About This Guide
- Chapter 1 Get to Know About Your Router
- Chapter 2 Connect the Hardware
- Chapter 3 Log In to Your Router
- Chapter 4 Set Up Internet Connection
- Chapter 5 TP-Link Cloud Service
- Chapter 6 Guest Network
- Chapter 7 USB Settings
- Chapter 8 HomeCare – Parental Controls, QoS, Antivirus
- Chapter 9 Network Security
- Chapter 10 NAT Forwarding
- Chapter 11 VPN Server
-
Chapter 12 Customize Your Network Settings
- Change the LAN Settings
- Set Up Link Aggregation
- Configure to Support IPTV Service
- Specify DHCP Server Settings
- Set Up a Dynamic DNS Service Account
- Create Static Routes
- Specify Wireless Settings
- Schedule Your Wireless Function
- Use WPS for Wireless Connection
- Use WDS to Extend Network
- Advanced Wireless Settings
- Chapter 13 Manage the Router
- Chapter 14 Game Center
- FAQ
- Authentication
Chapter 9 Network Security
This chapter guides you on how to protect your home network from cyber attacks and unauthorized users by implementing these three network security functions. You can protect your home network against DoS (Denial of Service) attacks from flooding your network with server requests using DoS Protection, block or allow specific client devices to access your network using Access Control, or you can prevent ARP spoofing and ARP attacks using IP & MAC Binding.
It contains the following sections:
1. Protect the Network from Cyber Attacks
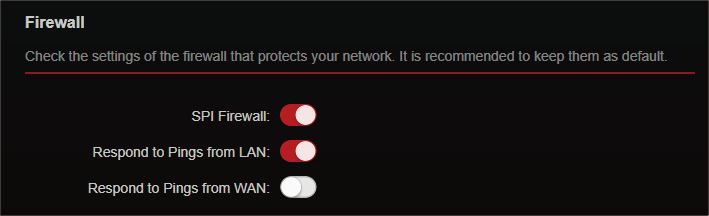
The SPI (Stateful Packet Inspection) Firewall protects the router from cyber attacks and validate the traffic that is passing through the router based on the protocol. This function is enabled by default.
1.Visit http://tplinkwifi.net, and log in with your TP-Link ID or the password you set for the router.
2.Go to Advanced > Security > Firewall. It’s recommended to keep the default settings.
Access Control is used to block or allow specific client devices to access your network (via wired or wireless) based on a list of blocked devices (Blacklist) or a list of allowed devices (Whitelist).
I want to:
Block or allow specific client devices to access my network (via wired or wireless).
How can I do that?
1.Visit http://tplinkwifi.net, and log in with your TP-Link ID or the password you set for the router.
2.Go to Advanced > Security > Access Control.
3.Select the access mode to either block (recommended) or allow the device(s) in the list.
To block specific device(s):
1 )Select Blacklist.

2 )Click  .
.
3 )Select devices you want to be blocked and Click ADD.
4 )The Operation Succeeded message will appear on the screen, which means the selected devices have been successfully added to the blacklist.
To allow specific device(s):
1 )Select Whitelist and click SAVE in the lower page.

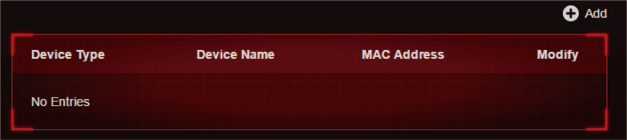
2 )Your own device is in the whitelist by default and cannot be deleted. Click  to add other deviecs to the whitelist.
•Add connected devices
1 )Click Select From Device List.
2 )Select the devices you want to be allowed and click ADD.
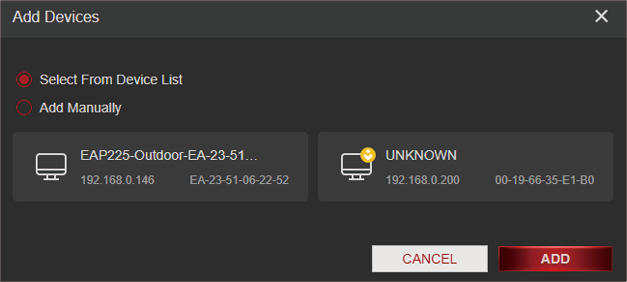
3 )The Operation Succeeded message will appear on the screen, which means the selected devices have been successfully added to the whitelist.
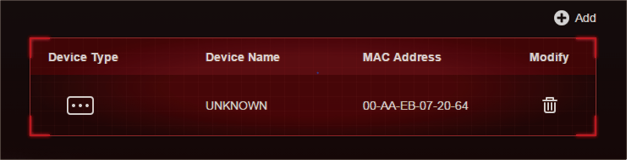
•Add unconnected devices
1 )Click Add Manually.
2 )Enter the Device Name and MAC Address of the device you want to be allowed and click ADD.
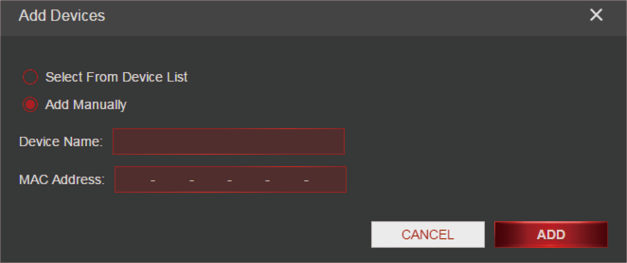
3 )The The Operation Succeeded message will appear on the screen, which means the device has been successfully added to the whitelist.
Done!
Now you can block or allow specific client devices to access your network (via wired or wireless) using the Blacklist or Whitelist.
IP & MAC Binding, namely, ARP (Address Resolution Protocol) Binding, is used to bind network device’s IP address to its MAC address. This will prevent ARP Spoofing and other ARP attacks by denying network access to an device with matching IP address in the Binding list, but unrecognized MAC address.
I want to:
Prevent ARP spoofing and ARP attacks.
How can I do that?
1.Visit http://tplinkwifi.net, and log in with your TP-Link ID or the password you set for the router.
2.Go to Advanced > Security > IP & MAC Binding.
3.Enable IP & MAC Binding.

4.Bind your device(s) according to your need.
To bind the connected device(s):
1 )Click in the Binding List section.
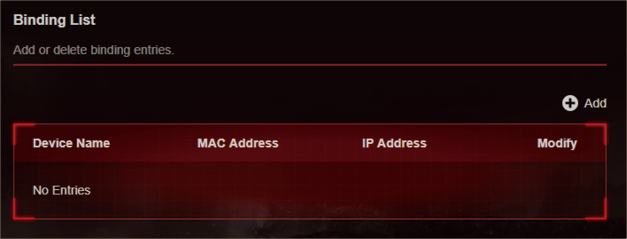
2 )Click VIEW CONNECTED DEVICES and select the device you want to bind. The MAC Address and IP Address fields will be automatically filled in.

3 )Click SAVE.
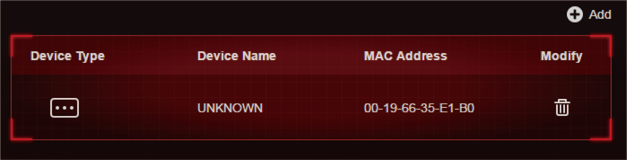
To bind the unconnected device:
1 )Click in the Binding List section.
2 )Enter the MAC Address and IP Address that you want to bind.
3 )Click SAVE.
Done!
Now you don’t need to worry about ARP spoofing and ARP attacks!