Archer VR300 V1.2 User Guide
- About This Guide
- Chapter 1 Get to Know Your Modem Router
- Chapter 2 Connect the Hardware
- Chapter 3 Log In to Your Modem Router
- Chapter 4 Set Up Internet Connections
- Chapter 5 TP-Link Cloud Service
- Chapter 6 IPTV
- Chapter 7 Guest Network
- Chapter 8 Parental Controls
- Chapter 9 Bandwidth Control
- Chapter 10 Network Security
- Chapter 11 NAT Forwarding
- Chapter 12 VPN Server
- Chapter 13 Specify Your Network Settings
- Chapter 14 Administrate Your Network
- Appendix: Troubleshooting
- Authentication
Chapter 4 Set Up Internet Connections
This chapter introduces how to connect your modem router to the internet. The modem router is equipped with a web-based Quick Setup wizard. It has many ISP information built in, automates many of the steps and verifies that those steps have been successfully completed. Furthermore, you can also set up an IPv6 connection if your ISP provides IPv6 service.
This chapter includes the following sections:
1.Visit http://tplinkmodem.net, and log in with your TP-Link ID or the password you set for the router.
2.Click Quick Setup on the top of the page. Then follow the step-by-step instructions to connect your router to the internet.
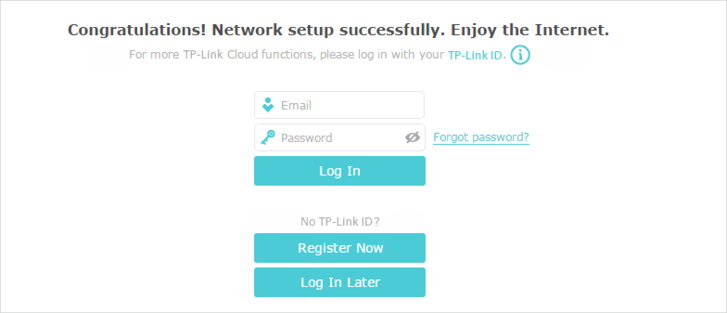
3.To enjoy a more complete service from TP-Link (remote management, TP-Link DDNS, etc.), log in with your TP-Link ID or click Register Now to get one. Then follow the instructions to bind the modem router to your TP-Link ID.
 Note:
Note:
1.To learn more about the TP-Link Cloud service, please refer to the TP-Link Cloud section.
2.If you do not want to register a TP-Link ID for now, you may click Log In Later to proceed.
3.If you have changed the preset wireless network name (SSID) and wireless password during the Quick Setup process, all your wireless devices must use the new SSID and password to connect to the router.
2. Manually Set Up an Internet Connection
1.Visit http://tplinkmodem.net, and log in with your TP-Link ID or the password you set for the router.
2.Go to Basic > Internet page. Select your ISP, and related information will be automatically filled in. For some ISPs, you may need to manually specify some information provided. If you can’t find your ISP in the ISP List, select Other and then enter the information provided by your ISP.
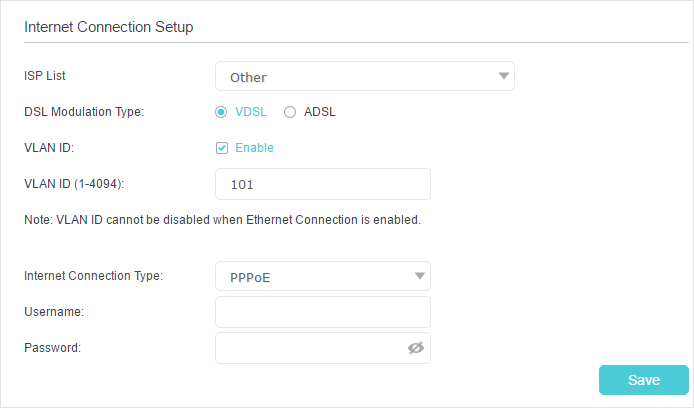
3.Click Save to make the settings effective, and you can refer to Test Internet Connectivity to test the internet connection.
 Tips: You can view and edit all internet connection settings on the Advanced > Network > Internet page.
After manually setting up the internet connection, you need to test the internet connectivity. The modem router provides a diagnostic tool to help you locate the source of any problems.
1.Visit http://tplinkmodem.net, and log in with your TP-Link ID or the password you set for the router.
2.Go to Advanced > System Tools > Diagnostics page.
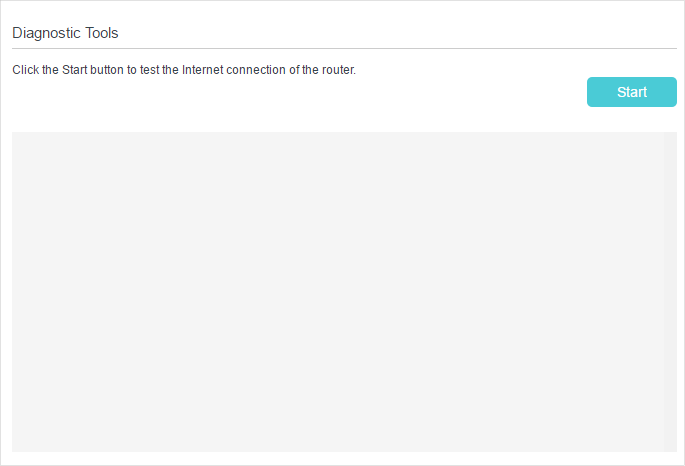
3.Click Start to test the internet connectivity and you will see the test result in the gray box.
If your ISP has provided a DSL line that supports IPv6 connection as well as some detailed IPv6 parameters, you can manually set up an IPv6 connection.
If your ISP provides an IPv4-only connection or IPv6 tunnel service, permit IPv6 connection by referring to Set Up the IPv6 Tunnel.
Follow the steps below to set up an IPv6 connection:
1.Make sure you have set up an IPv4 connection either manually or by using the Quick Setup wizard before setting up an IPv6 connection.
2.Visit http://tplinkmodem.net, and log in with your TP-Link ID or the password you set for the router.
3.Go to Advanced > Network > Internet page.
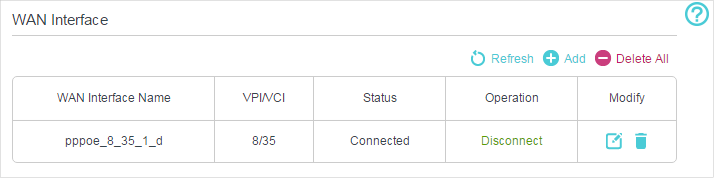
4.Select your WAN Interface Name (Status should be Connected) and click the  (Edit) icon.
5.Scroll down the page, enable IPv6, and configure the IPv6 parameters.
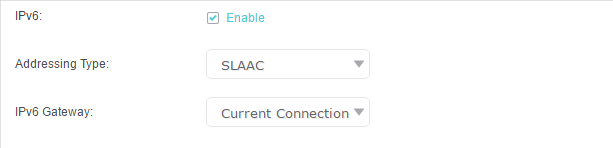
•Addressing Type: Consult your ISP for the addressing type (DHCPv6 or SLAAC). SLAAC is the most commonly used addressing type.
•IPv6 Gateway: Keep the default setting as Current Connection.
 Note: If your ISP has provided the IPv6 address, click Advanced to reveal more settings. Check to use IPv6 specified by ISP and enter the parameters provided by your ISP.
6.Click OK to make the settings effective. Now IPv6 service is available for your network.
If you already have a modem or your internet comes via an Ethernet jack on the wall, you can set up the modem router as a regular wireless router to share the internet.
1.Find the WAN port (labeled as LAN4/WAN) on the modem router, and connect it to your existing modem or the Ethernet jack on the wall. Then connect the power adapter and turn on the modem router. If you connect an existing modem, reboot it to get the modem router connected to the internet.
2.Connect your computer to the modem router. For details, refer to Connect Your Modem Router.
3.Visit http://tplinkmodem.net, and log in with your TP-Link ID or the password you set for the router.
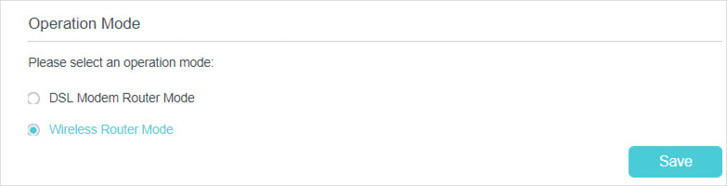
4.Go to Advanced > Operation Mode, select the Wireless Router Mode, and click Save. The modem router will reboot.
5.Go to Basic > Internet, select the Connection Type, and enter the information provided by your ISP.
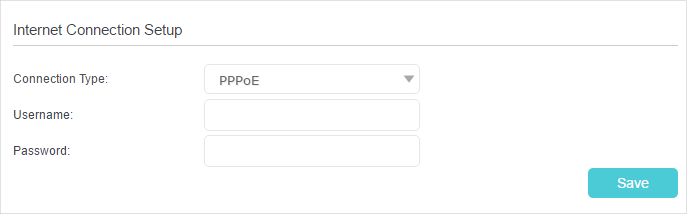
6.Click Save to make the settings effective.
Tips:
1.You can view and edit all internet connections on Advanced > Network > Internet page.
2.In the Wireless Router Mode, you can also permit IPv6 connection by setting up an IPv6 connection or the IPv6 tunnel just as in the DSL Modem Router Mode. For details, refer to Set Up an IPv6 Connection and Set Up the IPv6 Tunnel.