How to view TP-Link wireless IP camera via wireless
본 내용은 다음 항목에 적용됩니다:
If you can view the camera via Ethernet cable, but now you want to view it wirelessly, please refer to the following steps to do the configuration.
Step 1 Open the web browser and type the IP address of the IP camera (default is 192.168.1.10) into the address bar and then Press Enter.

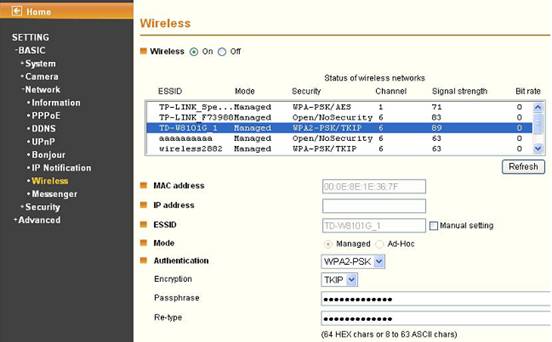
Step 2 Go to SETTING → BASIC → Network → Wireless.
Enable Wireless function first; check on
Click Refresh to search the available wireless AP. Highlight on your wireless router’s wireless name.Then fill in following content:
1. Select the corresponding authentication, encryption and type in the correct passphrase or password which should match with the wireless settings in your wireless router.
If you are not sure about the information,please contact with the Technical Support service of your wireless router’s company .
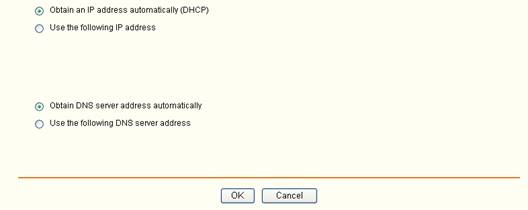
2. Select Obtain an IP address automatically (DHCP) and Obtain the DNS server addresses automatically, click OK.
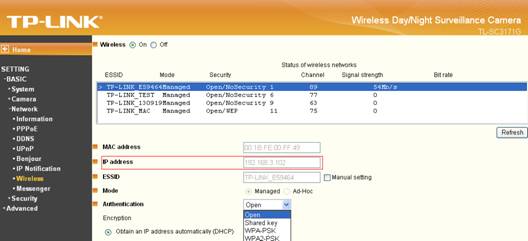
Step 3 Check the IP address assigned by the wireless router for wireless connection.
Method 1: You can see IP address comes up in the wireless setting page of the IP camera
Method 2: Use intelligent IP installer; a new IP address comes up in the list after the IP camera connect to the wireless router successfully.
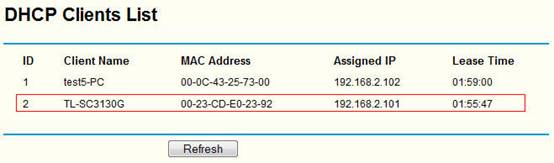
Method 3: check the DHCP clients list in the web management page of your wireless router.
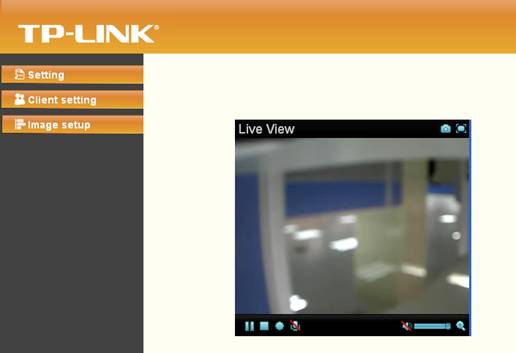
Step 4 View the camera wirelessly. Unplug the ethernet cable and connect your computer to the wireless router wirelessly, open the web browser and type the IP address you check in the last step into the address bar and then Press Enter, now you can surveillance the camera via wireless.
해당 FAQ가 유용했나요?
여러분의 의견은 사이트 개선을 위해 소중하게 사용됩니다.