How to Create and Invite Manager Accounts on VIGI Cloud VMS
Contents
Introduction
VIGI Cloud VMS supports multiple accounts for multi-level management. This article aims to introduce how to create management accounts in VIGI Cloud VMS. To add a manager account in VIGI Cloud VMS, you need to manually send invitation to a registered TP-Link ID, set its management permissions for the desired site, and then this TP-Link ID will become the manager account with specific management permissions for the site.
Requirements
- Laptop
- VIGI Camera/NVR
- Mobile Phone and VIGI APP
Configuration
Send Invitation
Step 1. Log in to the VIGI Cloud VMS web portal (https://vms.tplinkcloud.com/) and navigate to Admin > User.
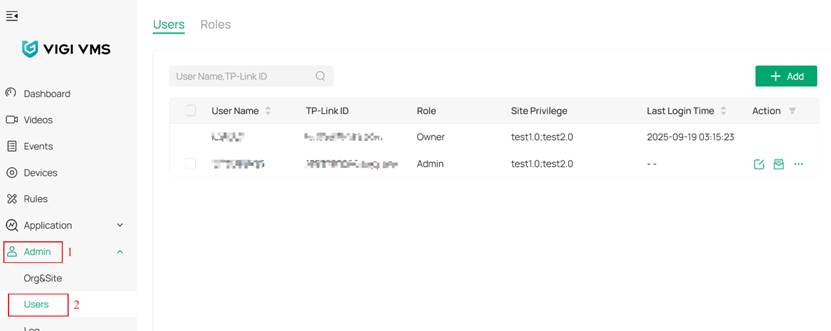
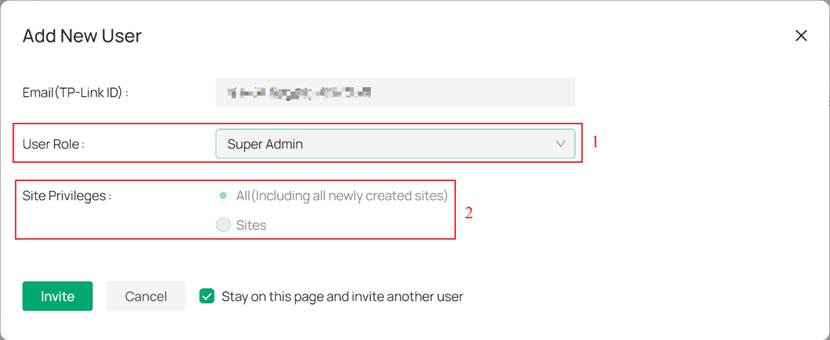
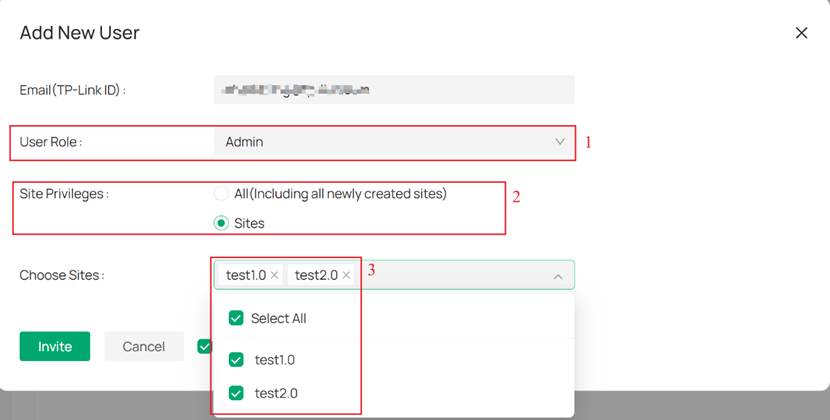
Step 2. Click Add, enter the invitee’s TP-Link ID and choose the User Role.
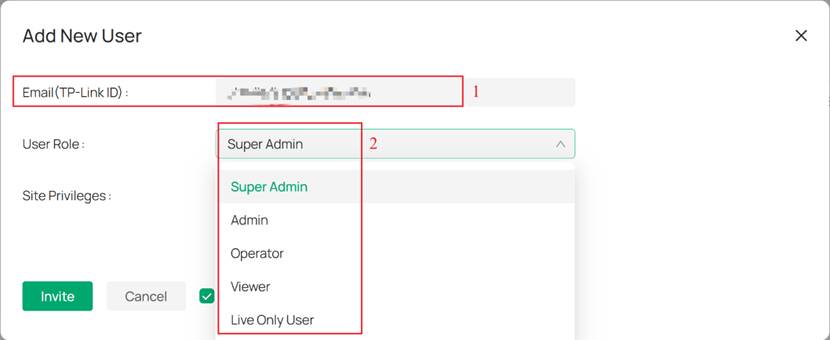
Note: There are currently five user roles available when inviting an manager account. The Super Admin role is equivalent to Owner permissions and cannot be configured with Site Privileges; by default, it has administrative access to all Sites. The other four roles can be assigned Site Privileges, allowing the invitee to grant access either to all Sites or to specific Sites only.
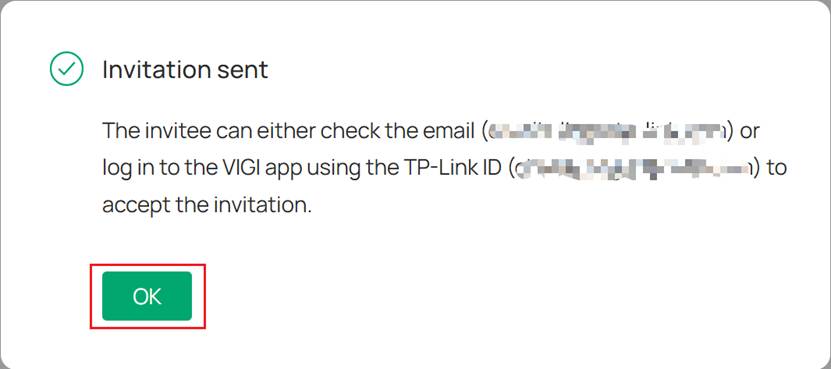
Step 3. Click Invite. A pop-up notifies that the invitation has been completed. Click OK.
Note: The invitation is valid for 7 Day
Accept the invitation
There are two methods to accept the invitation: Email, VIGI APP and VIGI Cloud VMS web portal.
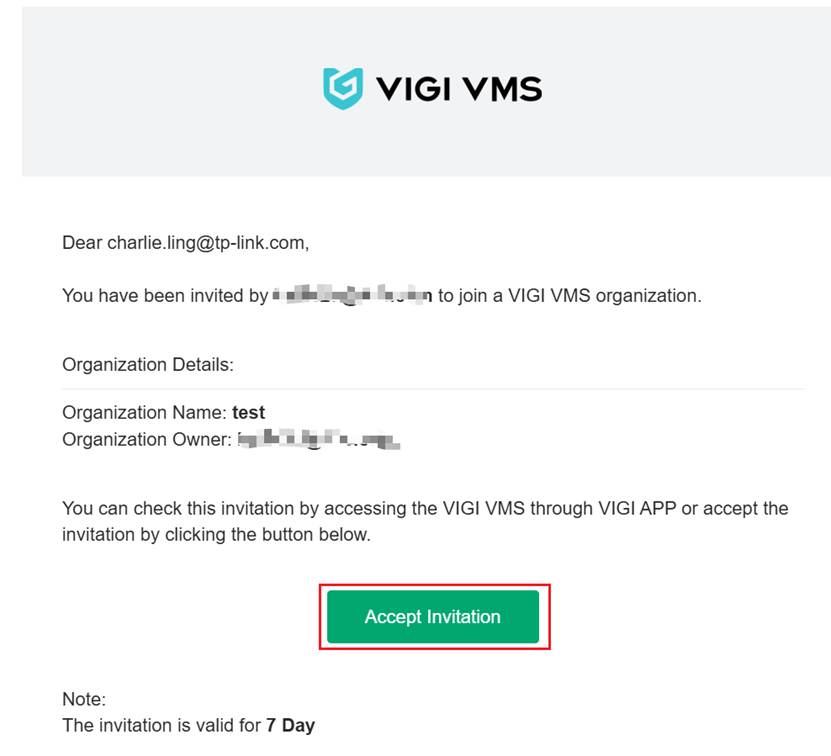
Step 1. The invitee should go to the email box to check the email and Click the Accept Invitation.
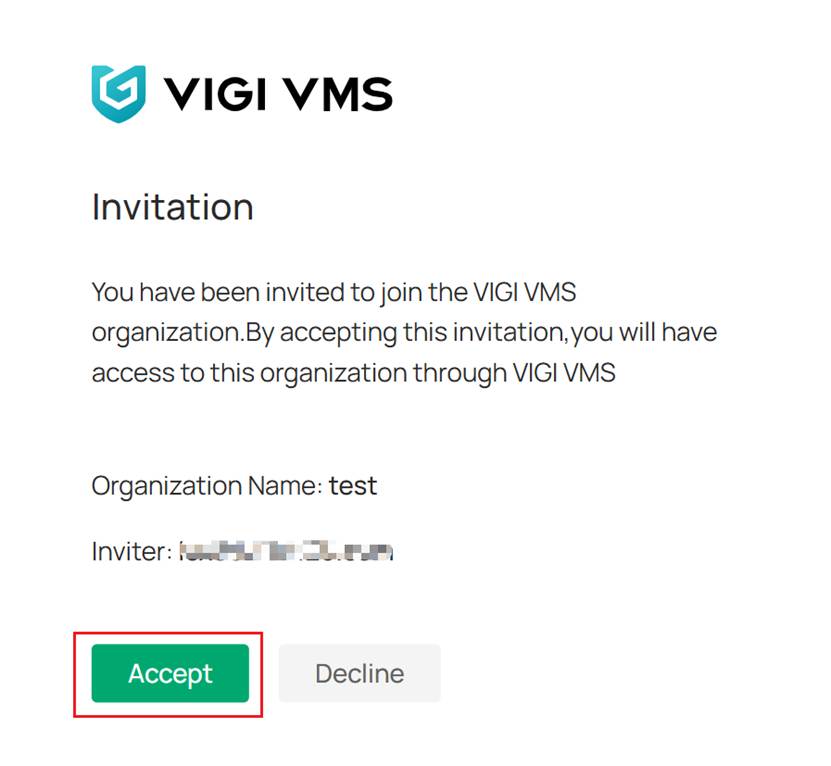
Step 2. You will be redirected to the browser page, click Accept.
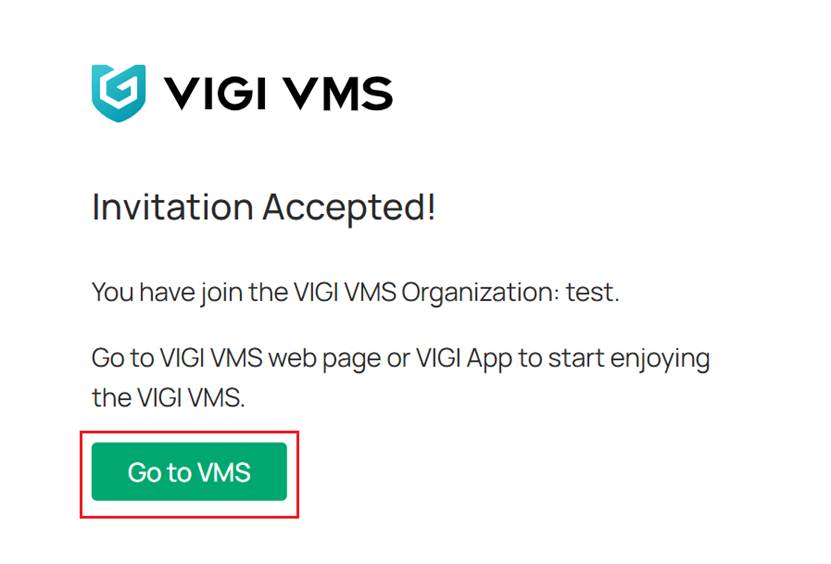
Step 3. The page indicates that the invitation has been accepted. Click Go to VMS.
Step 4. The page will be redirected to the VIGI Cloud VMS login page.
VIGI APP
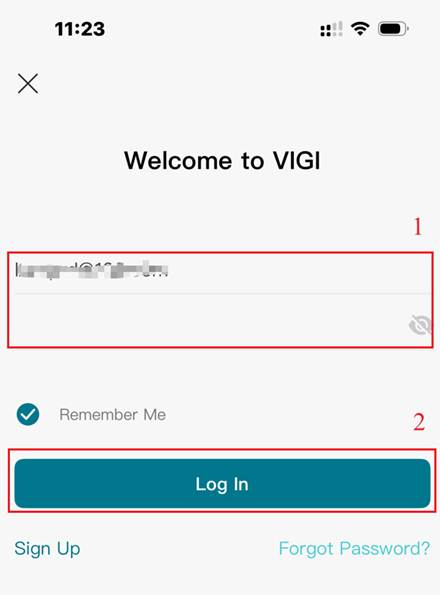
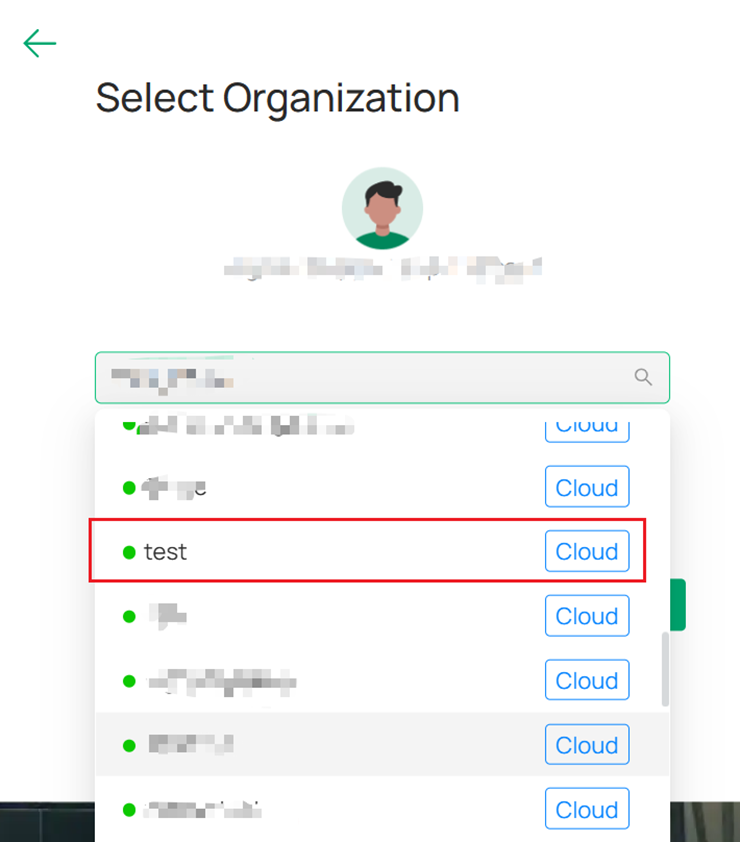
Step 1. Open VIGI APP, invitee needs to log in using the invited account. When selecting an organization, any organization can be chosen. This document uses “My VIGI” as an example.
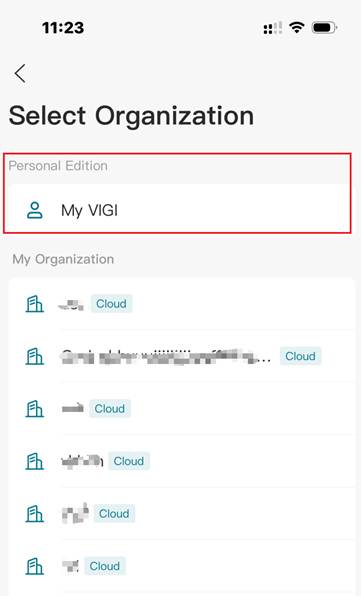
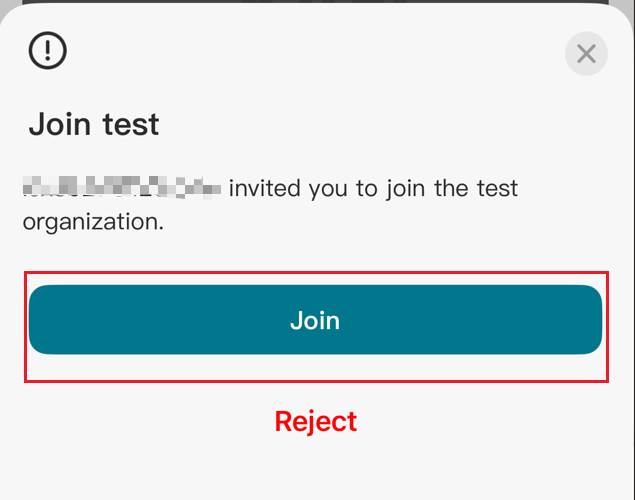
Step 2. Click the three horizontal lines icon at the top left, then click the Organization to join.
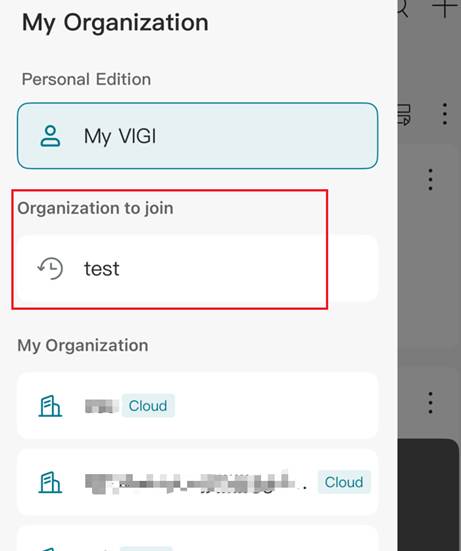
Step 3. Click Join in the pop-up window.
VIGI Cloud VMS web portal
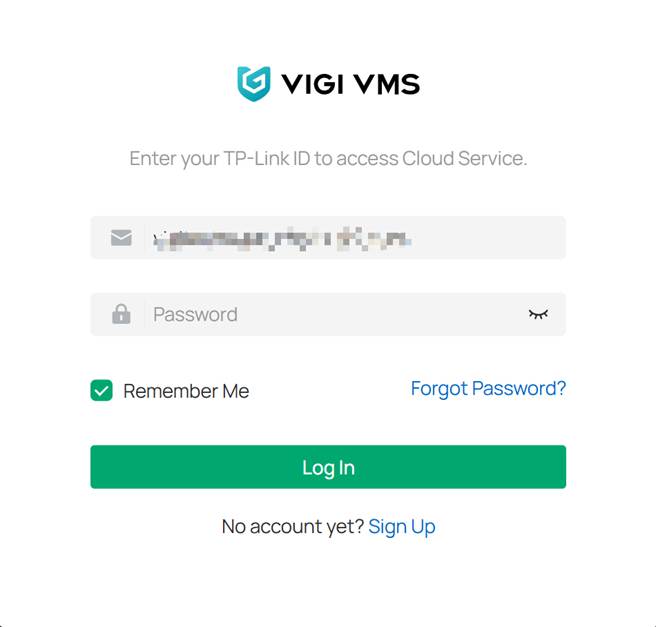
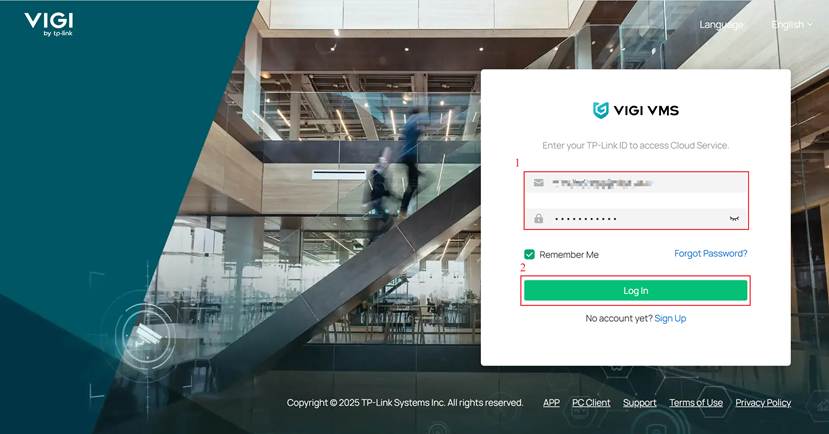
Step 1. In VIGI Cloud VMS login page, enter the invited account and password, click Log in.
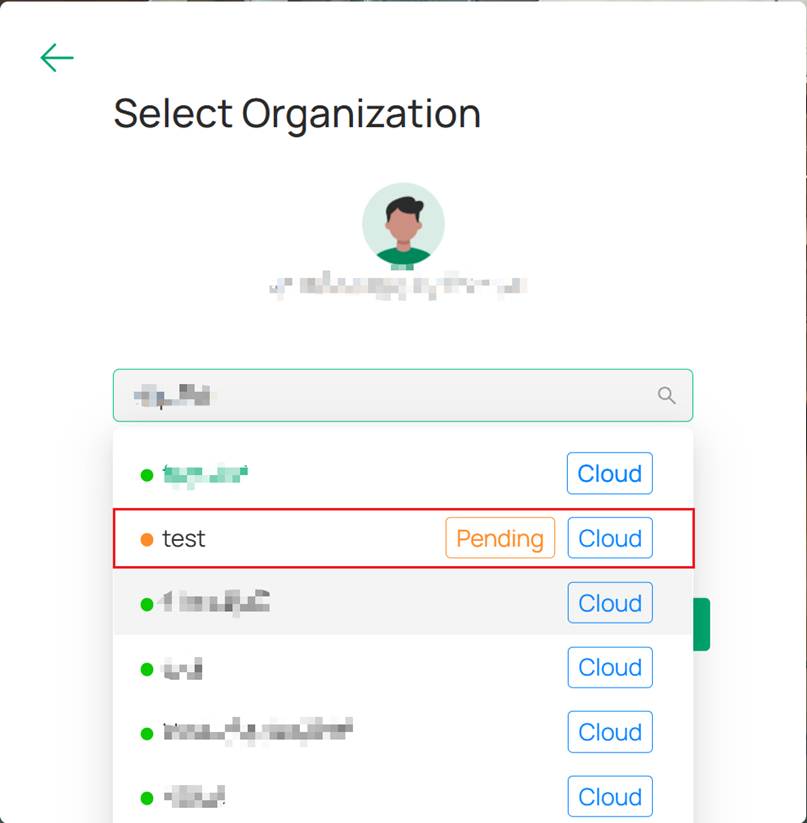
Step 2. Click the invited organization.
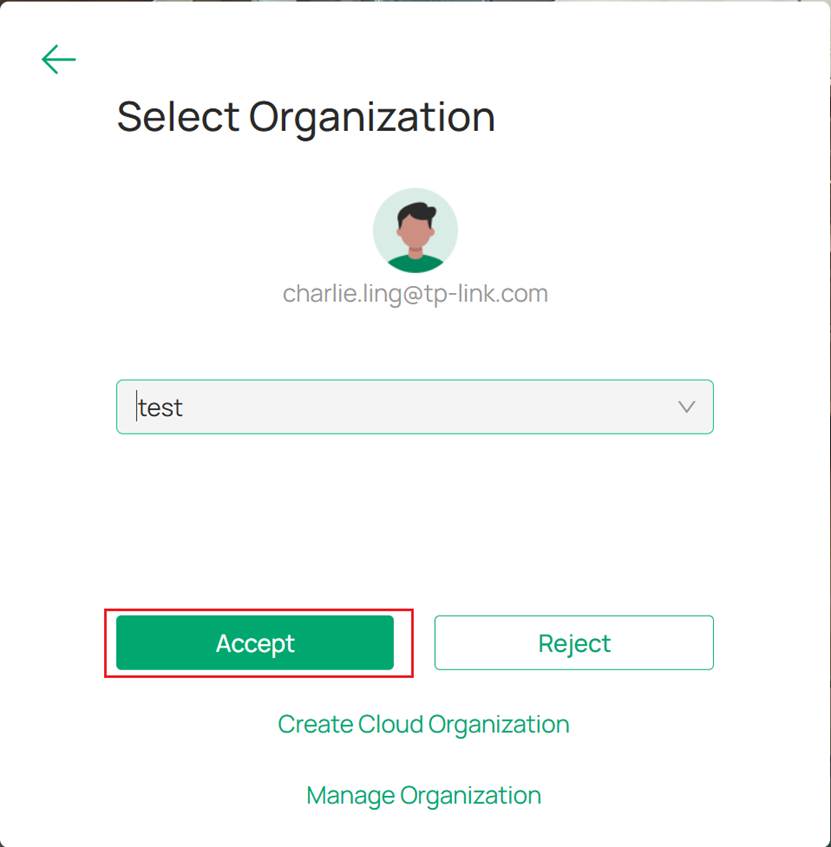
Step 3. Click Accept.
Verification
Step 1. Log in to the VIGI Cloud VMS web portal (https://vms.tplinkcloud.com/) with the invited account. When selecting an organization, verify whether the recently invited organization is available.
VIGI APP
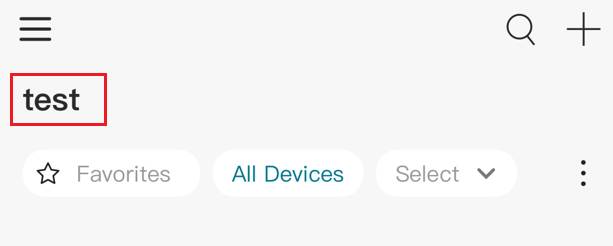
Step 1. When you click Join in the VIGI APP, it will automatically switch to the invited organization.
VIGI Cloud VMS web portal
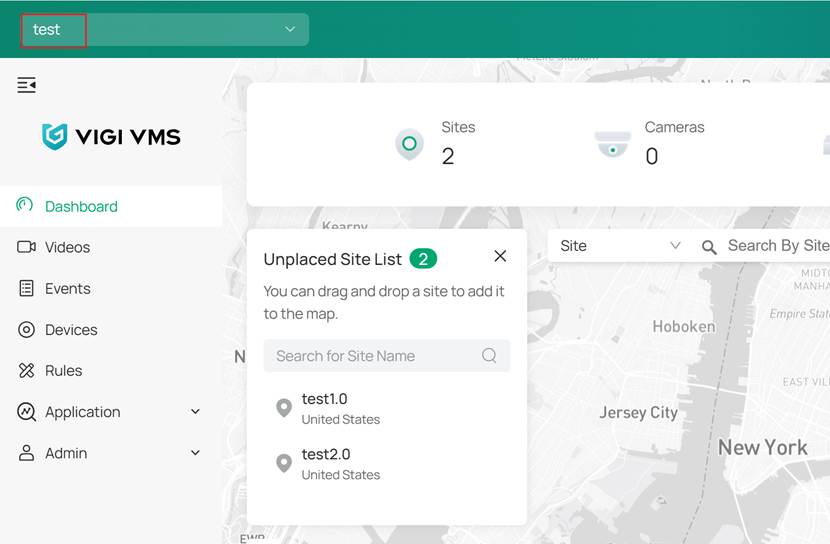
Step 1. When you click Accept in the VIGI Cloud VMS web portal, you will be automatically logged into the invited organization on the VIGI Cloud VMS web portal.
Conclusion
You have now successfully added a new account to the VIGI Cloud VMS.
Get to know more details of each function and configuration please go to Download Center to download the manual of your product.
Finden Sie diese FAQ hilfreich?
Mit Ihrer Rückmeldung tragen Sie dazu bei, dass wir unsere Webpräsenz verbessern.

Von United States?
Erhalten Sie Produkte, Events und Leistungen speziell für Ihre Region