How to Link your TP-Link Router to Google Assistant
This Guide will walk you through the steps of connecting your TP-Link router account to your Google Assistant via the Google Assistant smartphone app. If you have not yet set up your TP-Link Cloud account click here. Please click here to see which model supports to work with Google Assistant.
Step 1: Open the Google Assistant App
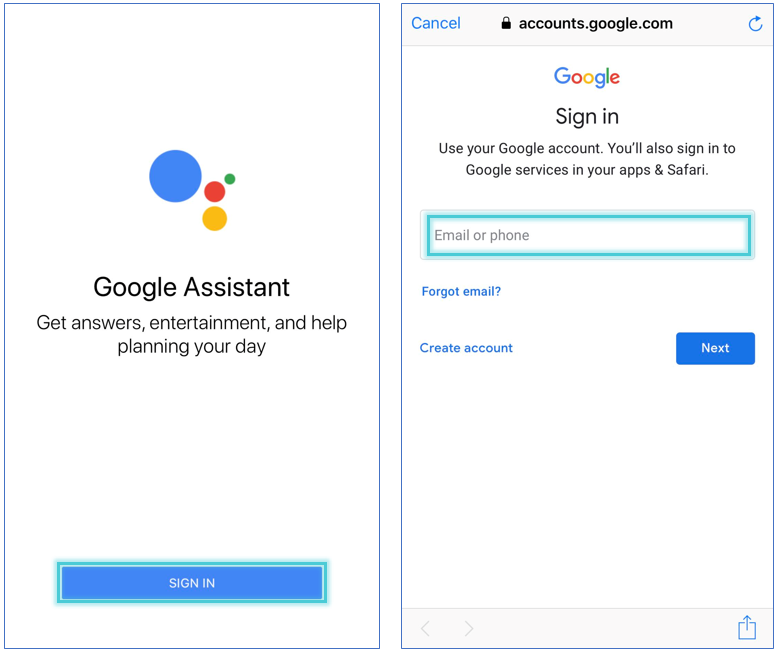
Step 2: Tap SIGN IN and sign in with your Google account.
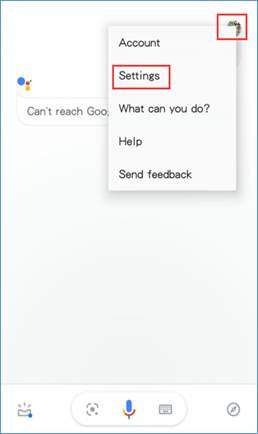
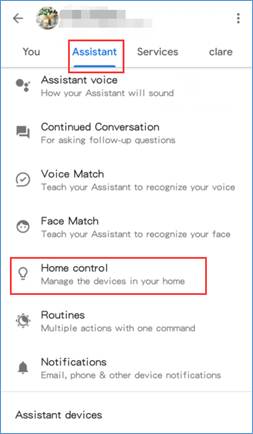
Step 3: In the upper right corner tap the "circle" button, click on “Settings”, then tap “Assistant”.
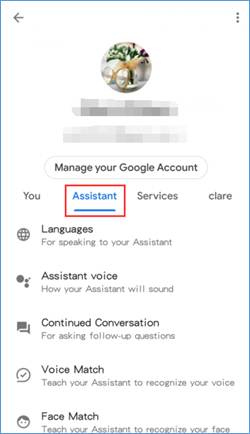
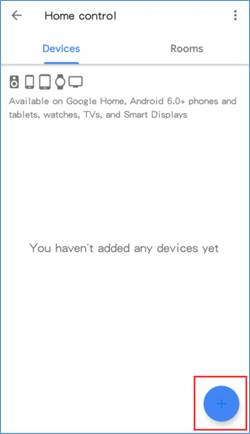
Step 4: Find “Home Control” under “Assistant”, click on it. Then tap the “Plus” icon.
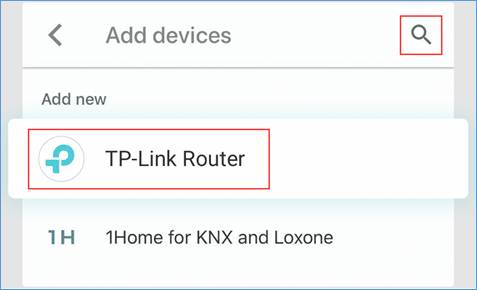
Step 5: Click the "glass" icon and type in "TP-Link Router". Then tap the searched "TP-Link Router".
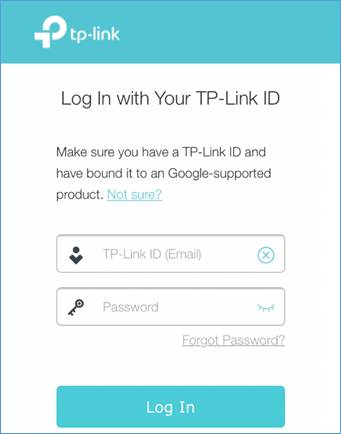
Step 6: Log into your TP-Link account.
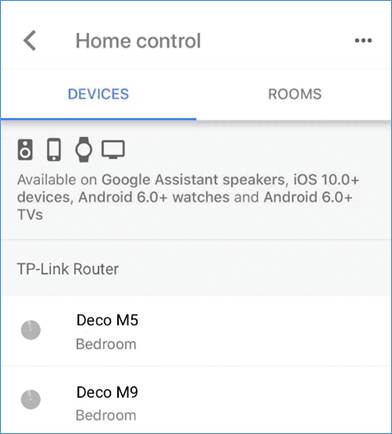
Step 7: Now you can control your router through Google Assistant.
Note:
- More TP-Link router will support Google Assistant via firmware updates in the future.
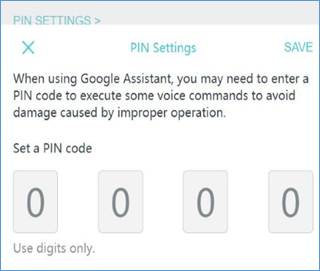
- When using Google Assistant, you may need to enter a PIN code to execute some voice commands to avoid damage caused by improper operation, such as firmware update and change operation mode.
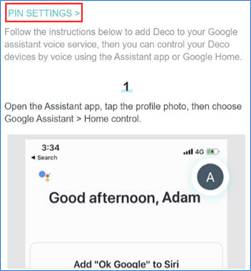
- On the Deco app, you can click on the three lines icon at the top left corner, then click on Friends of Deco>Google Assistant>PIN Settings to set a PIN code.
Please click here if you want to know how to control the TP-Link router with Google Assistant.
Is this faq useful?
Your feedback helps improve this site.

TP-Link Community
Still need help? Search for answers, ask questions, and get help from TP-Link experts and other users around the world.