如何使用 VIGI PC Client 發現並新增設備
這篇文章適用於:
目錄
簡介
本 FAQ 說明如何使用 VIGI PC Client,在 My VIGI 組織中發現並新增設備。
需求
- 已安裝 VIGI PC Client v2.0.55 或以上版本的電腦
- VIGI 設備
設定
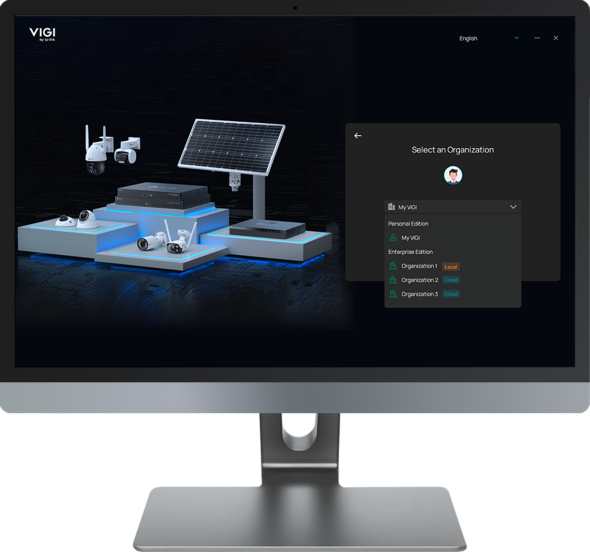
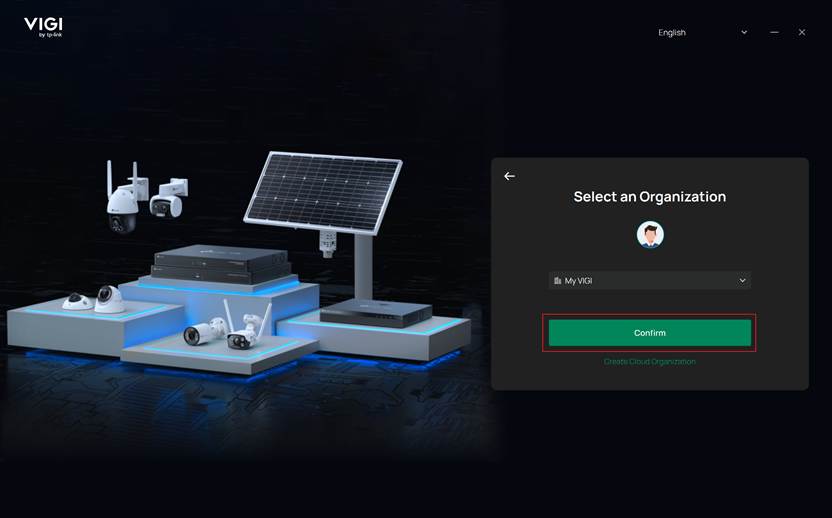
步驟 1. 安裝並執行 VIGI PC Client,輸入您的 TP-Link ID 與密碼。在選擇組織時,請選擇 My VIGI 以進入個人版 VIGI。
步驟 2. 在首頁中共有五個模組,其中 Live View、Playback 與 Device 模組皆支援設備發現與新增。本 FAQ 將以 Live View 模組作為示範說明。
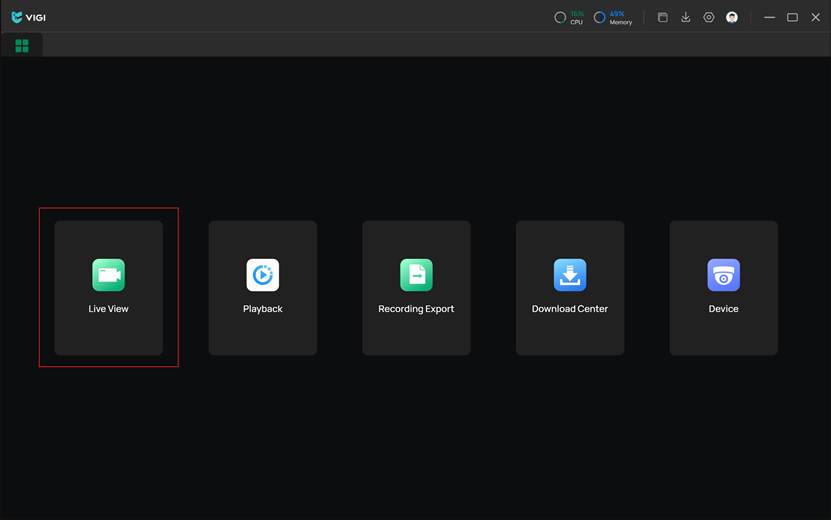
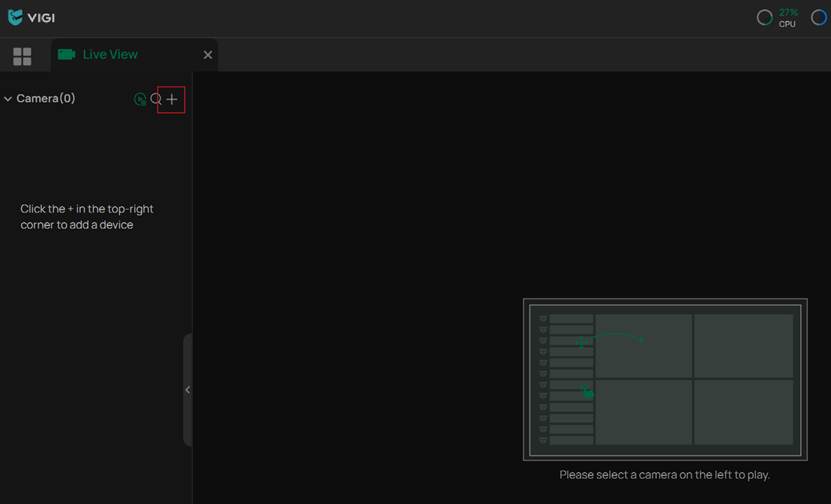
步驟 3. 點擊 Live View,接著點擊左側攝影機清單上方的「+」圖示,以開啟新增設備視窗。
步驟 4. 您可以透過兩種方式發現並新增設備:
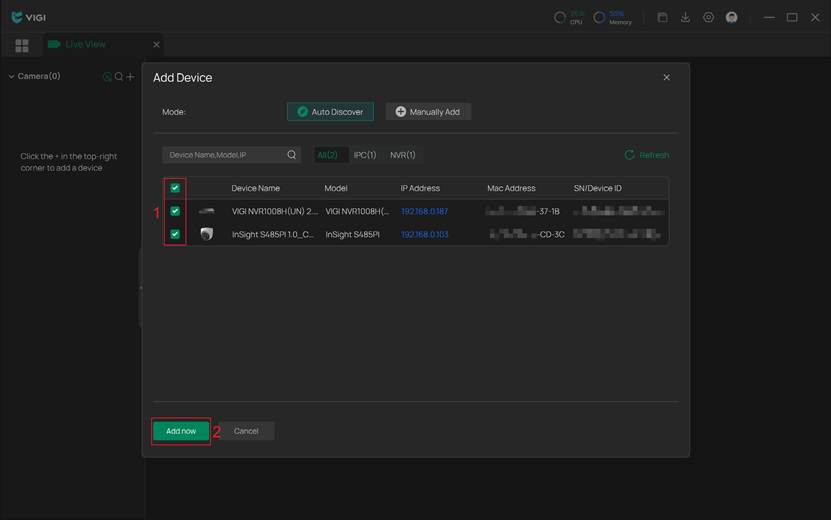
第一種為 自動搜尋(Auto Discover)。VIGI PC Client 會自動掃描並顯示與電腦位於同一網路中的 VIGI 設備。您可於此選取多個設備進行批次新增。
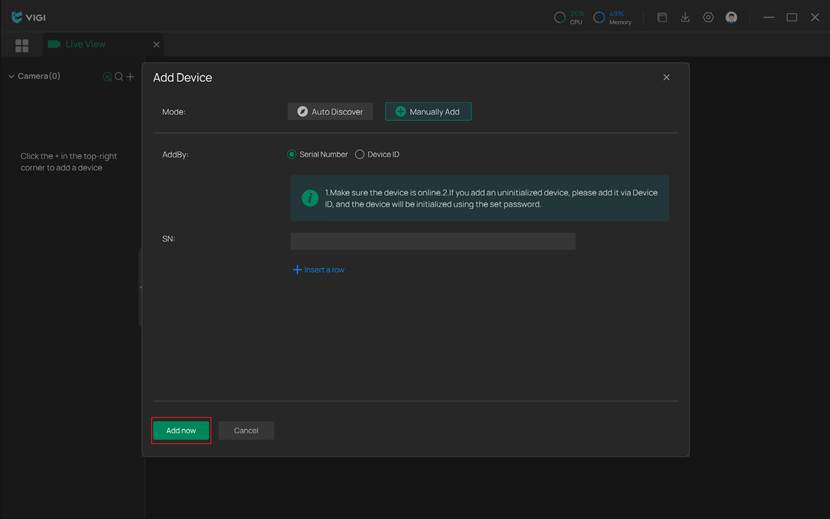
第二種為 手動新增(Manually Add)。請確認欲新增的設備皆已連接至網際網路。接著可手動輸入設備的 序號(Serial Number) 或 設備 ID(Device ID),這些資訊可於設備標籤上找到。
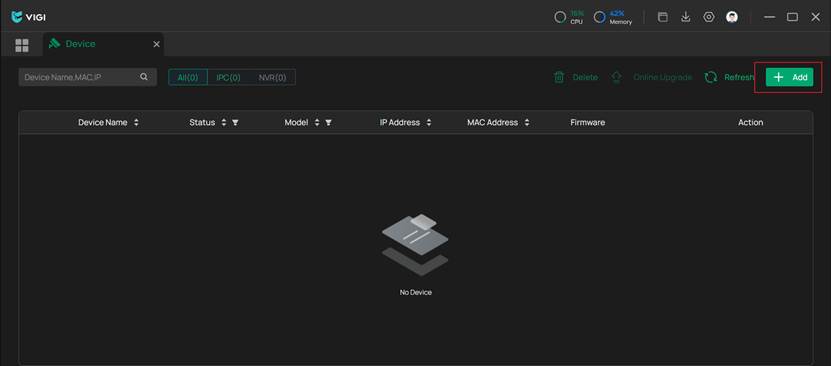
步驟 5.(選用)您亦可於 Playback 或 Device 模組中新增設備,新增按鈕位置如下圖所示。

結論
至此,您已成功透過 VIGI PC Client,在 VIGI 組織中完成設備的發現與新增。
如需了解更多功能與設定細節,請前往 Download Center 下載產品使用手冊。
這篇faq是否有用?
您的反饋將幫助我們改善網站