How to use NVR IPv6
Contents
Introduction
Requirements
- VIGI Camera/NVR
- USB Type-C docking station with an RJ45 Interface
- Mobile Phone and VIGI APP
Configuration
Obtain NVR IPv6 address
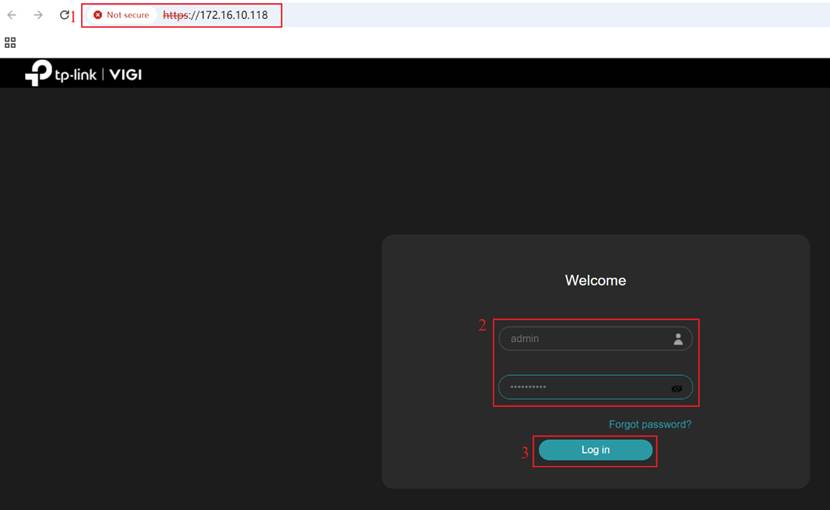
Step 1. Log in NVR’s web interface with its’ IP address. Enter the Username and Password, click Log in.
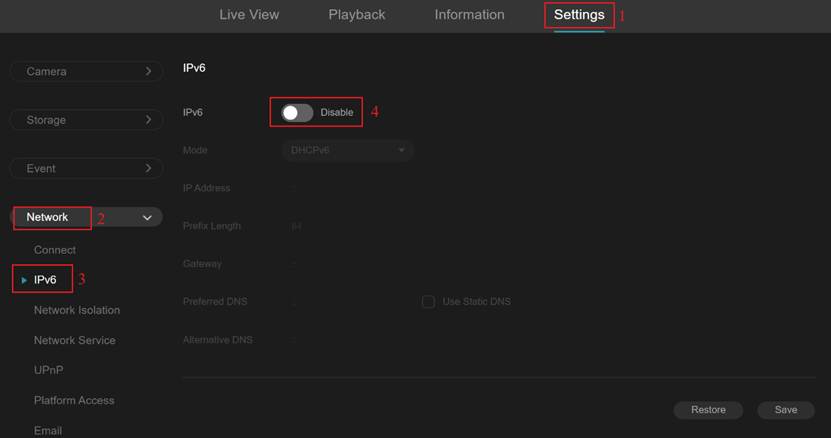
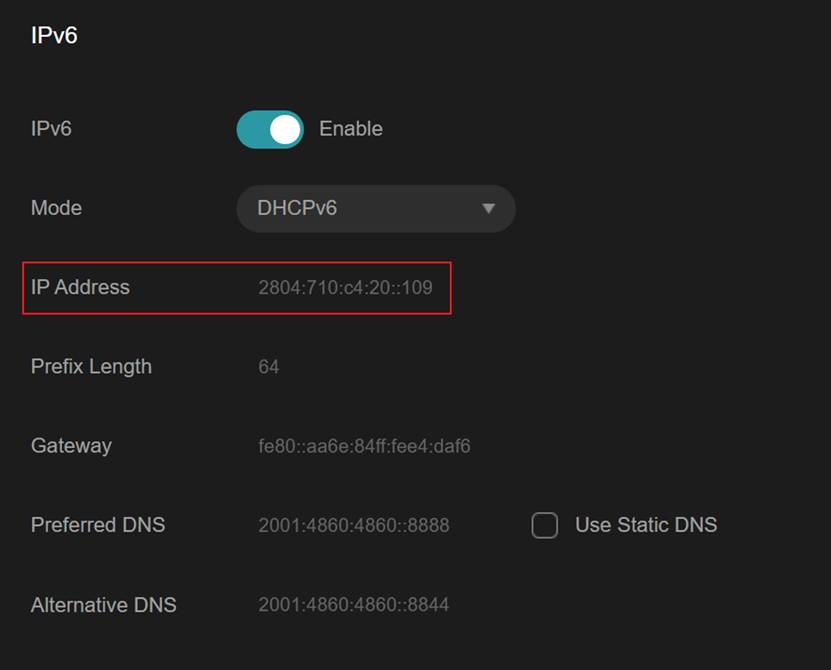
Step 2. Navigate to Settings > Network > IPv6. Enable the IPv6 feature of this device.
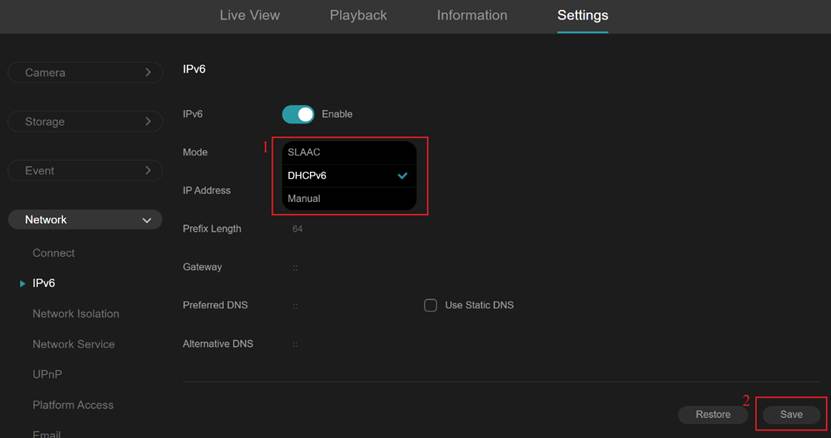
Step 3. It is recommended to select DHCPv6 mode to obtain IPv6 address. Then click Save. Notes: If you select SLAAC mode, you need to check the Use Static DNS option and set the corresponding DNS address.
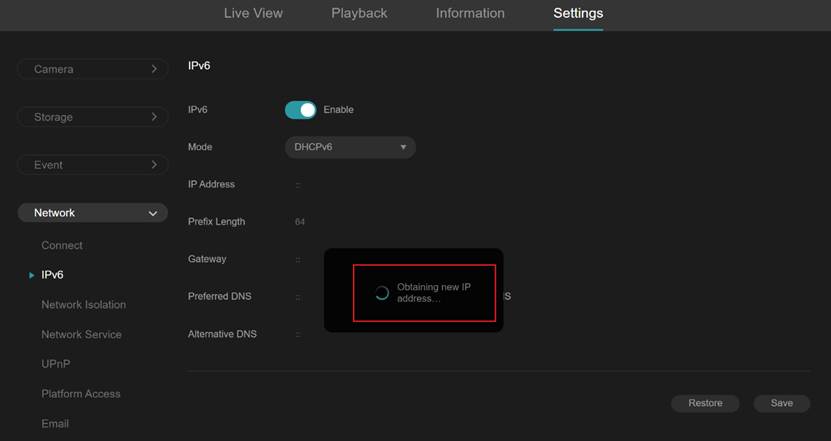
Step 4. The NVR will automatically request an IPv6 address from the upstream gateway that provides DHCP services.
Notes: This page needs to wait for upstream allocation of IPv6 address, which is expected to take a few seconds.
Use of IPv6 in NVR
Step 1. Copy the IPv6 address obtained in the previous step.
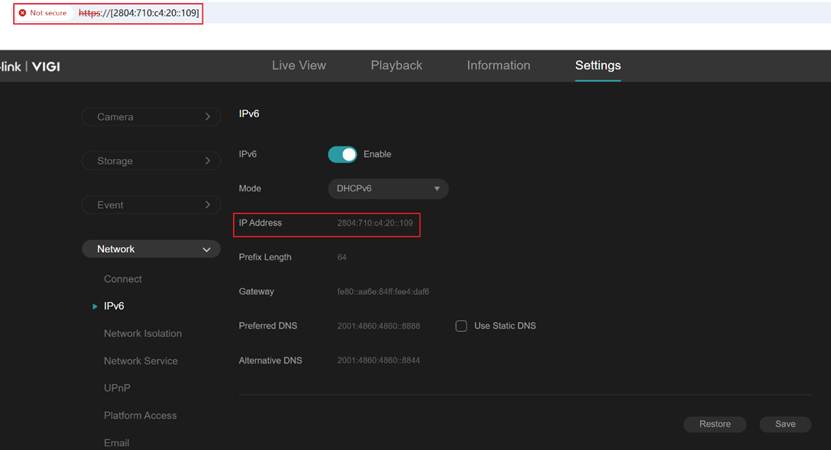
Step 2. Access the NVR’s web interface in the browser by entering the IPv6 address in the [IPv6 address] format. Then enter the username and password, and click Log in.
Notes: If you change the default port number, you need to access the NVR through the [IPv6 address]: port format.

Verification
Step 1. Navigate to Settings > Network > IPv6. Compare the IPv6 address shown in the function bar with the one displayed in the top-left corner.
Conclusion
You have successfully logged into the NVR web interface using the IPv6 address, and you can now perform various configuration changes.
Get to know more details of each function and configuration please go to Download Center | TP-Link to download the manual of your product.
這篇faq是否有用?
您的反饋將幫助我們改善網站


