How to Connect the TP-Link Deco Mesh System to an Existing Router
The TP-Link Deco mesh system can work alongside your existing router to extend your home's Wi-Fi coverage. This guide walks you through the TP-Link Deco setup with your existing router, covering both operation modes. Deco supports two operating modes: Router Mode and Access Point Mode. The mode you choose determines how Deco interacts with your current network. Access Point Mode is typically used when you want to keep your existing router managing network functions. Router Mode is used when you want Deco to take over as the primary router.
Key Takeaways
- Connect one Deco unit to your existing router using an Ethernet cable, then complete setup using the TP-Link Deco app.
- Deco supports two operation modes: Router Mode and Access Point Mode. Access Point Mode is typically recommended when you want to add mesh to your existing router without replacing it.
- In Router Mode, only the main Deco unit should connect to the existing router directly. Connecting more than one Deco unit to the router in this mode can cause a network loop.
- In Access Point Mode, more than one Deco unit can connect directly to the existing router.
- After the main Deco is set up, additional Deco units can be added to expand the mesh network.
Understanding the Two Connection Structures
There are two ways to connect mesh to your router. See the topology diagrams below for a visual overview.
Topology 1:

Topology 2 (Access Point Mode):

As Deco supports 2 operation modes, Wireless Router mode and Access Point mode.
When Deco works in Wireless Router mode, please connect the main Deco to the existing router directly, or it will cause a network loop.
When Deco works in Access Point mode, it is allowed to connect more than one Deco unit to the existing router directly. For a detailed breakdown of the feature differences between the two modes, see Access Point Mode vs. Router Mode on Deco.
You can change the operation mode after setting up the Deco network.
Before You Start
Before beginning setup, take care of the following:
- Disable Power-Saving mode on your phone to ensure the setup process runs without interruption.
- If your phone runs iOS 14 or above, enabling Local Network access is required to complete the setup process.
- This guide explains how to set up mesh Wi-Fi with your existing router, whether you have a modem router, a router, or a bridge modem.
Note: Features available in Deco may vary by model and software version. The steps and images in this guide are examples based on the Deco X60 and may not match your exact experience.
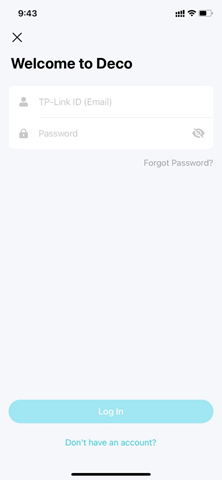
Step 1: Download the Deco App and Log In
Download the Deco app from Google Play or the App Store and install it on your Android or iOS smartphone or tablet.

Open the app and log in with your TP-Link ID. If you do not have an account, tap Don't have an account? to sign up. If you have forgotten your password, tap Forgot Password? to reset it.
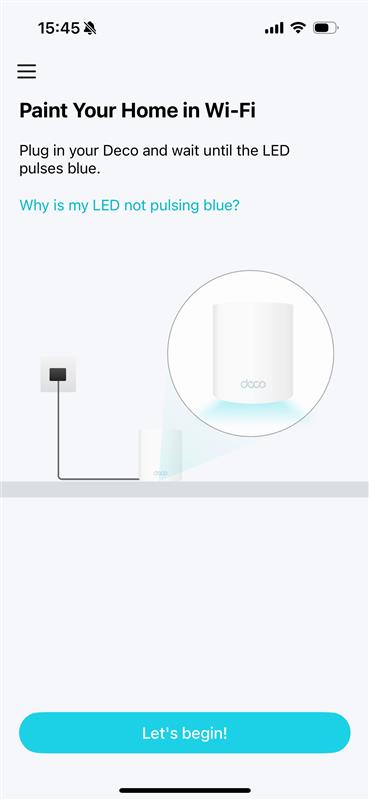
Step 2: Pair the Deco with Your Phone
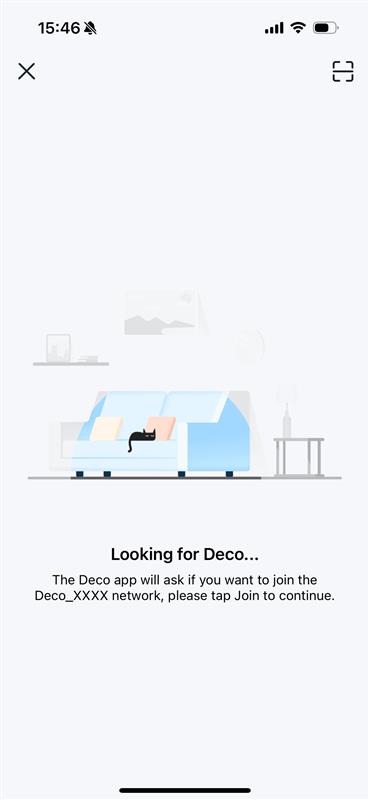
Plug in your Deco and wait until your Deco's LED pulses blue, then tap Let's begin. Your phone/tablet will automatically connect to the Deco's default Wi-Fi.
Note:
- If your phone/tablet didn't connect to Deco's Wi-Fi automatically, you can find the default SSID (Deco_XXXX) printed on the product label and connect to it manually.
- If the LED is not pulsing blue, press the RESET on Deco for one second, and the LED will turn to yellow. Just wait for about 2 minutes until the LED turns to pulsing blue and goes on.
- For some models, you can turn on Bluetooth on your phone/tablet in advance for a quicker setup.
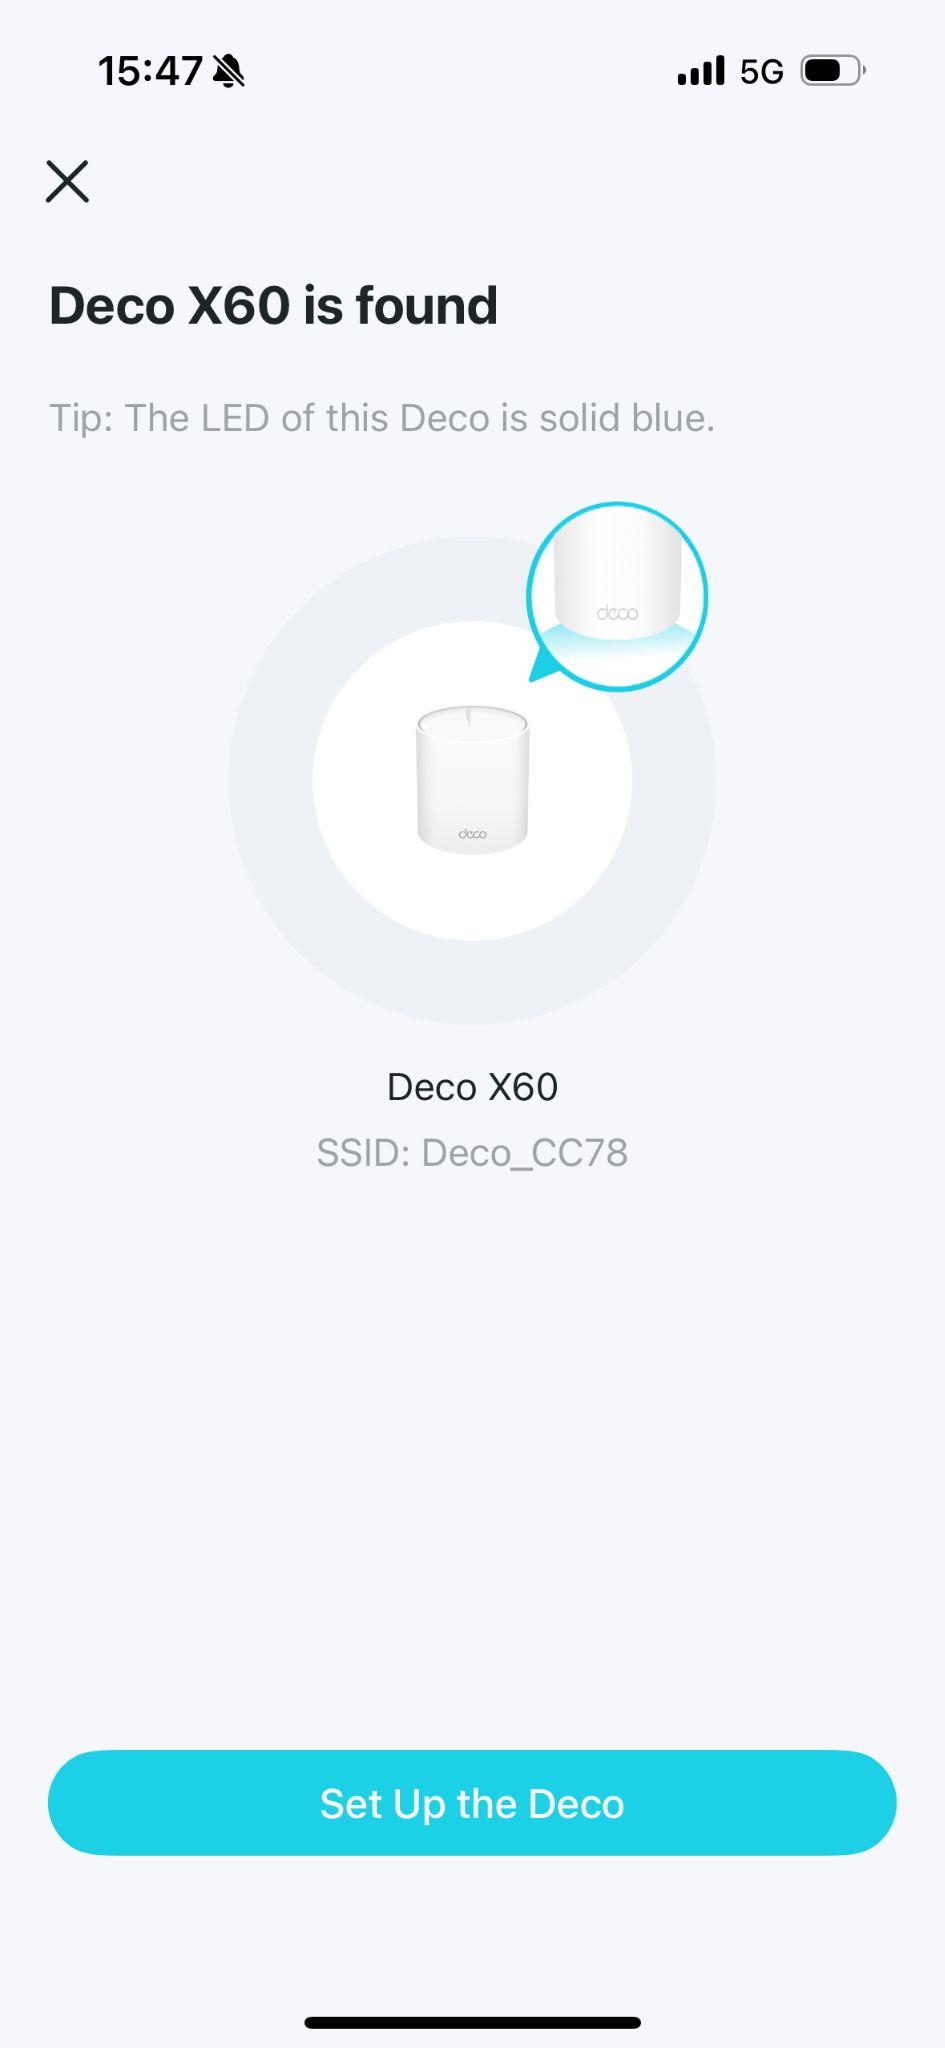
Step 3: Start Setup
Tap Set Up The Deco.
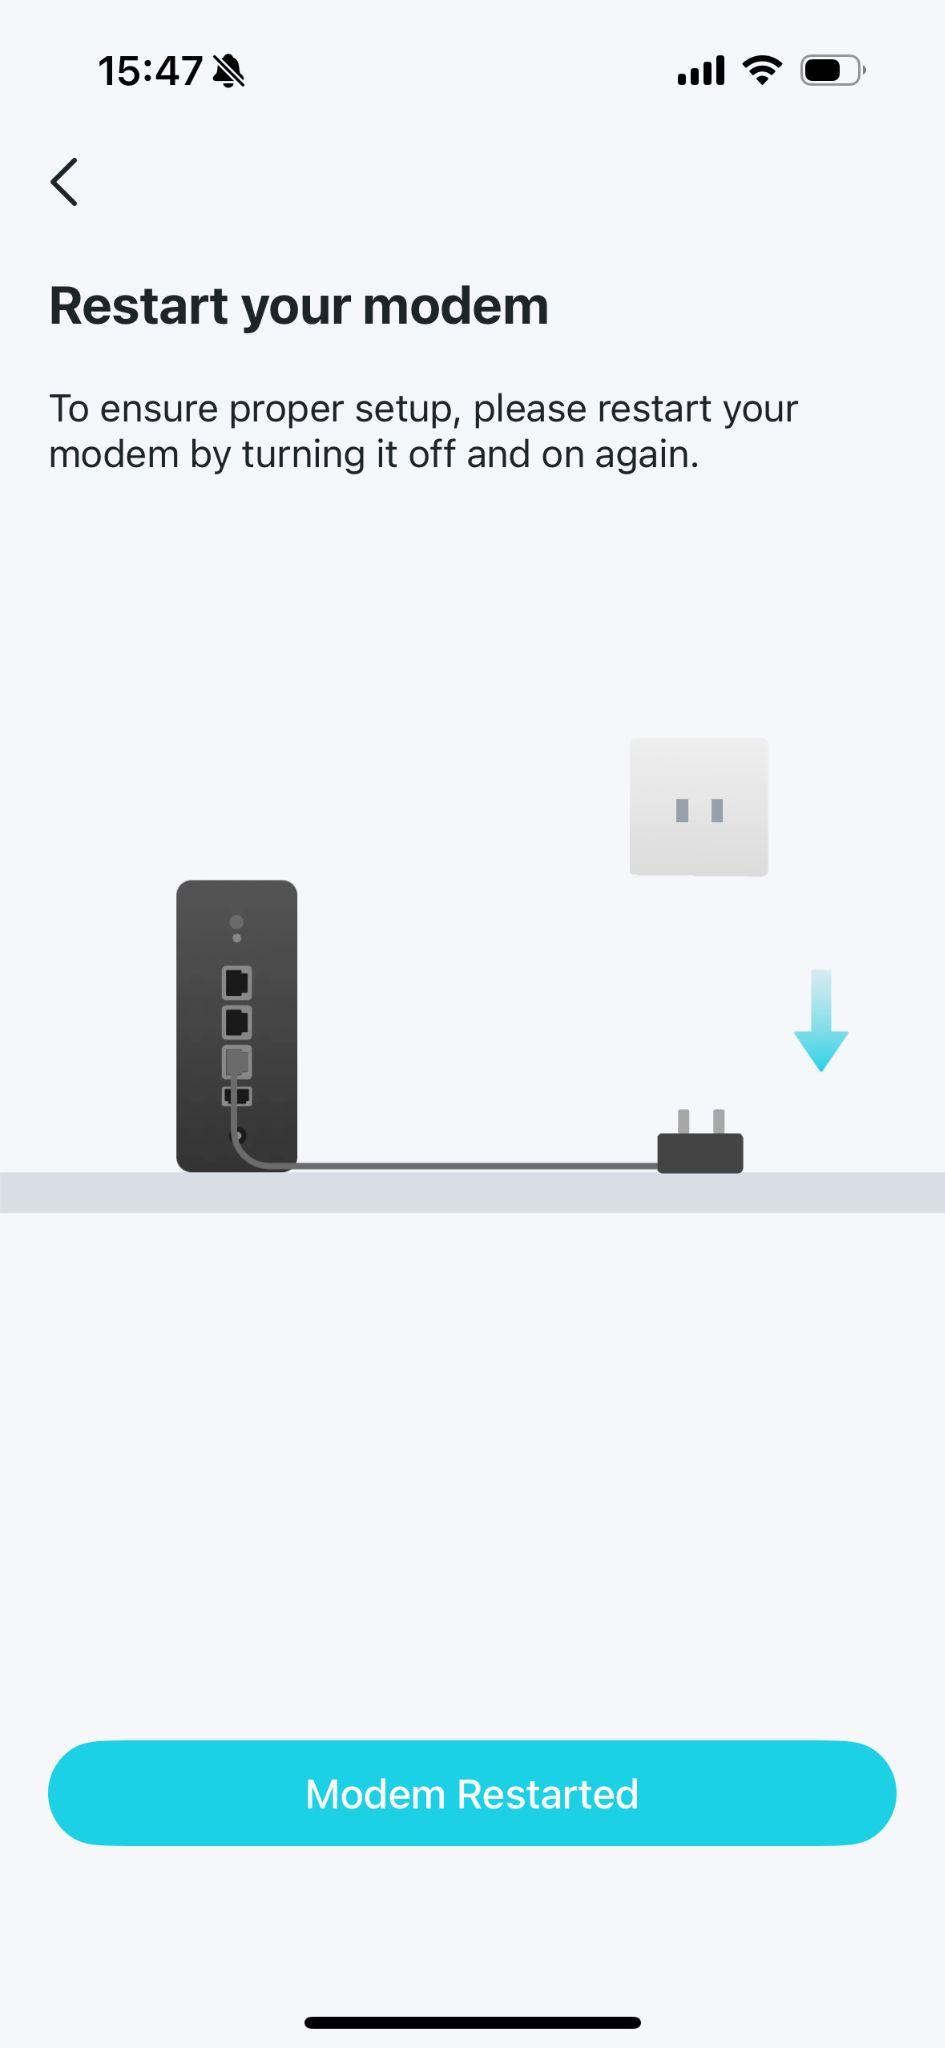
Step 4: Connect Deco to Modem
If you have a modem, power off your modem. Connect one of the Ethernet ports of your Deco to the modem and power it on.
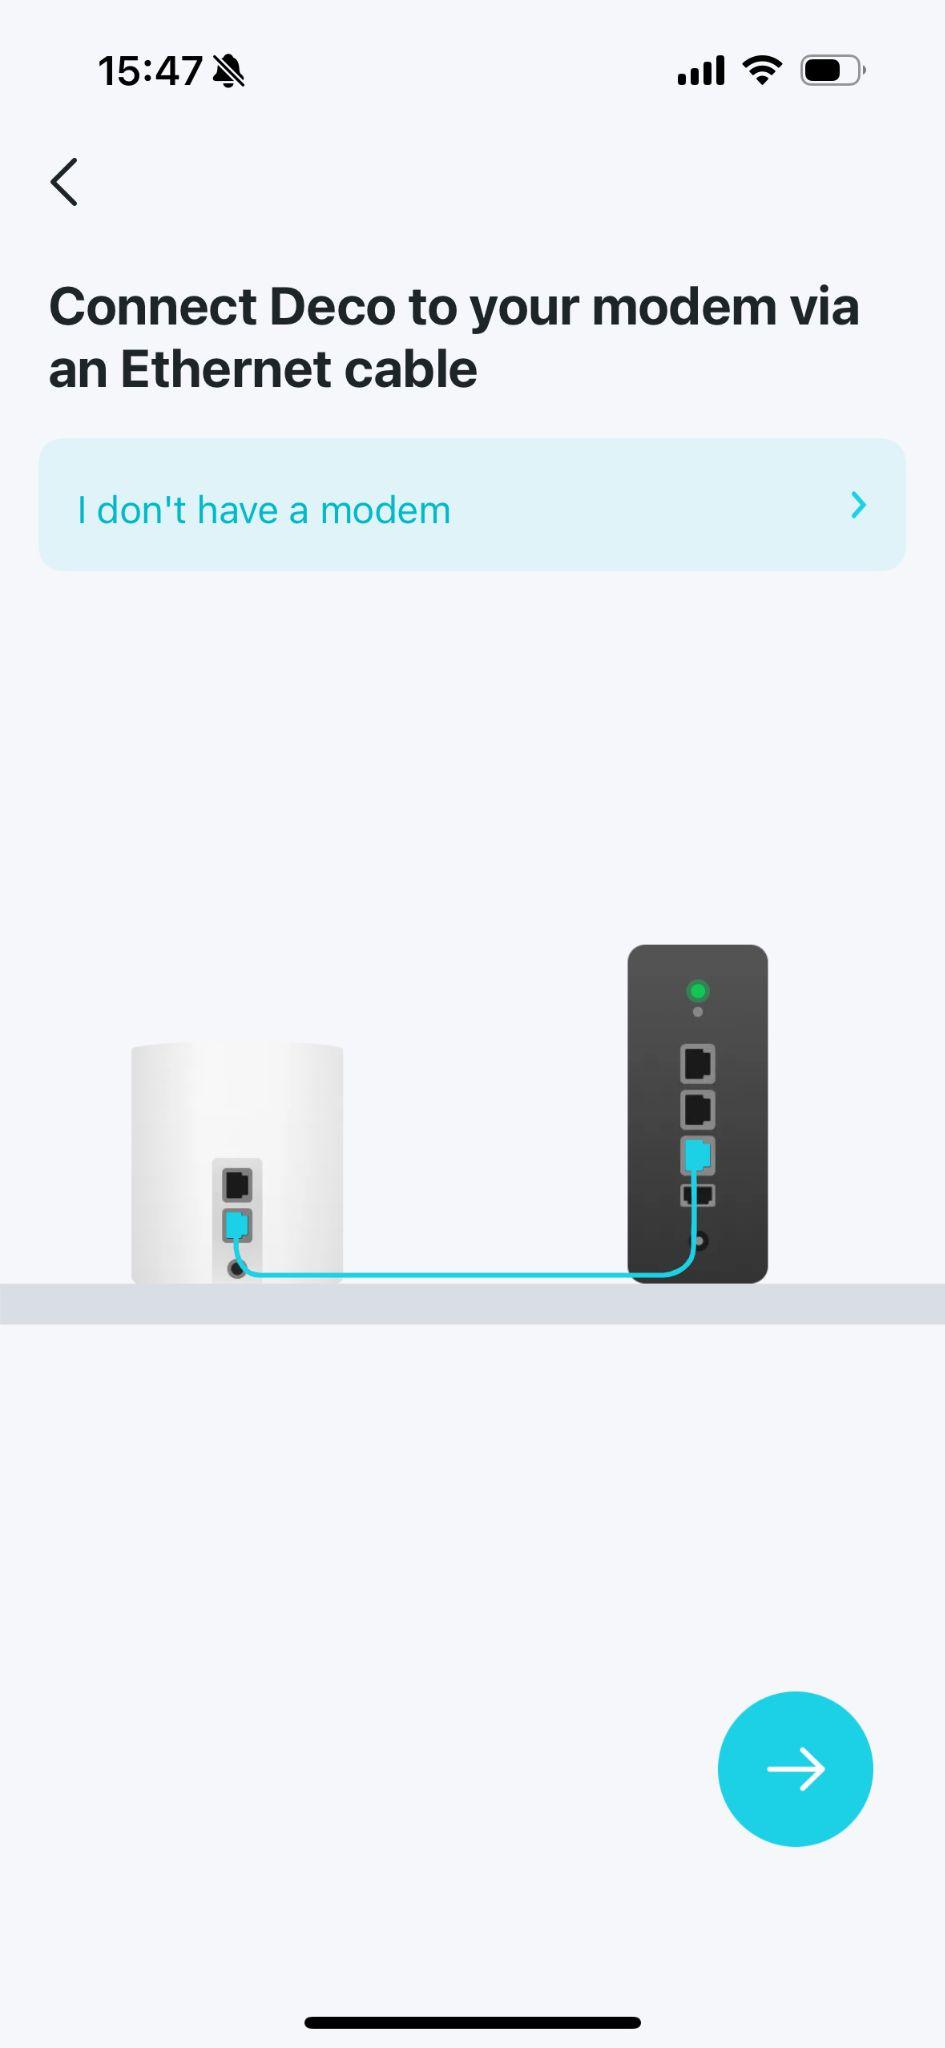
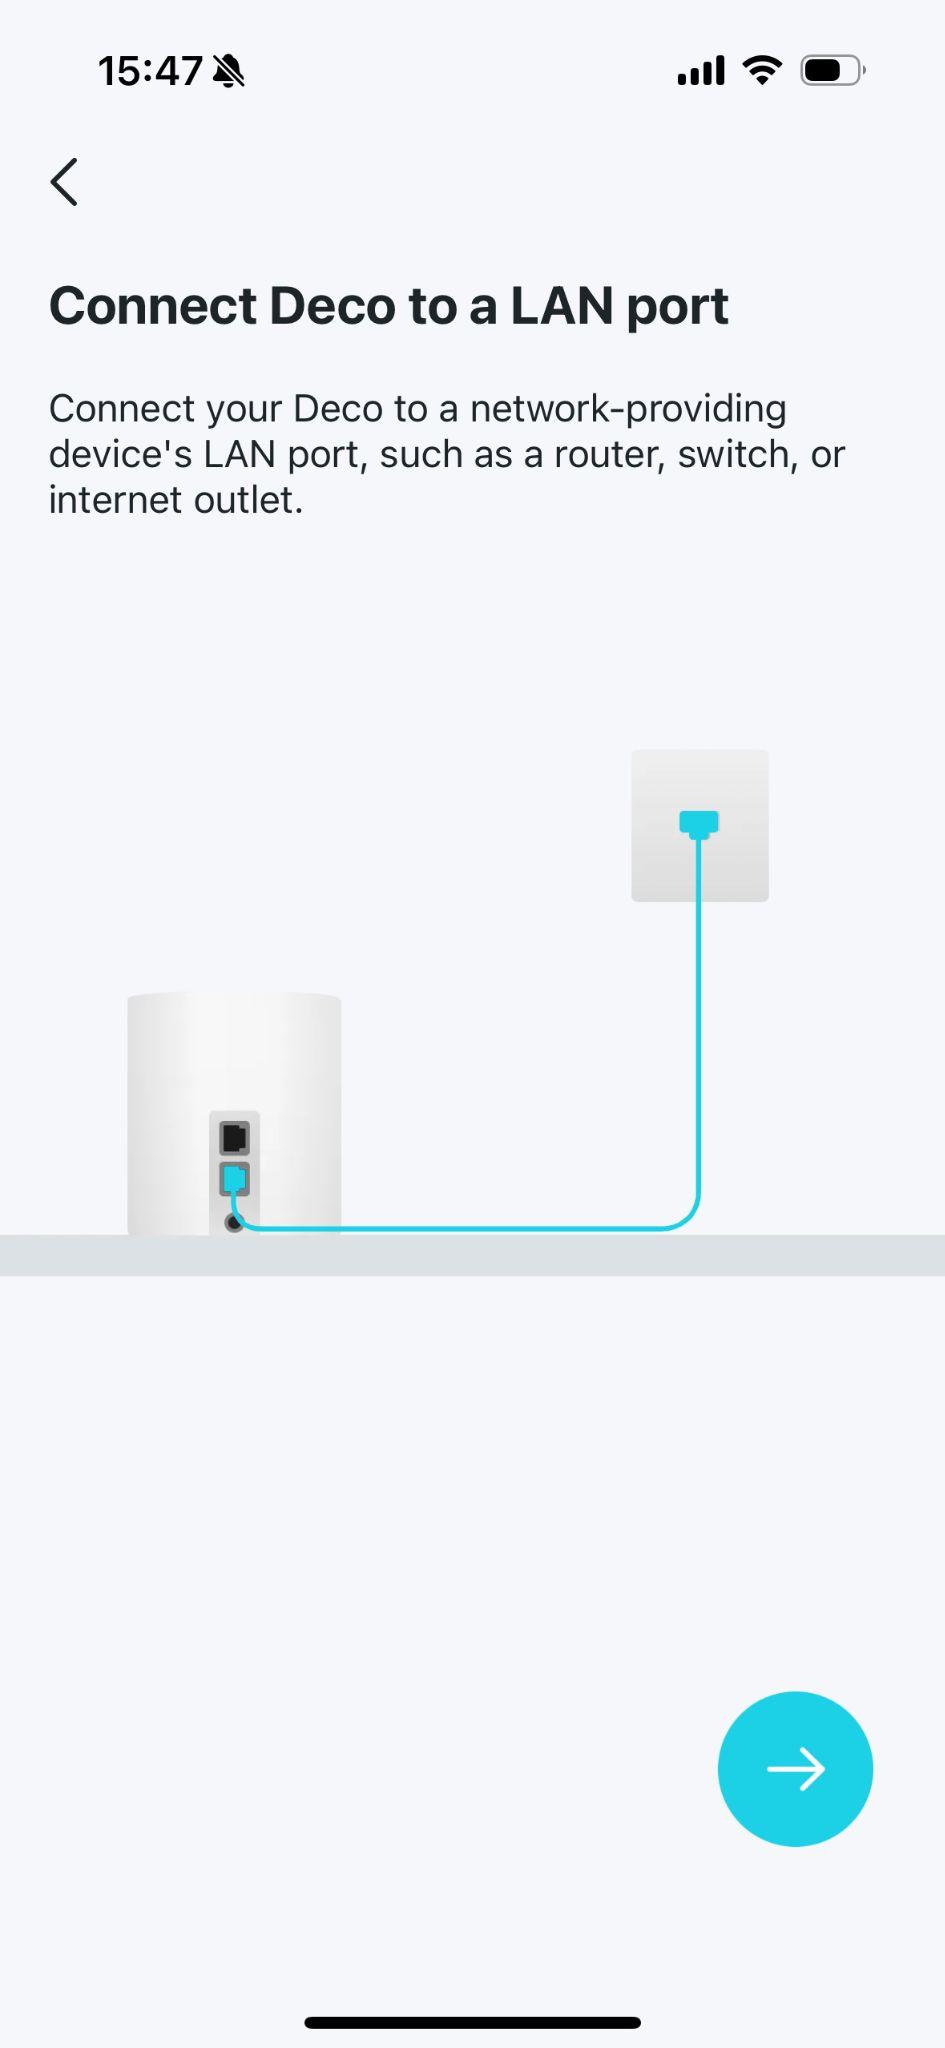
If you don't have a modem, connect your Deco directly to the Ethernet outlet via an Ethernet cable.
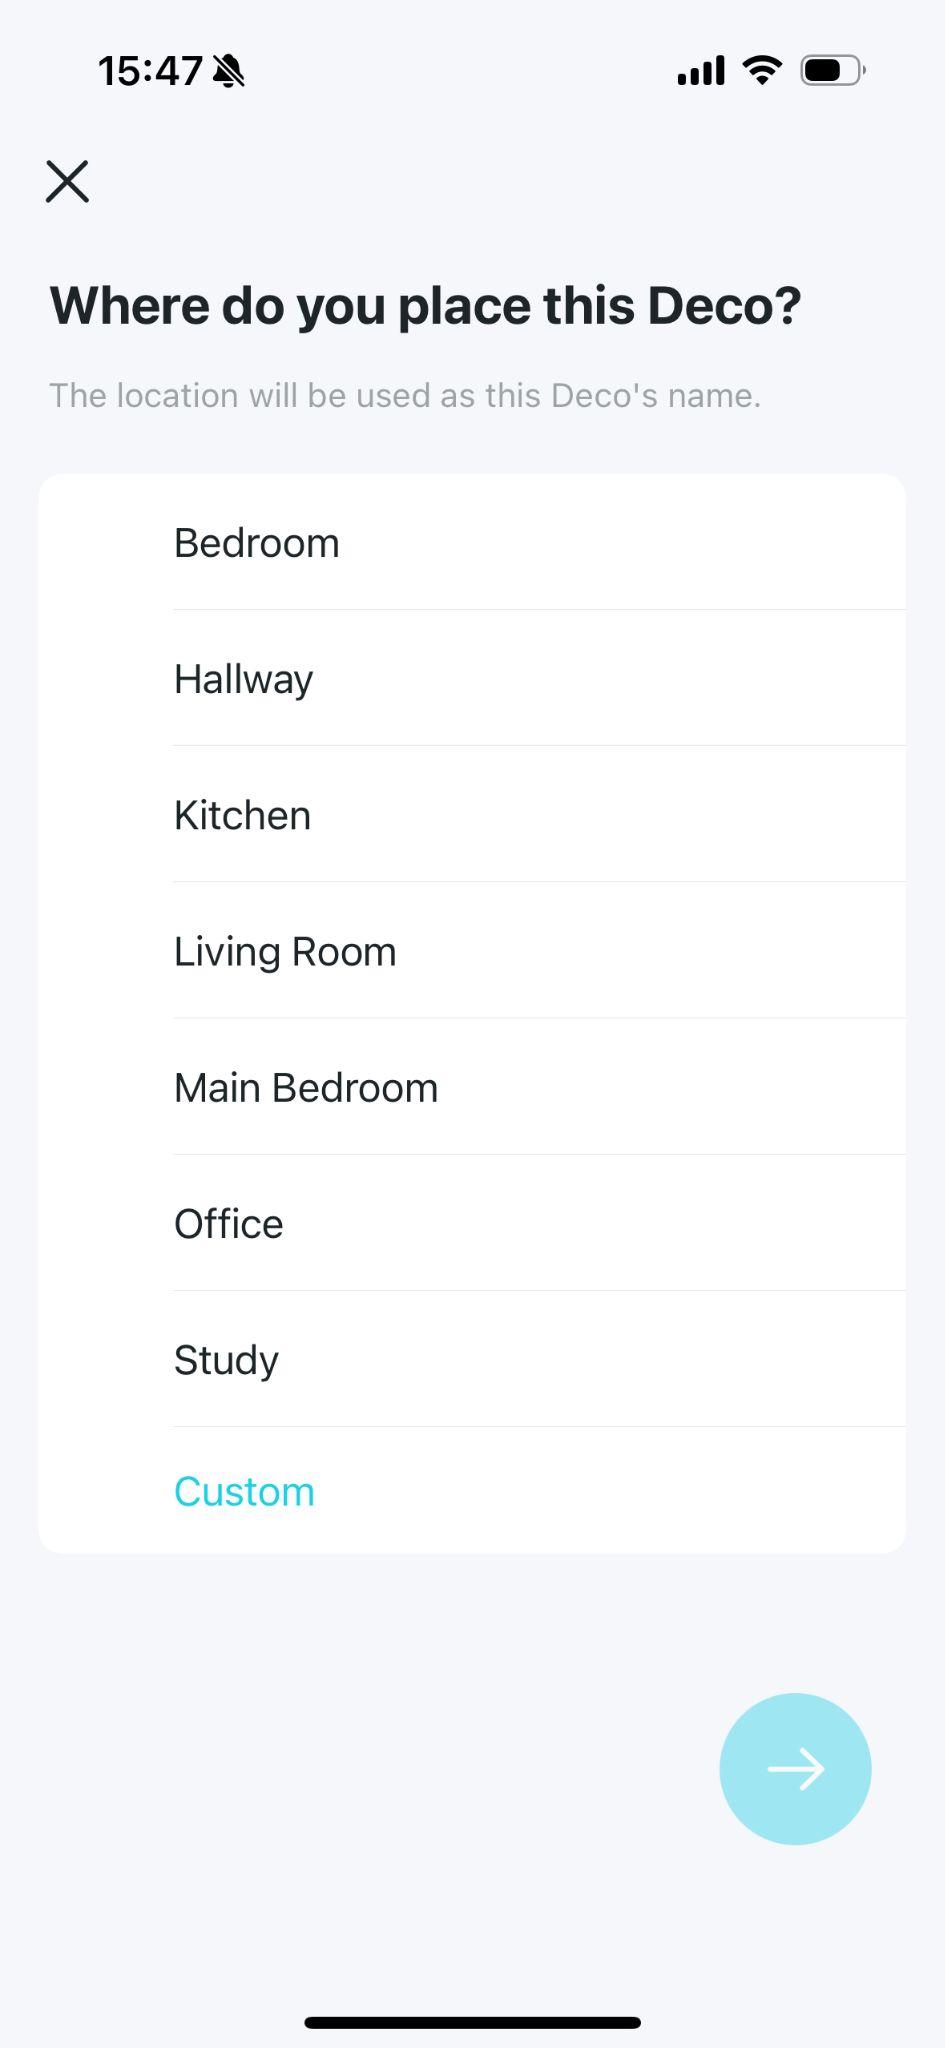
Step 5: Select the Location for Deco Units
Select or customize a location for your Deco. The location will be used as the name of your Deco.
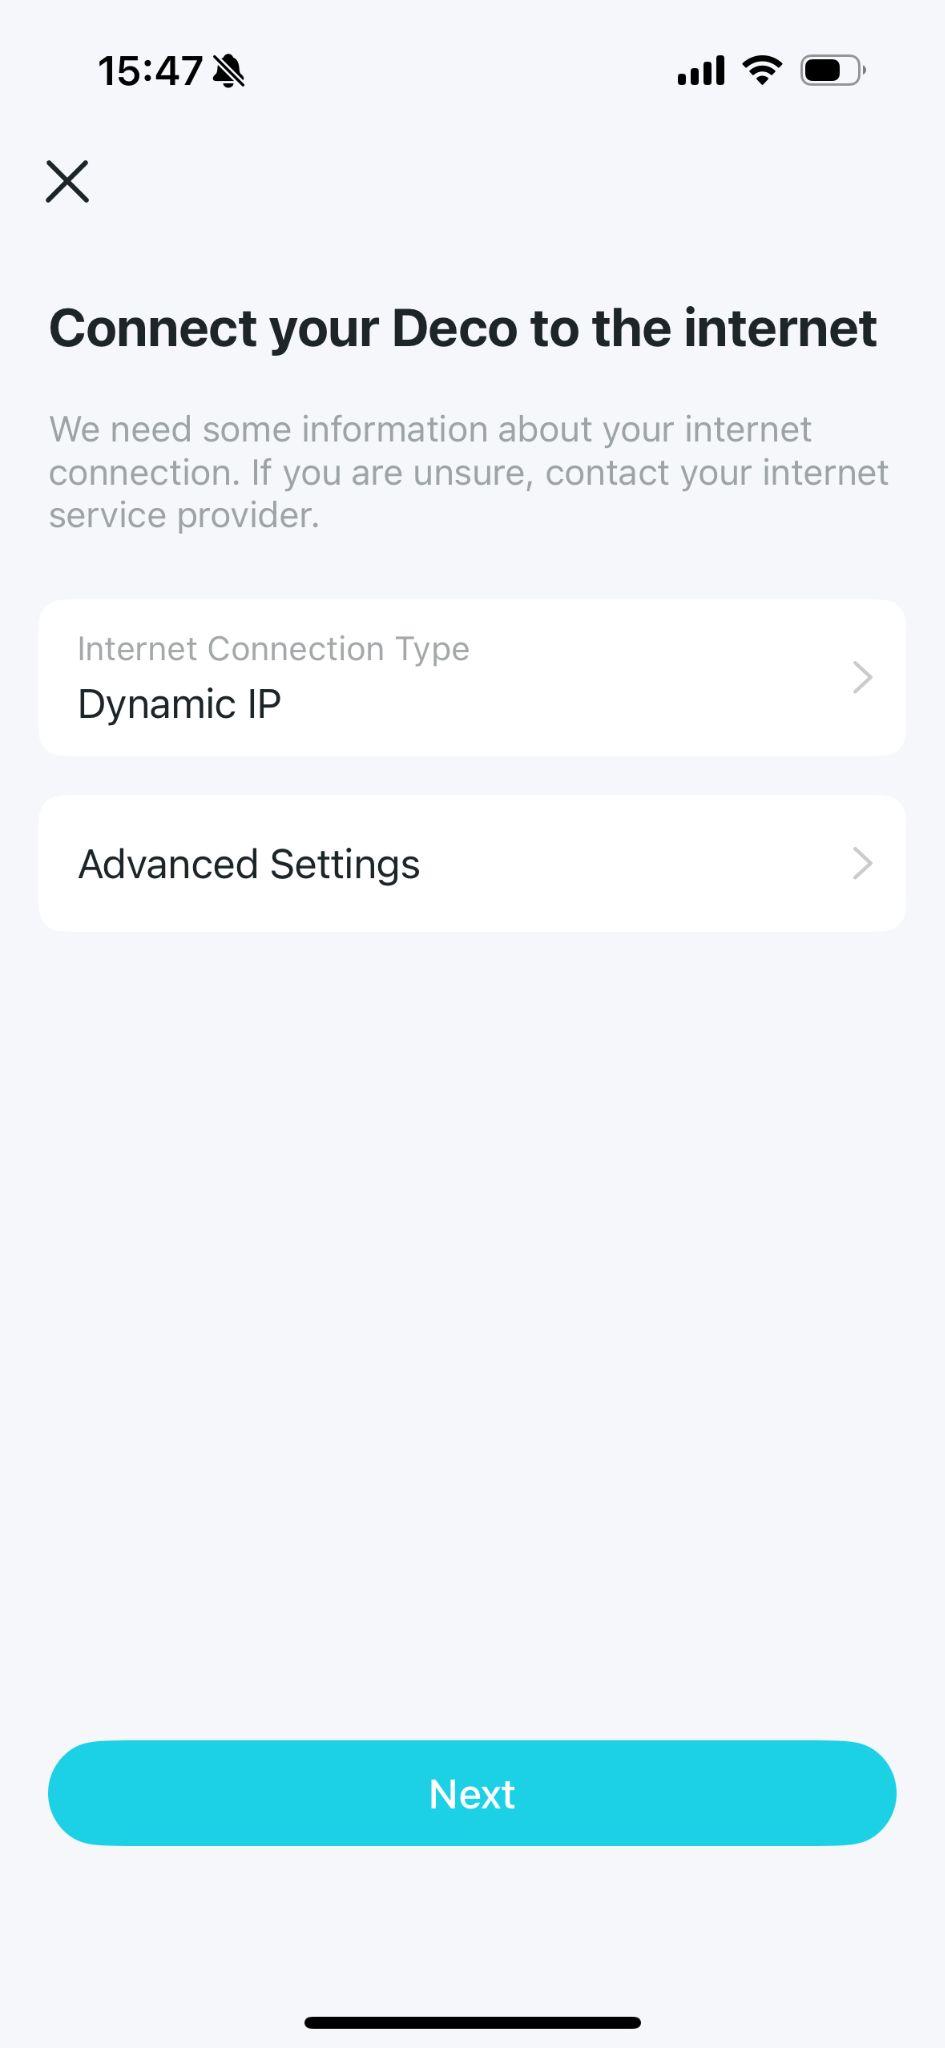
Step 6: Configure Your Internet Connection
Select "Dynamic IP" as the internet connection type, and leave "IPTV/VLAN Settings" turned off.
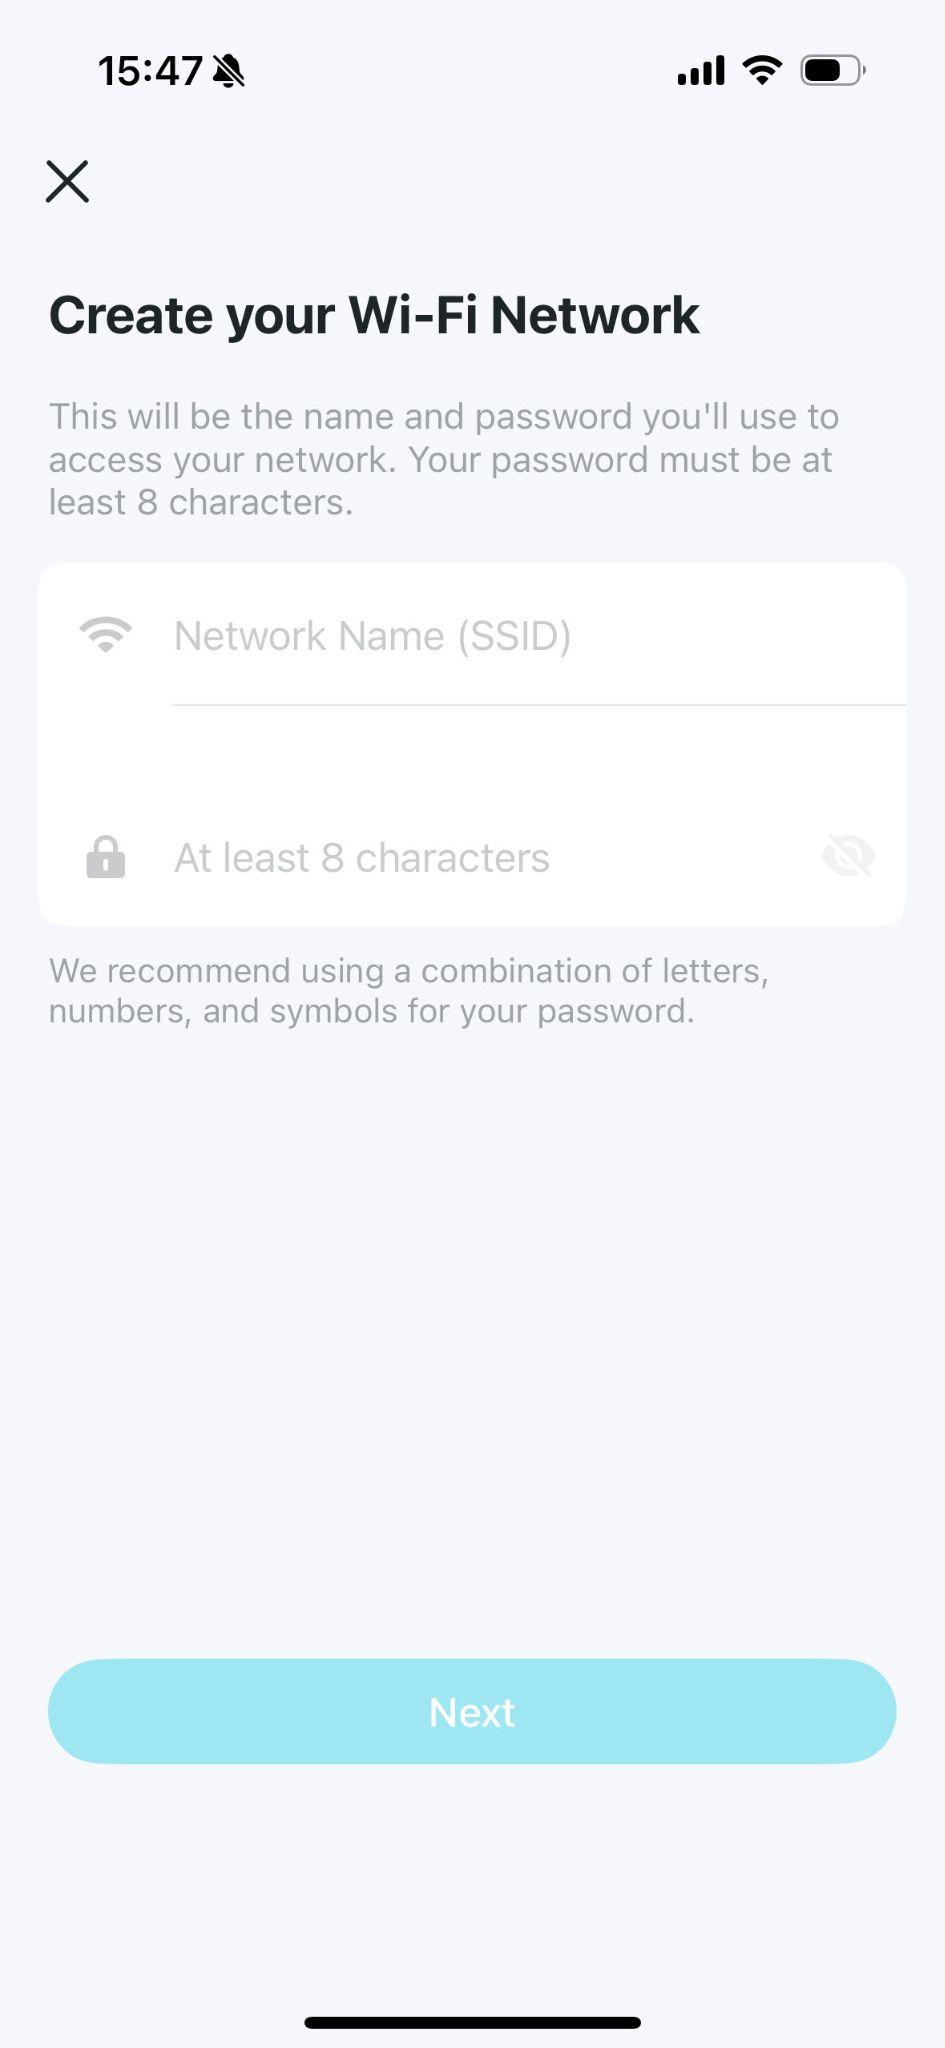
Step 7: Set Up Your Deco Wi-Fi Network
Create your Wi-Fi network name and password. These will be the name and password you use to connect your devices to Wi-Fi.
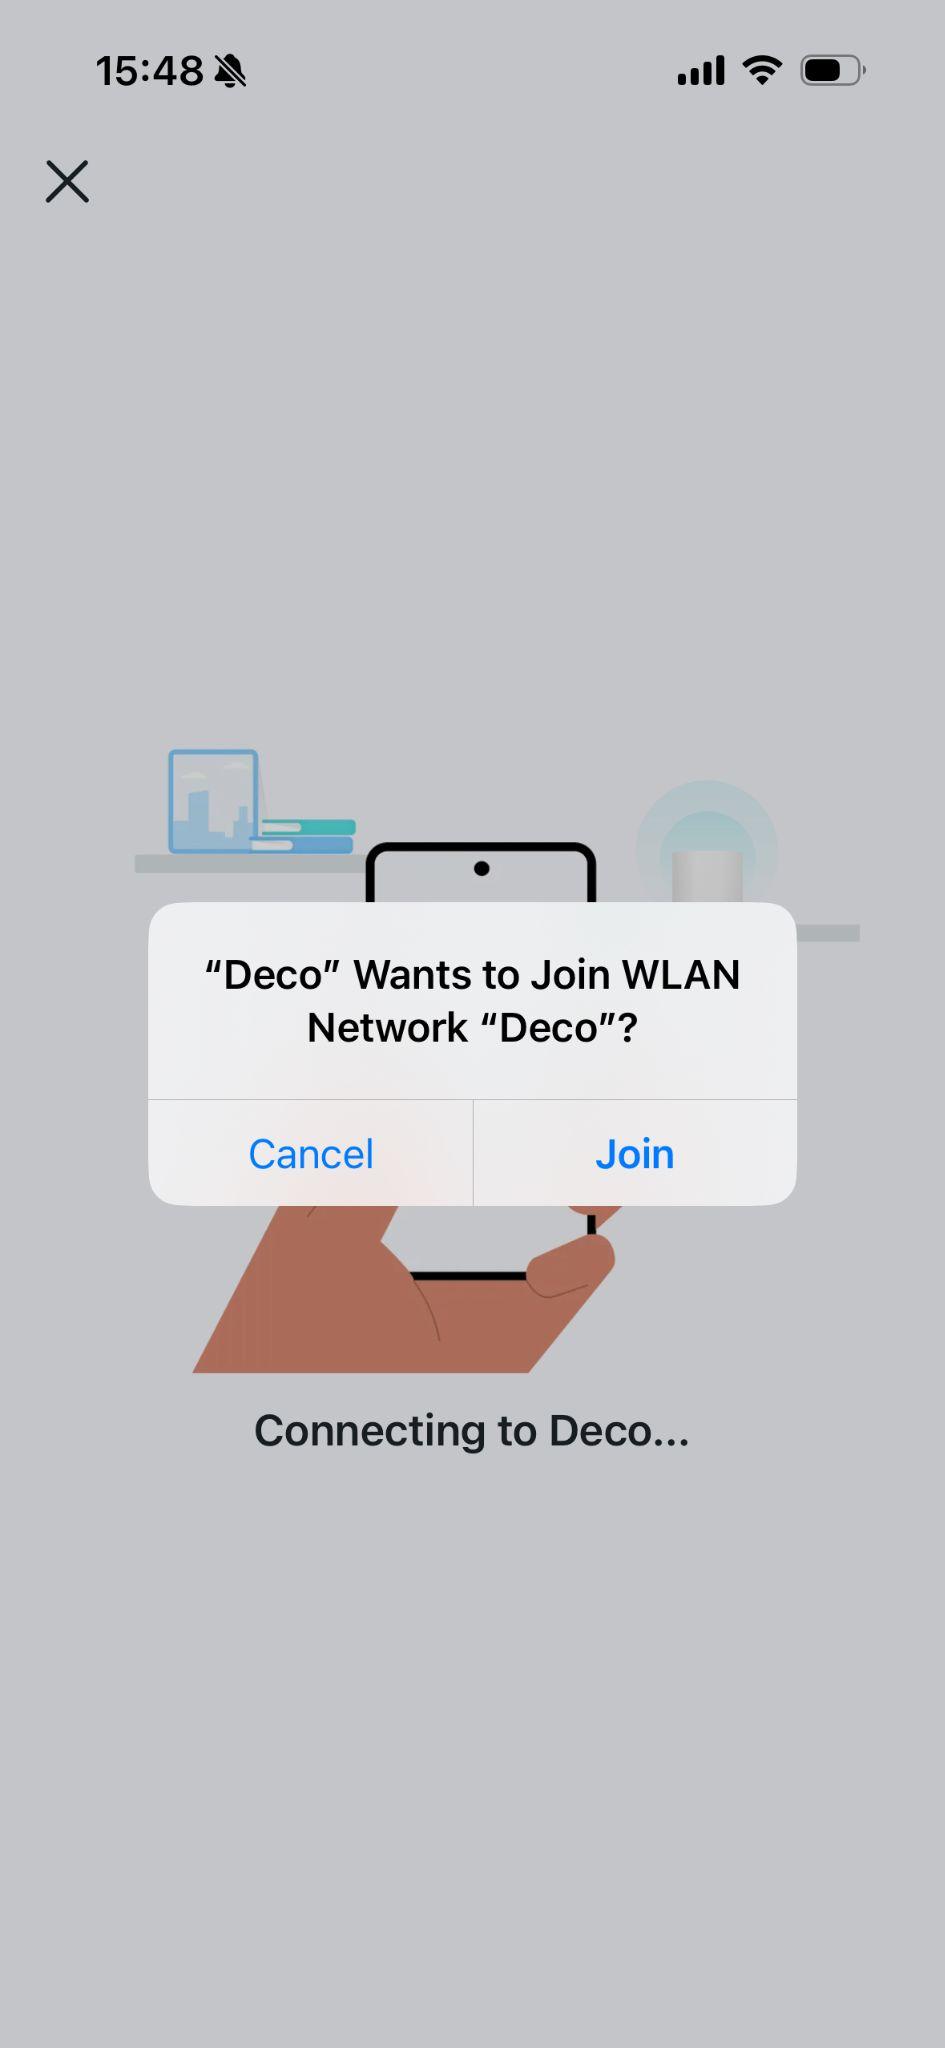
Step 8: Connect your phone/tablet to the Deco's Wi-Fi
When prompted, connect your phone or tablet to the Deco's Wi-Fi network to complete the pairing process.
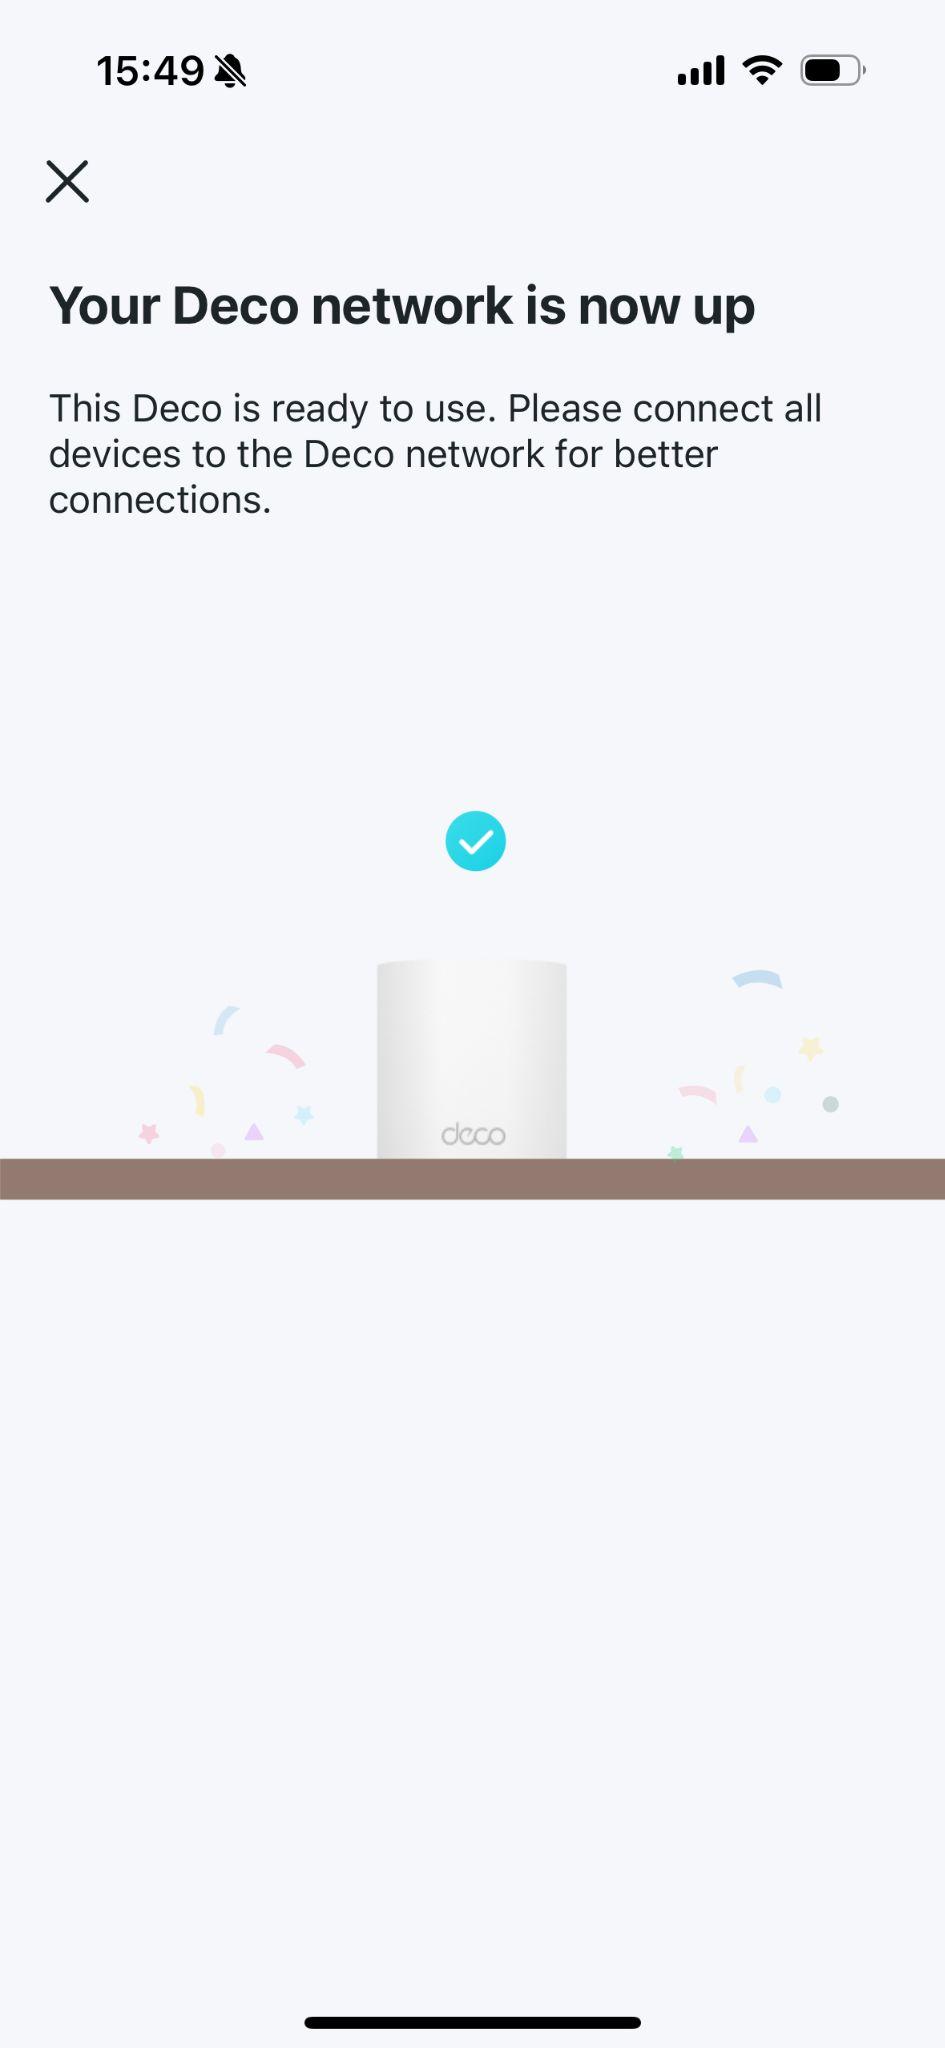
Step 9: Setup Complete
Now you can connect all your devices to the Deco network.
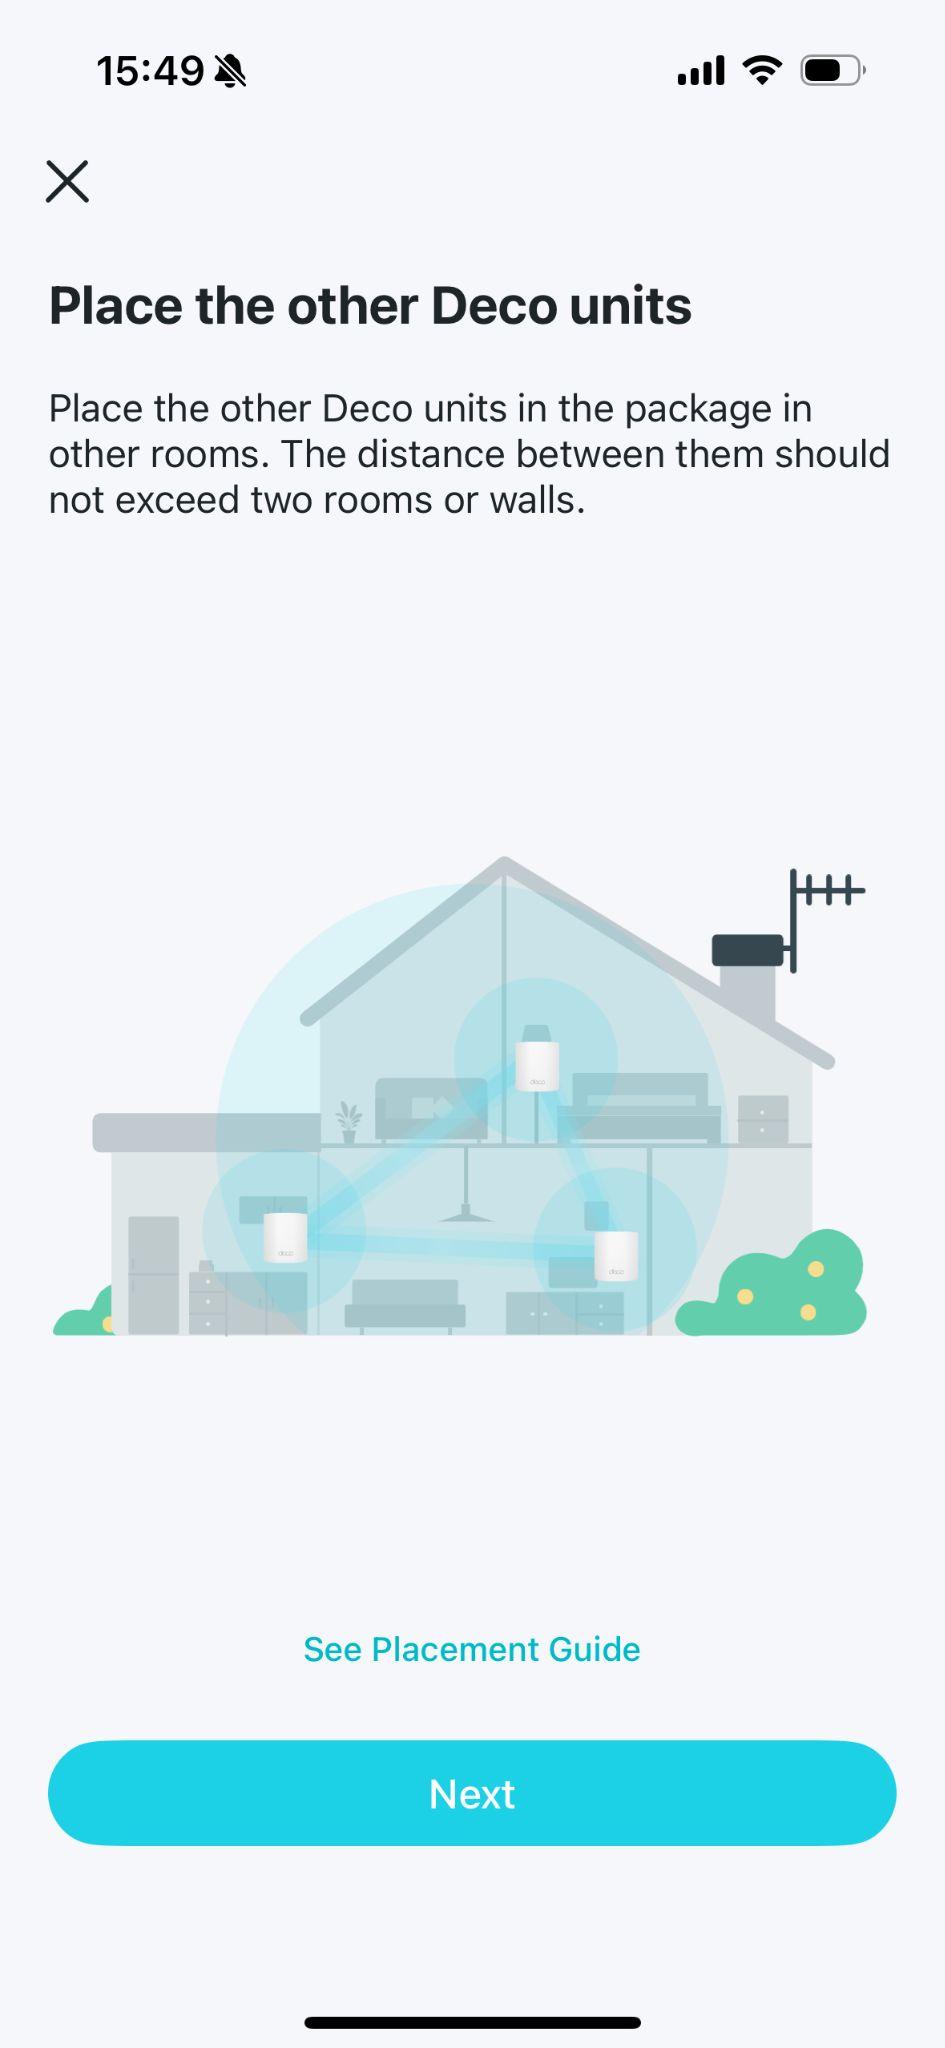
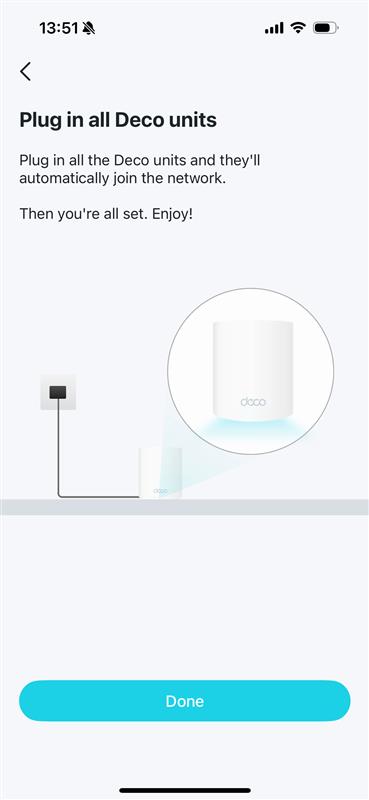
Step 10: Add Additional Deco Units
If you have other Deco units in the same package, for Wi-Fi 6 or above Decos, just power on these Decos in the same room and they'll join the network within 2 minutes. For other models, you can add more Decos as in How to add an additional unit to your Deco network.
If you want Deco to act purely as a Wi-Fi extender without creating a separate subnet, you can switch to Access Point Mode after completing setup. See How to set up Deco to work in Access Point Mode.
If setup fails, see Main Deco Failed to Complete Setup for troubleshooting guidance.
Czy ten poradnik FAQ był pomocny?
Twoja opinia pozwoli nam udoskonalić tę stronę.
_US_1.0_F_normal_20260130113012m.png)
_Overview_normal_20250303075337f.png)
z United States?
Uzyskaj produkty, wydarzenia i usługi przeznaczone dla Twojego regionu.