How to configure VIGI camera's exposure parameters
This article discusses how to adjust the exposure parameters of VIGI Cameras using the web interface or VIGI Security Manager to achieve better image quality in different environments.
Exposure refers to the amount of light entering the camera. Overexposure in surveillance images results in a too bright image, while underexposure leads to a dark image that lacks clarity.
Overexposure can generally be divided into overexposure during the day and overexposure at night. Overexposure during the day is mainly caused by backlighting in the scene, while overexposure at night is caused by excessive infrared reflection from objects.
Underexposure, on the other hand, is primarily due to low ambient brightness, resulting in insufficient light entering the camera.
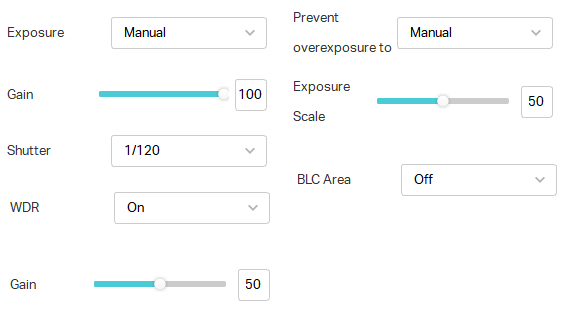
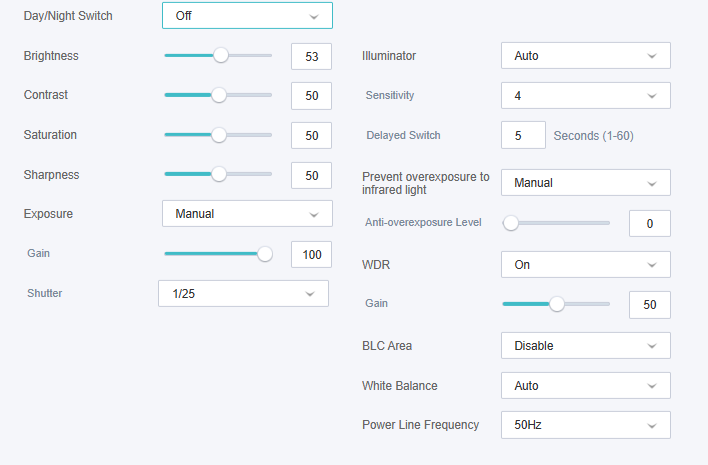
To address the above issues, we can make adjustments through Exposure setting, Prevent Overexposure setting, as well as BLC (Backlight Compensation) and WDR (Wide Dynamic Range) settings to obtain more suitable image effects for specific scenes.
Exposure settings include exposure gain and shutter speed. Higher gain and slower shutter speed allow more light to enter the camera within the same time frame, resulting in a brighter image, and vice versa for a darker image.
Prevent overexposure, the brightness of the infrared illuminator can be adjusted to avoid excessive infrared reflection at night.
In addition, there are WDR settings and BLC settings. WDR processes the dark and bright areas of the image to make the dark areas brighter and the bright areas darker, thus achieving better image quality in environments with high contrast between highlights and shadows. BLC targets specific backlight areas and adjusts the light entering the camera accordingly to achieve the desired image effect.
Next, we will explain how to adjust these parameters through VIGI Security Manager and the camera's web interface.
Configuring through VIGI Security Manager:
- Log in to the device list, click the gear-shaped settings button, and go to the camera's configuration interface.
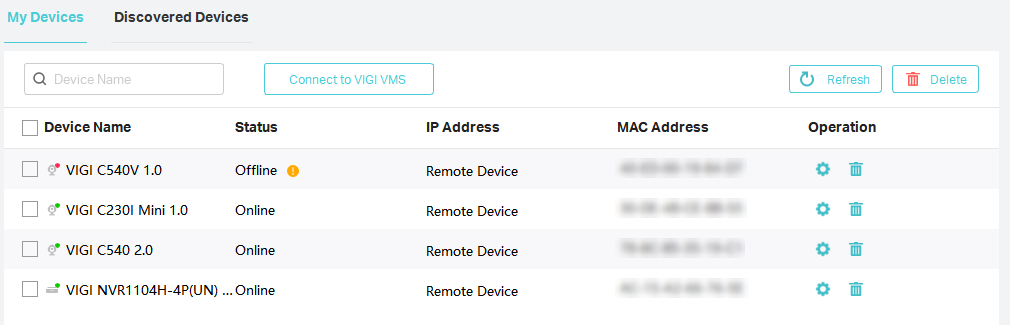
- Select Display Information -> Image option, and then you can make adjustments to the aforementioned parameters.
Note: WDR and BLC are disabled by default, while exposure and overexposure prevention are set to auto by default.
Configuring through the web interface:
- Log in to the device's management interface using the camera's IP address.
- Go to Setting -> Camera -> Display page, and make adjustments to the above-mentioned options.
Is this faq useful?
Your feedback helps improve this site.


TP-Link Community
Still need help? Search for answers, ask questions, and get help from TP-Link experts and other users around the world.