


Omada License Configuration Guide
Contents
Objective
This guide provides instructions for obtaining and assigning licenses to your devices.
Requirements
-
Access to Omada Central
Introduction
Each device must be bound to an active license to manage and configure devices through Omada Central. Ensure you have purchased the necessary licenses before proceeding with device binding.
Two license types are available: Standard Network and Standard Camera.
-
A Standard Network license can only be applied to network devices.
-
A Standard Camera license can only be applied to camera devices.
Configuration
1. Get Licenses
1.1 Fill in the billing information before purchase
Step 1. Visit https://omada.tplinkcloud.com and log in with your TP-Link ID.
Note: If you don’t have a TP-Link ID, you can register and activate one for free.
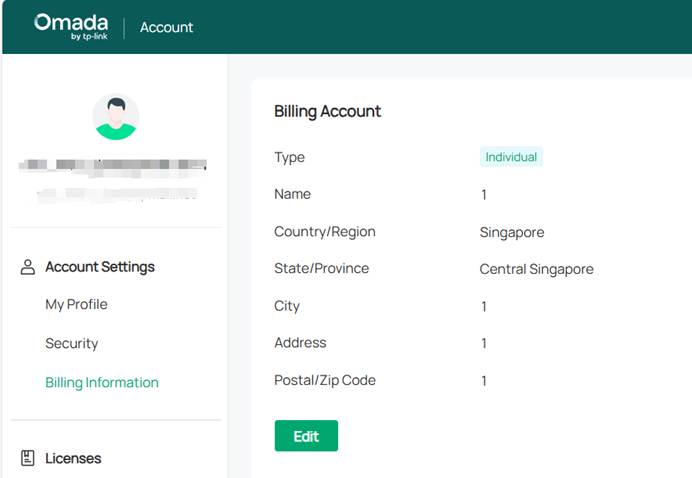
Step 2. Navigate to Account Settings > Billing Information and complete your billing details.
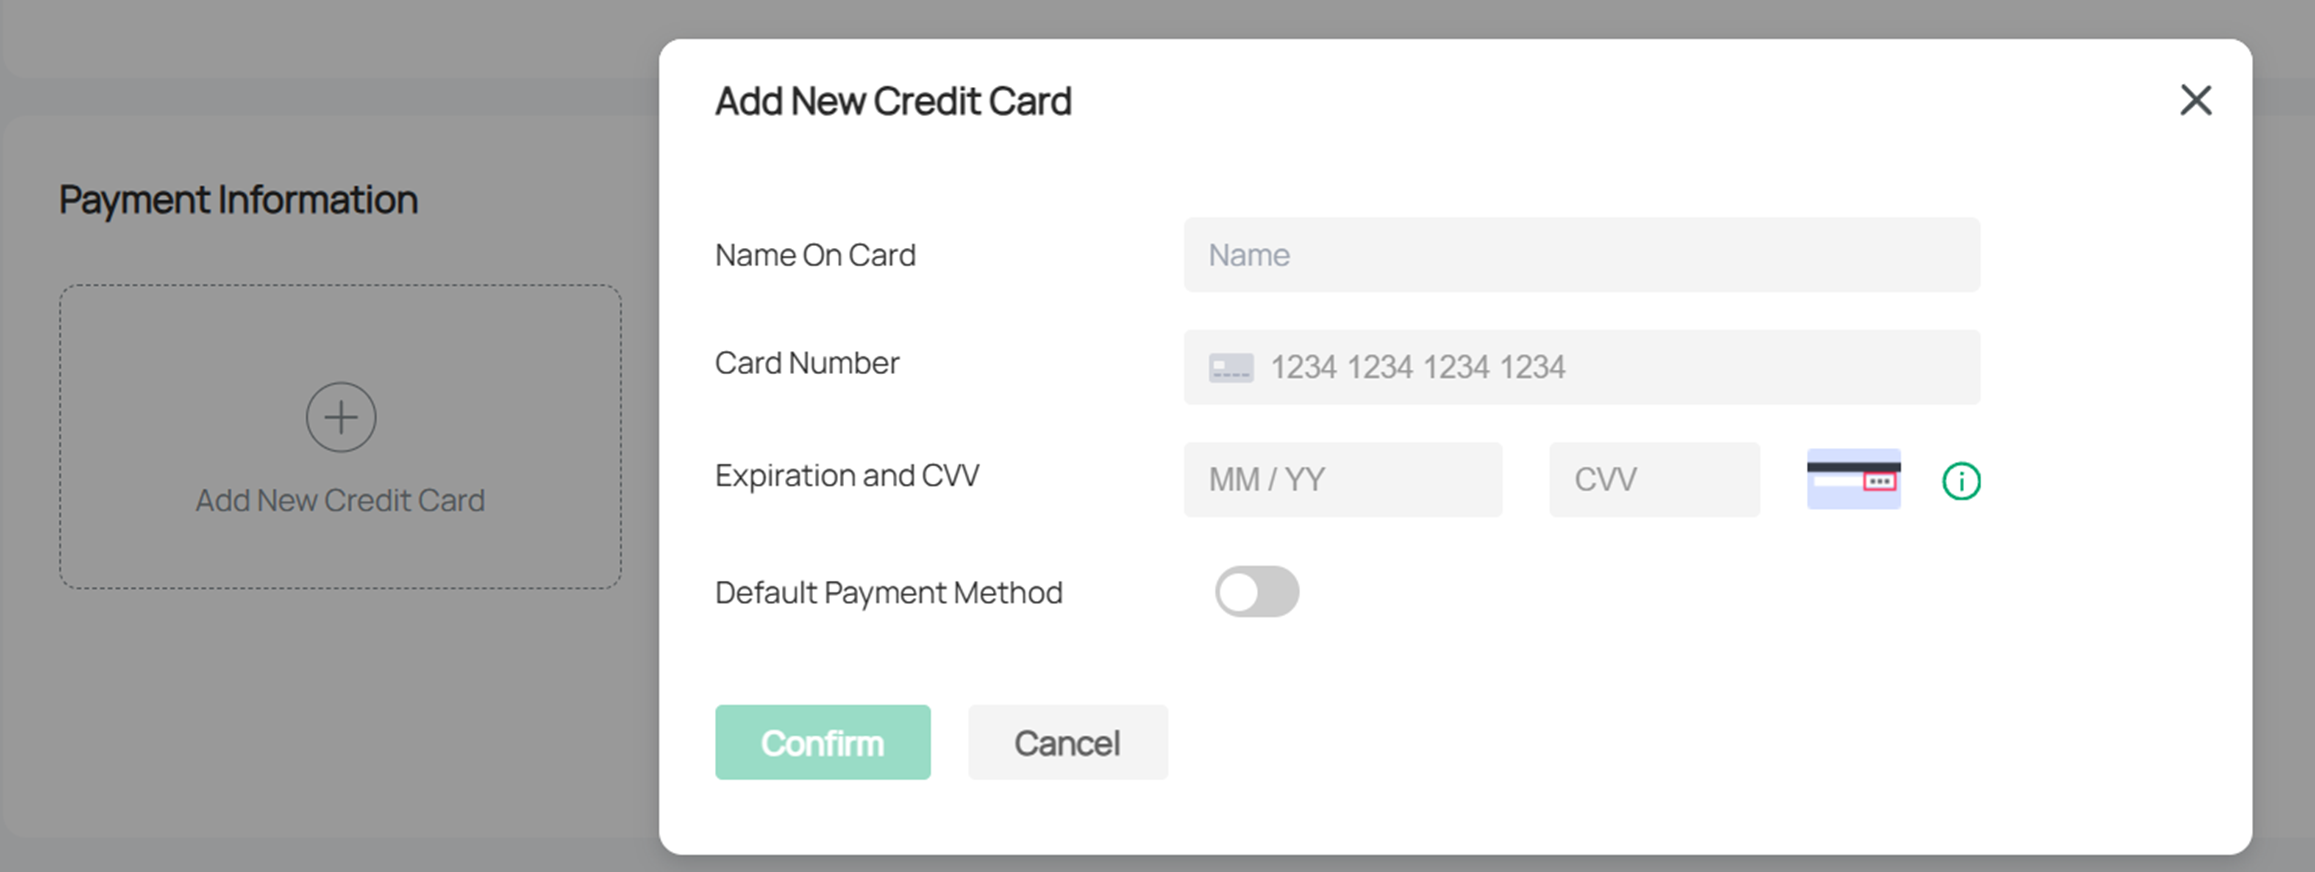
Step 3. Click Add New Credit Card to enter payment information.
1.2 Purchase licenses
Step 1. Go to License > Purchase License to access the Choose License page.
Note: If the Purchase License button is not visible, contact your sales representative to purchase licenses. Licenses will then be assigned to your TP-Link account.
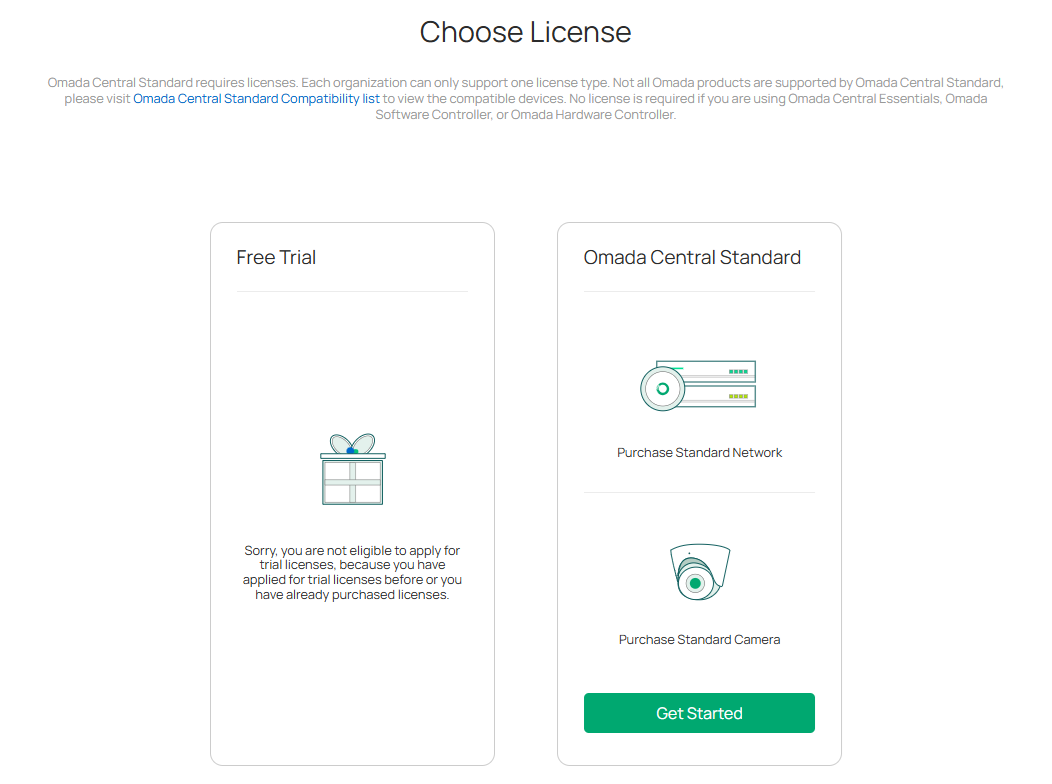
Currently, two types of licenses are provided: Free Trial and Omada Central Standard. The Omada Central Standard card lists the functions supported by Omada Central.
Note: Users who have never purchased any licenses can apply for 10 one-month trial licenses, which will be activated immediately after successful application. Users who have purchased licenses do not meet the conditions for applying for the trial license.
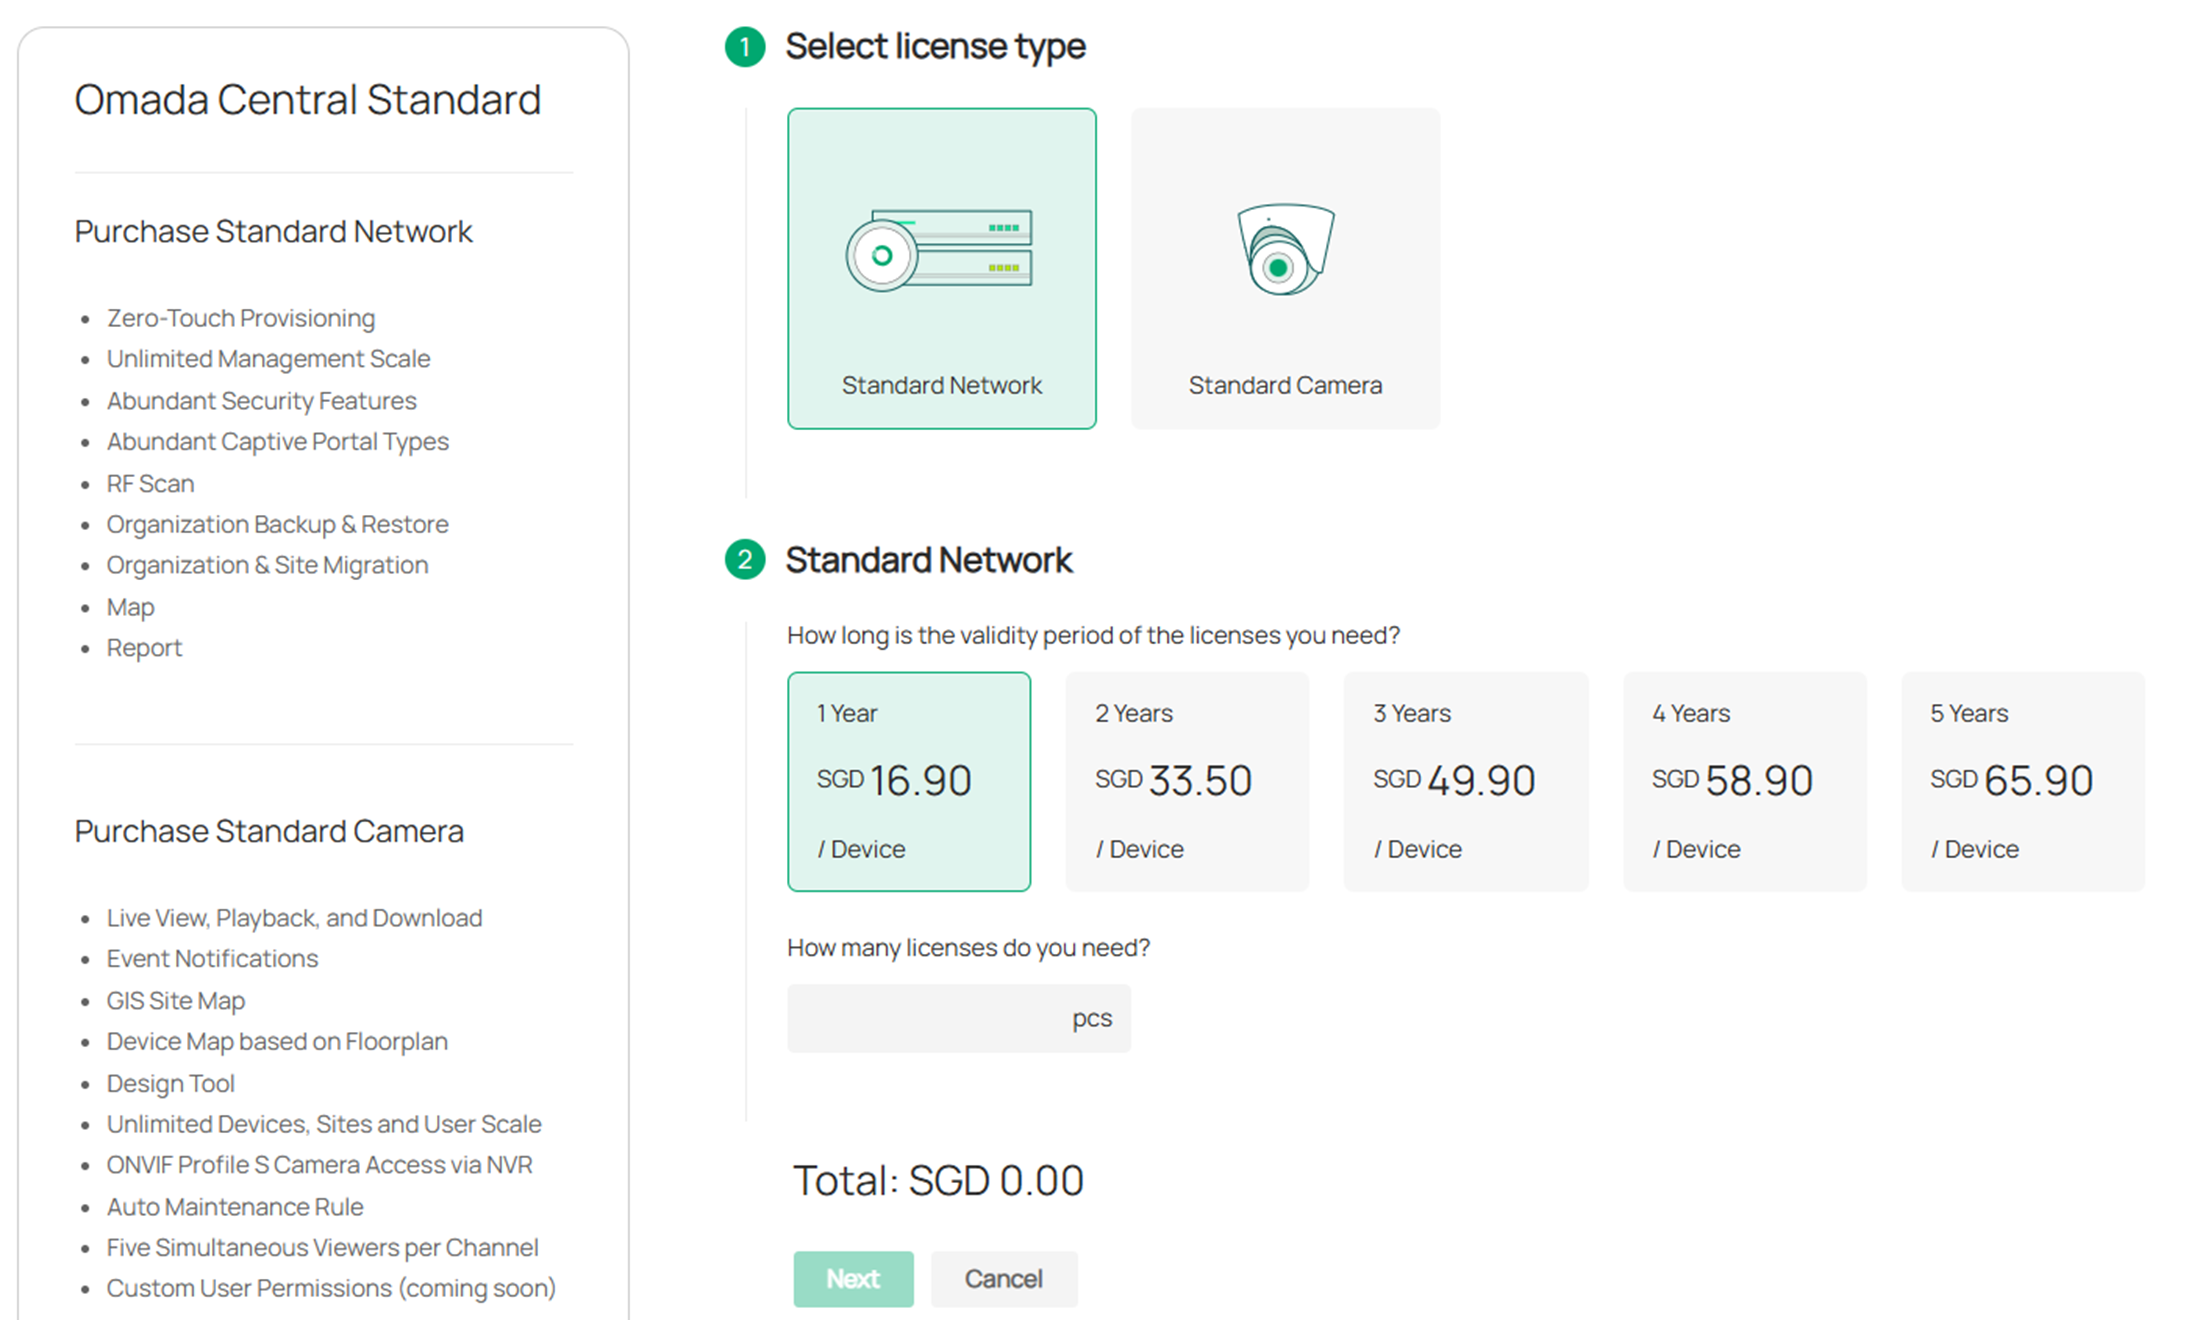
Step 2. Click Get Started to enter the license purchase page. The page displays the license type, quantity, price of a single license, and total price.
Step 3. Click Next to enter the order details page. Confirm the order details and payment account, then click Submit to submit the order.

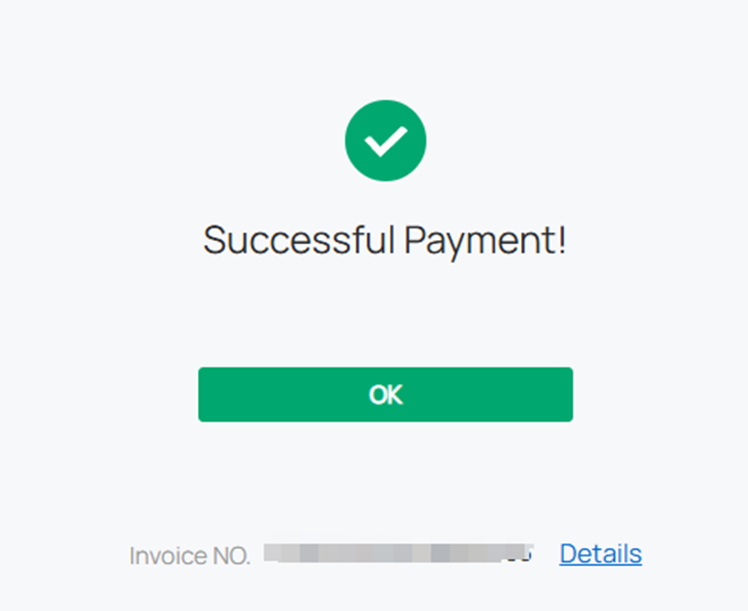
Step 4. The purchase is successful.
You will receive an email with the order details. The email content includes information such as the purchased license type, license duration, license quantity, payment time, payment method, and order number.

1.3 View License Order Information
Step 1. Visit https://omada.tplinkcloud.com and log in with your TP-Link ID.
Step 2. Go to License. Click Orders and you will be redirected to the Orders list, which displays the order number, license type, purchase time, license duration, quantity, payment amount, and invoice.
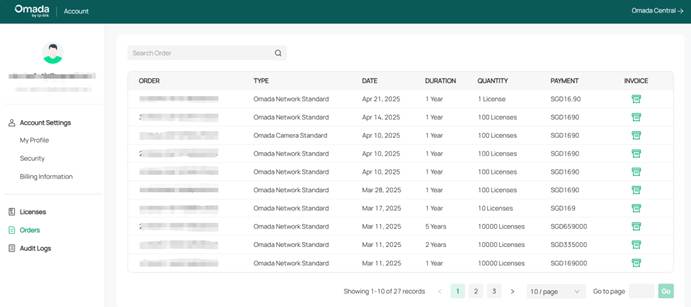
Step 3. Click the button under the “INVOICE” column to view order details.
2 License Usage Management
Note:
- One license can be bound with only one device at a time.
- If a device with a license bound is removed from the controller, the license will be unbound automatically and can be bound to another device if needed.
2.1 Assign Licenses in the organization
Step 1. Visit https://omada.tplinkcloud.com and log in with your TP-Link ID.
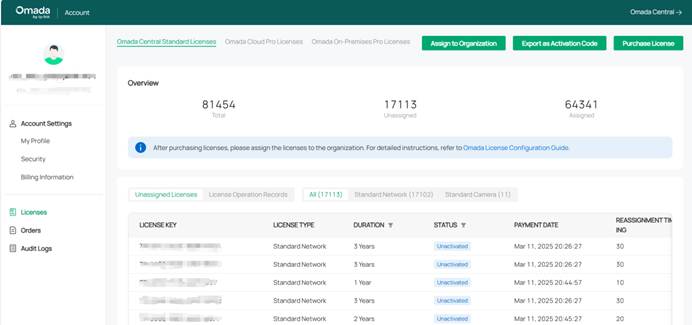
Step 2. Go to License. Click Assign to Organization in the upper right corner.
Step 3. Check your remaining licenses, select the controller, and specify the quantity of licenses to assign.
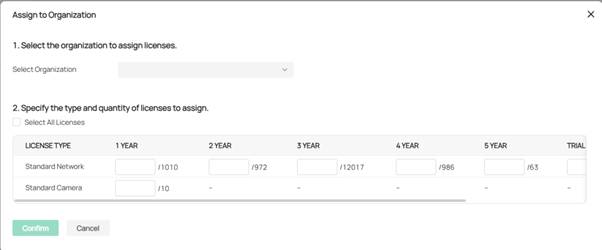
Step 4. Click Confirm. The licenses will be assigned to the controller.
2.2 Import Licenses
- Import activation code in organizations
Step 1. Enter Organization and go to Licenses > Import Activation Code
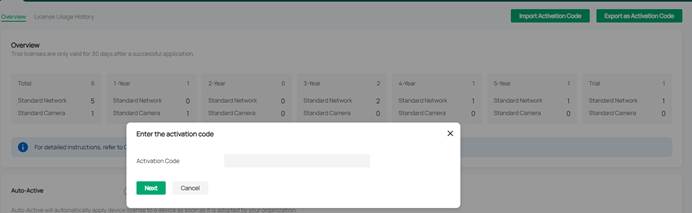
Step 2. Select the license, and click Confirm.

- Import activation code in MSP
Step 1. Enter MSP View and go to Licenses > Import Activation Code
Step 2. Select the license, and click Confirm.
- Import the activation code in Customer.
Step 1. Enter customer view and go to Licenses > Import Activation Code
Step 2. Select the license, and click Confirm.
2.3 Assign Licenses for MSP Customers
-
Manually assign Licenses to Customers
If you have enabled MSP (Managed Service Provider) mode, follow the steps below to assign a license to your customers:
Step 1. Launch your controller.
Step 2. In MSP View, go to License > License Assignment. Click Assign Licenses in the upper right corner.
Step 3. Check your remaining licenses, select the customer, and specify the licenses to assign.
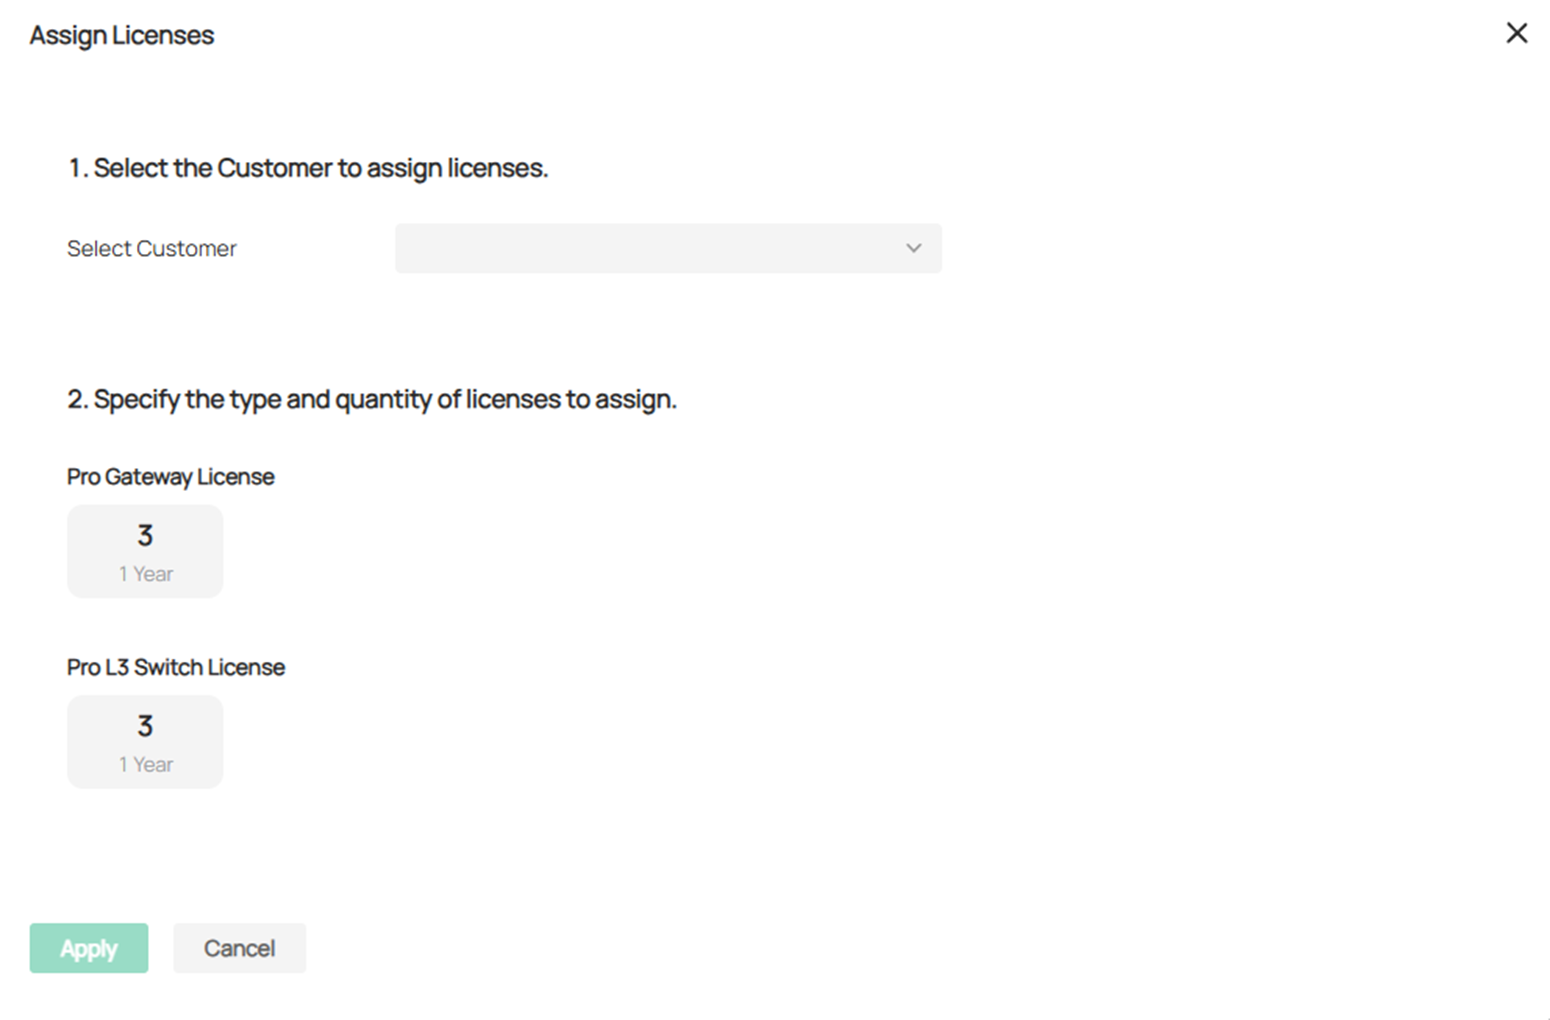
Step 4. Click Apply. The licenses will be assigned to the customer.
-
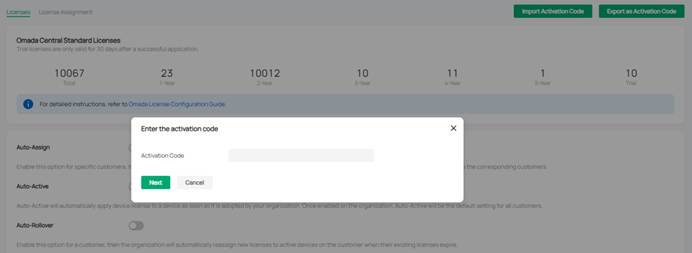
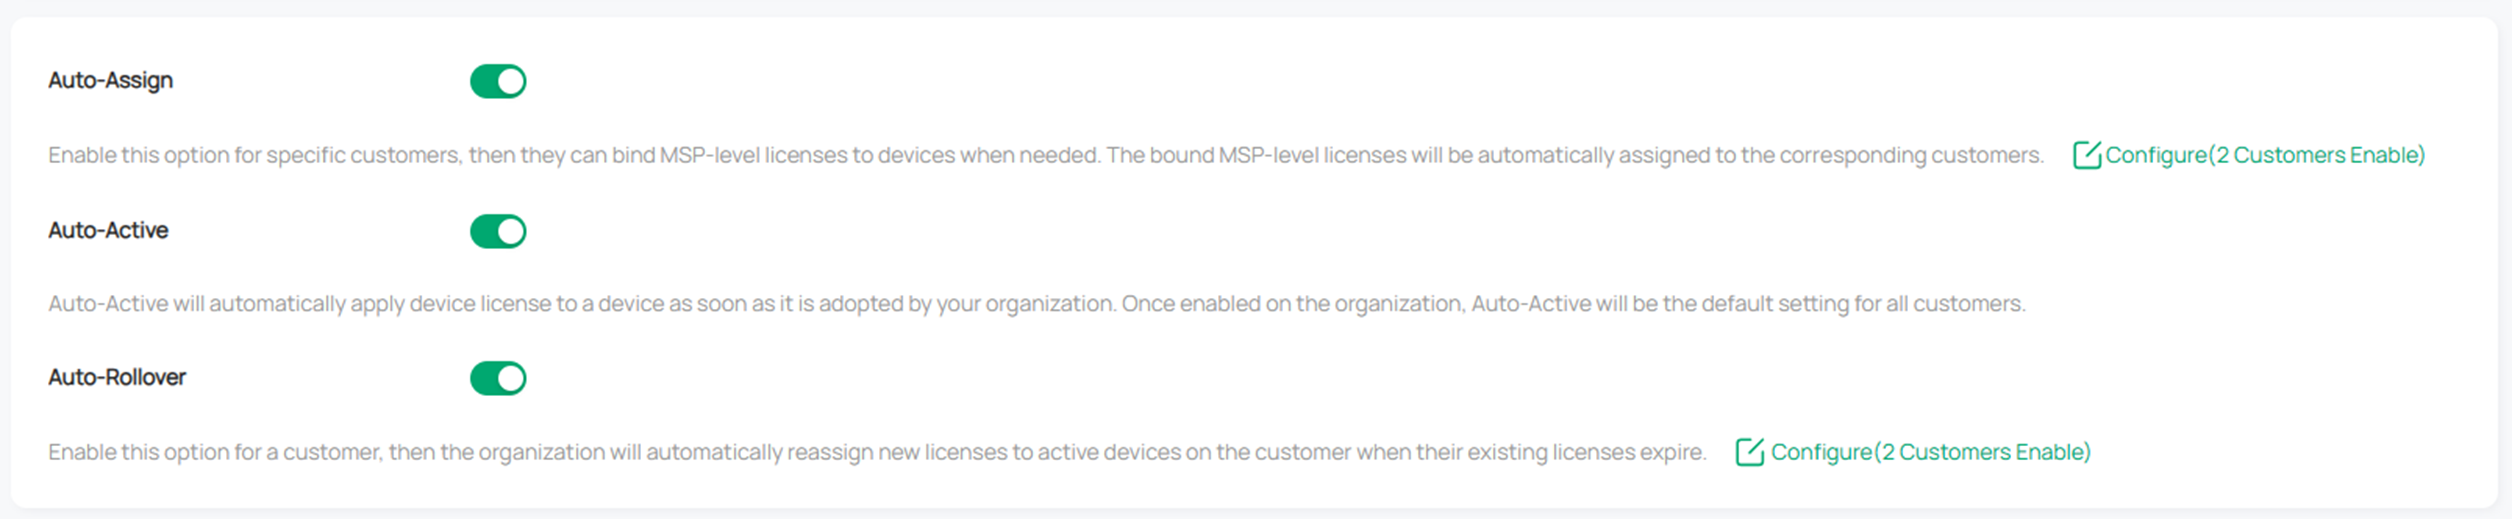
Auto-Assign
Step 1. Launch your controller.
Step 2. Go to the License page. Enable Auto-Assign for customers.
-
Revocation of the license by the customer
After license assignment, you can revoke licenses if the customer no longer needs them.
Step 1. Launch your controller.
Step 2. In MSP View, go to License > License Assignment. Click Revoke Licenses in the upper right corner.
Select the customer and specify the quantity of licenses to revoke.
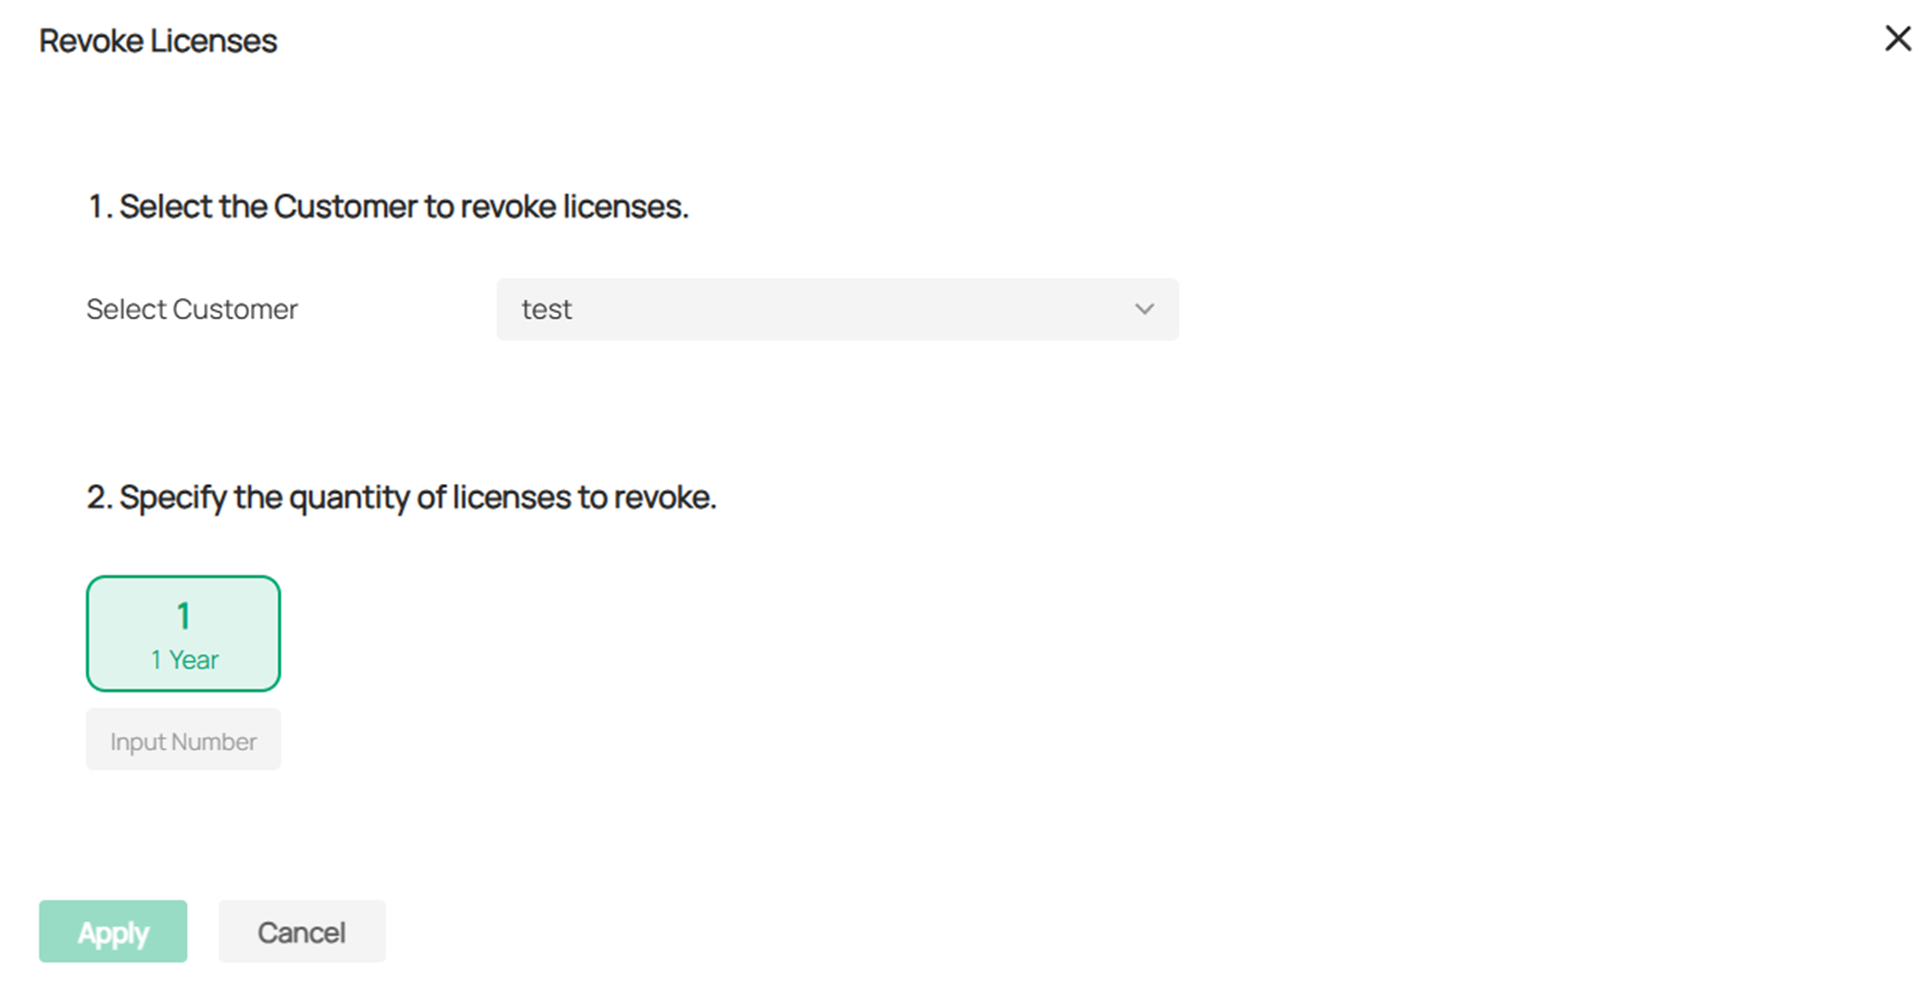
Step 3. Click Apply. The licenses will be revoked and can be assigned to another customer if needed.
2.4 Assign and Manage Licenses for Devices
-
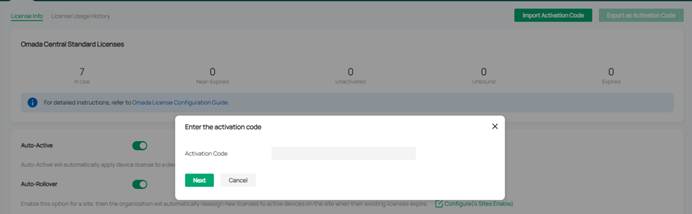
Auto-Active and Auto-Rollover
Step 1. Launch your controller.
Step 2. Go to the License page. Enable Auto-Assign, Auto-Active, and enable Auto-Rollover for customers.

-
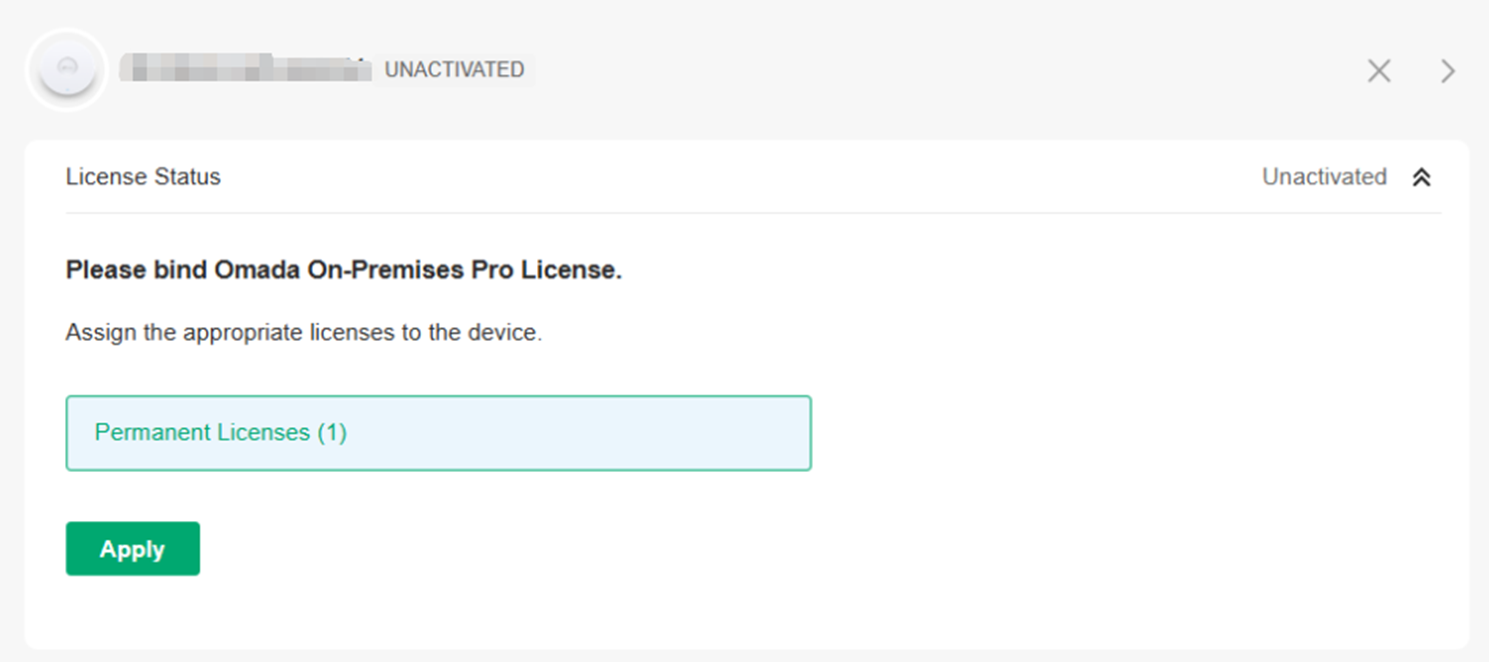
Manual bind/unbind
To bind a device license:
Step 1. After adding a device, an active option will appear in the Activity column of the device list.

Step 2. Click Active to jump to the device page's license details, where you can manually select the license.
To unbind a device license:
Step. Click an activated device to open the Properties window. In the License Status section, click Unbind. The license will be unbound and can be bound to another device if needed.

Note:
When the reassignment time remaining is 0, the license cannot be bound to other devices except the current one.
Reassignment Times are calculated according to the license year multiplied by 10. If the license duration is 1 year, the Reassignment Times after the device is activated are 10.
2.5 Export License
Licenses can be exported as activation codes and delivered between different organizations & customers through activation codes.
-
Export activation code from organizations
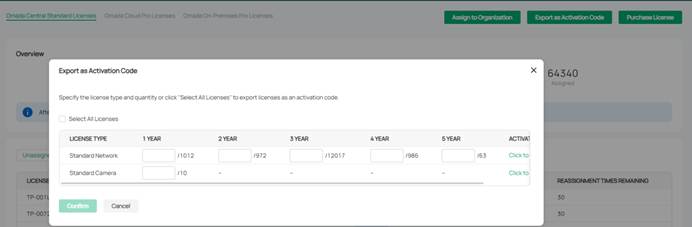
Step 1. Enter Organization and go to Licenses > Export as Activation Code.
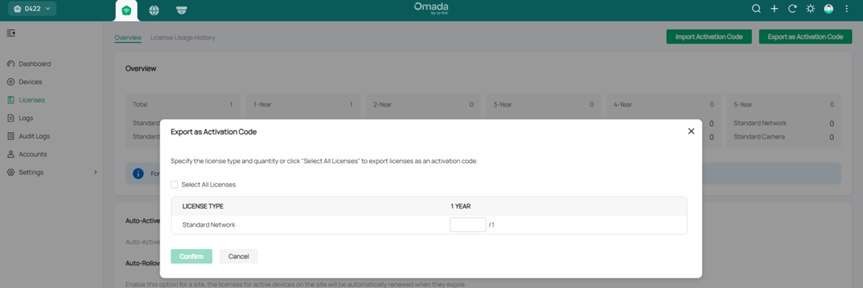
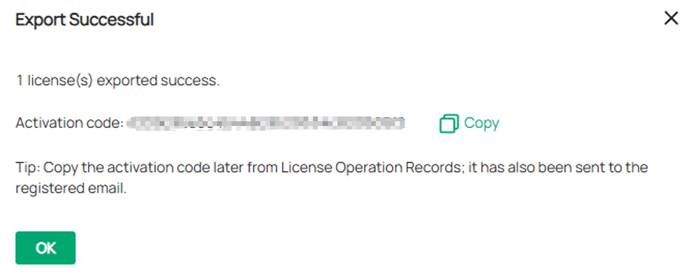
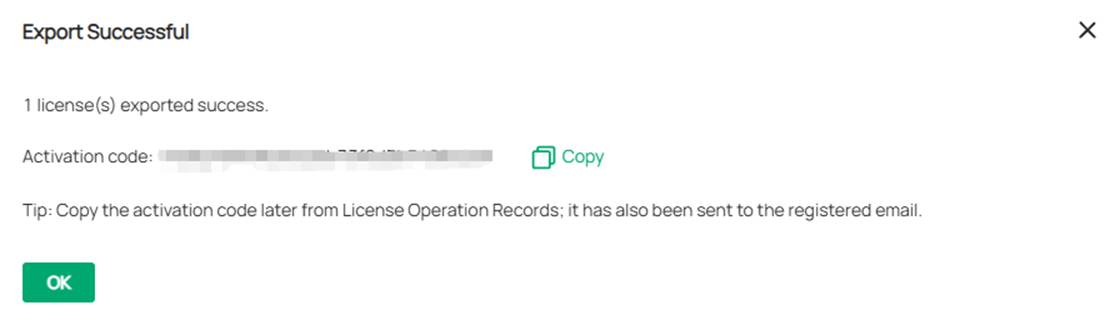
Step 2. Select the license and click Confirm. Export successful.
-
Export activation code from accounts
Step 1. Enter Account > License>Export as Activation Code.
Step 2. Select the license and click Confirm. Export successful.
-
Export activation code from MSP
Step 1. Enter MSP view > License>Export as Activation Code.
Step 2. Select the license and click Confirm. Export successful.
-
Export activation code from Customer
Step 1. Enter Customer view > License>Export as Activation Code.
Step 2. Select the license and click Confirm. Export successful.
2.6 Other
When you delete the organization, the corresponding license will be automatically revoked from your account.
Conclusion
From the article you can learn how to purchase license, assign license to cloud-based controller, bind a license to Omada device and unbind licenses from any of them.
Get to know more details of each function and configuration please go to Download Center to download the manual of your product.
Чи була ця стаття корисною?
Ваш відгук допомагає вдосконалити цей сайт.