


How to assign Static IP addresses for Omada Devices with Omada SDN Controller
In this article, we will share how to assign static IP addresses to Omada devices (EAPs, Switches) with Omada SDN Controller.
Omada Devices will obtain IP addresses from the DHCP server, which is usually provided by the router. Once a static IP address is assigned, the Omada Device will always use the static IP address and will no longer request an IP address from the DHCP server.
If you wish, you can also use the Jetstream Switch as the DHCP server, but never enable DHCP servers on both the switch and the router in the same network.
For Omada Switches Managed by Controller
Part 1: Controller V5
Go to Devices--->Click your Switch--->Config--->VLAN Interface, click Edit button of the Management VLAN interface (LAN, by default), set Static as the IP Address Mode, and then assign the static IP address.

Part 2: Controller V6
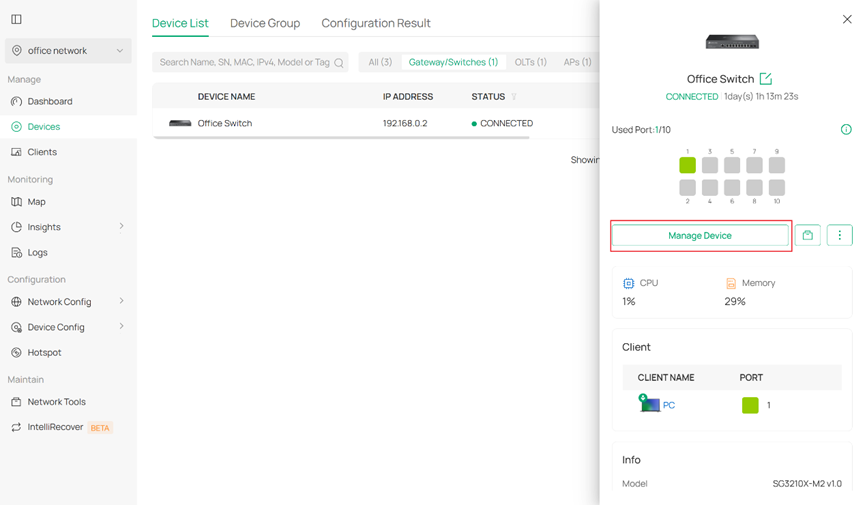
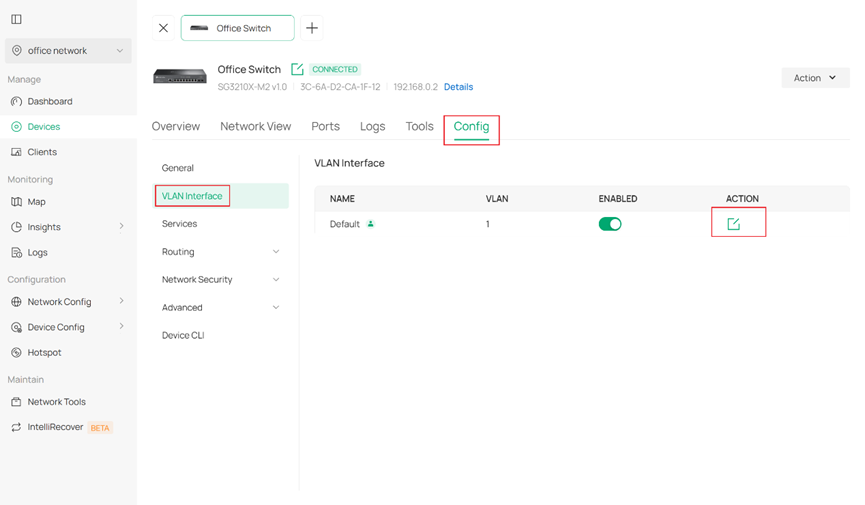
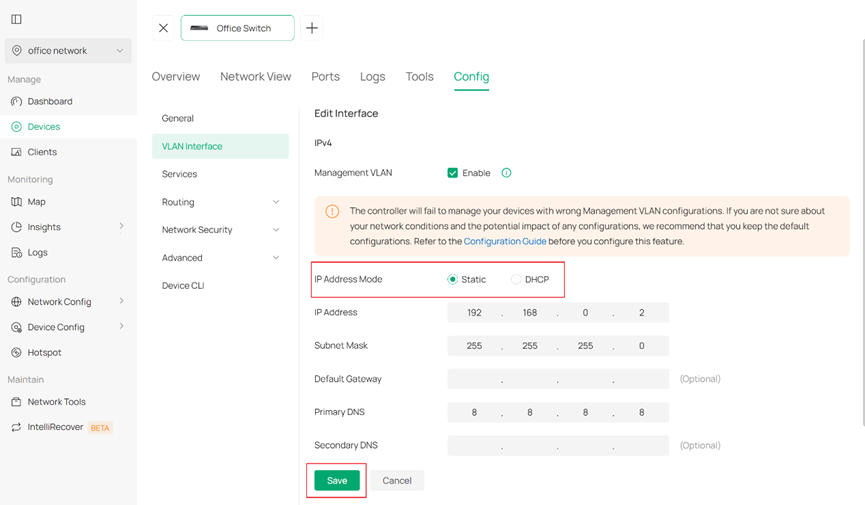
Go to Devices > Click your Switch > Manage Device, then in the device management interface, select Config > VLAN interface and click Edit button of the Management VLAN interface (Default), set Static as the IP Address Mode, and then assign the static IP address. When it is finished, simply click Save to save your configuration.
For Omada EAPs
Part 1: Controller V5
Go to Devices--->Click your Switch--->Config--->IP settings, select Static as the Mode, then assign the static IP addresses.

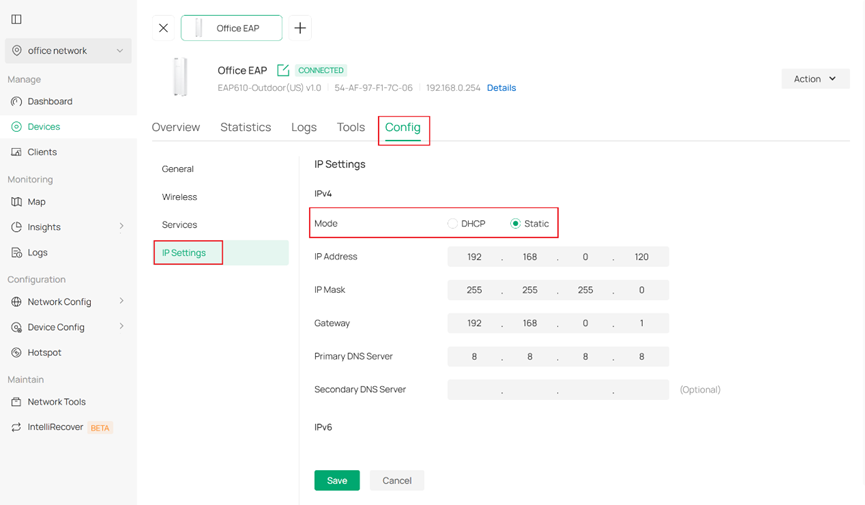
Part 2: Controller V6
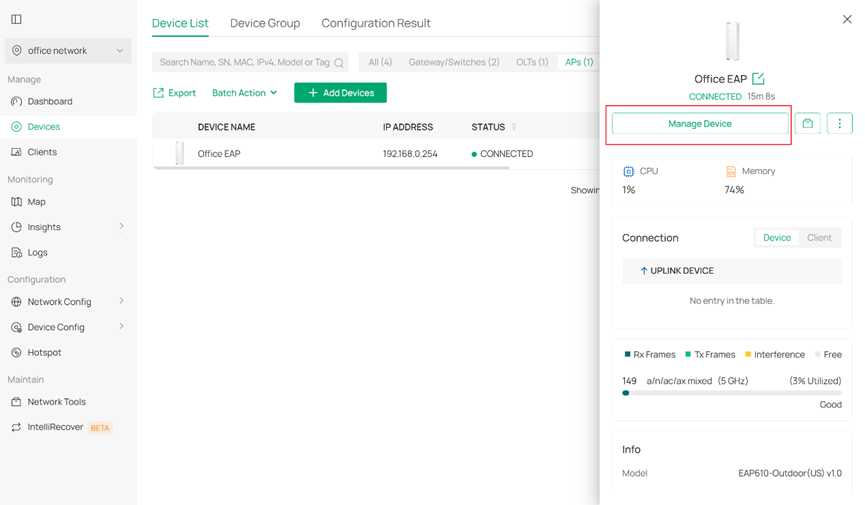
Go to Devices > Click your EAP > Manage Device, then in the device management interface, select Config > IP Settings and set Static as the IP Address Mode, and then assign the static IP address. When it is finished, still simply click Save to save your configuration.
Is this faq useful?
Your feedback helps improve this site.
TP-Link Community
Still need help? Search for answers, ask questions, and get help from TP-Link experts and other users around the world.