How to Set Up Your Tapo Smart Hub and Connect Hub to Your Router Wirelessly (Tapo H200)

Tapo H200
Recent updates may have expanded access to feature(s) discussed in this FAQ. Visit your product's support page, select the correct hardware version for your device, and check either the Datasheet or the firmware section for the latest improvements added to your product. Please note that product availability varies by region, and certain models may not be available in your region.
Follow the steps below to set up your Tapo smart hub using the Tapo app.
Step 1. Download the Tapo App
Go to Google Play or App Store or scan the QR code to download the Tapo app.
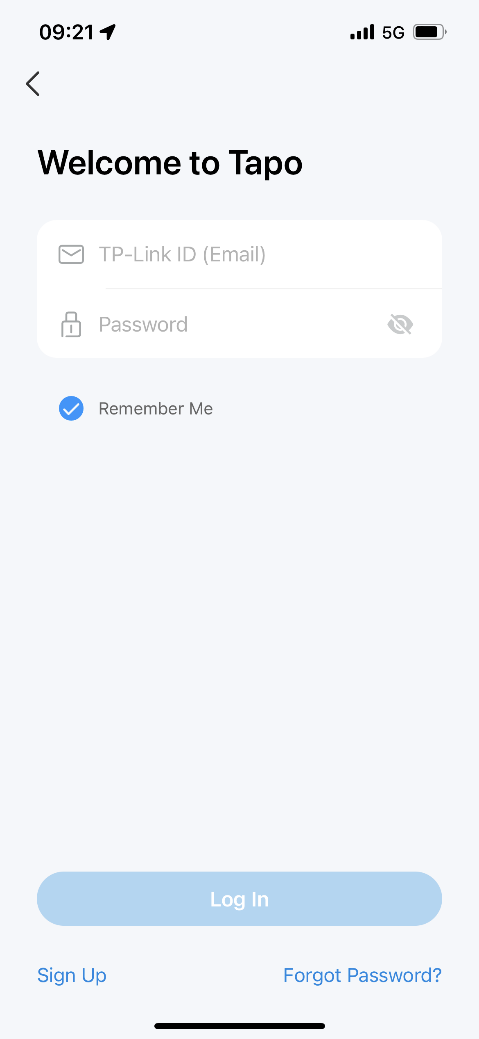
Step 2. Log In
Open the app and use your TP-Link ID to log in. If you don’t have a TP-Link ID, tap Sign Up to create one and the app will guide you through the rest.
Step 3. Set up the Hub
1. Tap the + button in the Tapo app, and select “Add Device”.
2. Select “Hubs” and then your product model.
3. Connect the hub to your router via an Ethernet cable, then power up the hub. Make sure your phone is connected to the same network as the hub. The LED on the hub should turn solid amber.
4. Tapo will look for your hub.
5. When the pairing is complete, give your Tapo hub a name, set the location, and customize its icon for you to identify it easily.
6. Follow the app instructions to insert a microSD card and place the hub in a proper location.
7. If you want to connect the hub to your router wirelessly, tap Connect to Wi-Fi. Select a network for your hub to connect to, type in the correct password, and confirm the password.
8. The hub will connect to your network wirelessly. The setup is complete. Then you can unplug the Ethernet cable between the router and the hub.
Note: If you forgot to connect to Wi-Fi during setup, there is another way to connect the hub and your router wirelessly. Follow the steps below.
1) Tap the device card, then tap the gear icon to enter the Device Settings page.
2) Tap Network Connection. Then tap Set Up Wi-Fi network.
3) Select a network for your hub to connect to, type in the correct password, and confirm the password.
4) The hub will connect to your network wirelessly. The setup is complete. Then you can unplug the Ethernet cable between the router and the hub.
Czy ten poradnik FAQ był pomocny?
Twoja opinia pozwoli nam udoskonalić tę stronę.
Jakie są Twoje uwagi dotyczące tego artykułu?
- Niezadowolenie z produktu
- Zbyt skomplikowany
- Mylący tytuł
- Nie dotyczy mnie
- Zbyt ogólnikowy
- Inne
Dziękujemy
Dziękujemy za przesłanie opinii.
Kliknij tutaj, aby skontaktować się ze Wsparciem technicznym TP-Link.
Sugerowane produkty
z United States?
Uzyskaj produkty, wydarzenia i usługi przeznaczone dla Twojego regionu.
Ta witryna wykorzystuje tzw. pliki cookies, aby usprawnić jej przeglądanie, w celu analizy ruchu oraz do jak najlepszej optymalizacji wyświetlanych treści. W każdej chwili można wyłączyć obsługę plików cookies. Więcej informacji na ten temat dostępnych jest w Polityce prywatności
Your Privacy Choices
Ta witryna wykorzystuje tzw. pliki cookies, aby usprawnić jej przeglądanie, w celu analizy ruchu oraz do jak najlepszej optymalizacji wyświetlanych treści. W każdej chwili można wyłączyć obsługę plików cookies. Więcej informacji na ten temat dostępnych jest w Polityce prywatności
Te pliki cookies niezbędne są do poprawnego działania witryny i nie moga zostać wyłączone.
TP-Link
accepted_local_switcher, tp_privacy_banner, tp_privacy_base, tp_privacy_marketing, tp_top-banner, tp_popup-bottom, tp_popup-center, tp_popup-right-middle, tp_popup-right-bottom, tp_productCategoryType
Youtube
id, VISITOR_INFO1_LIVE, LOGIN_INFO, SIDCC, SAPISID, APISID, SSID, SID, YSC, __Secure-1PSID, __Secure-1PAPISID, __Secure-1PSIDCC, __Secure-3PSID, __Secure-3PAPISID, __Secure-3PSIDCC, 1P_JAR, AEC, NID, OTZ
Analiza - Te pliki Cookies są wykorzystywane w celu analizy ruchu na naszej stronie, co umożliwia poprawę i dostosowanie wyświetlanych treści.
Marketing - Te pliki Cookies mogą być wykorzystywane przez naszych partnerów reklamowych podczas tworzenia profilu Twoich zainteresowań, co pozwala na wyświetlanie odpowiednich reklam na innych stronach.
Google Analytics & Google Tag Manager
_gid, _ga_<container-id>, _ga, _gat_gtag_<container-id>
Google Ads & DoubleClick
test_cookie, _gcl_au
Meta Pixel
_fbp
Crazy Egg
cebsp_, _ce.s, _ce.clock_data, _ce.clock_event, cebs
lidc, AnalyticsSyncHistory, UserMatchHistory, bcookie, li_sugr, ln_or