


How do I login to the web management page of the EAP Series products (Standalone mode)?
EAP series products can either work under the control of the Omada Controller software or work independently as a standalone access point. This FAQ shows you how to log in to its web interface on a standalone EAP.
Notes:
1. Old version of your web browser may cause compatibility problem with the web interface of EAPs. Please make sure the web browser is up to date.
2. The web interface of a specific EAP is not available once this EAP is adopted by the EAP Controller. Please close the EAP Controller software if any on your computer before trying to log into the web management page.
Typical scenario:

Step1
Make sure the management host (PC) is set as obtain an IP address automatically.
Here are some instructions about how to configure TCP/IP properties on your computer.
How to configure TCP/IP Properties of my computer
Step2
Connect the EAP to the router via Ethernet cable and connect your wireless devices to the EAP by using the default SSID printed on the label of the EAP device. The default SSID of the EAP is: TP-Link_2.4GHz_XXXXXX or TP-Link_5GHz_XXXXXX.
Note: XXXXXX represents the last 6 characters of the EAP's MAC address. Password is not required.
Step3
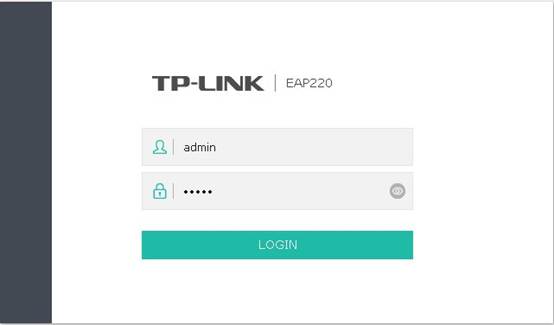
Launch a web browser, enter http://tplinkeap.net in the address bar and press the Enter Key. Enter admin (all lowercase) for both username and password to login.
Notes: Only when there is a DHCP server (router) in the same network with your EAP and the computer is connected to the EAP via wireless can you use the domain name http://tplinkeap.net to log into the web interface of the EAPs.
Typical scenario:
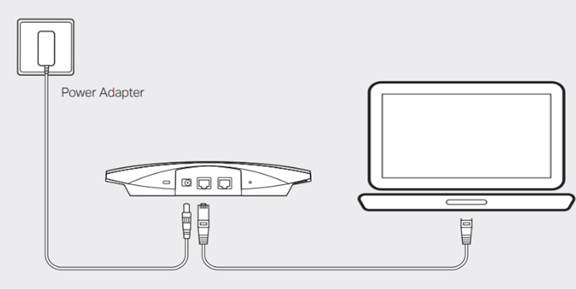
Step 1
Connect your computer to the EAP device with an Ethernet cable.
Step 2
Remember your computer’s current IP settings and manually assign a static IP address 192.168.0.100 for your computer.
For how to assign a static IP for your computer, please refer to this FAQ: How to configure TCP/IP Properties of my computer.
Step 3
Launch the web browser and enter the IP address 192.168.0.254. If you changed it before, you may need to do a hard reset on the EAP.

Step 4
Type in the username and password (both are admin in lower case by default) into the boxes of the login page and Login.

Step 5
Once you have finished configuring the EAP, revert your computer’s IP settings to what you have noted at the step 2.
Czy ten poradnik FAQ był pomocny?
Twoja opinia pozwoli nam udoskonalić tę stronę.
4.0-F_normal_20221110005015k.png)
4.0-F_normal_1593323303811i.png)
4.0-F_normal_1593323233431q.png)
z United States?
Uzyskaj produkty, wydarzenia i usługi przeznaczone dla Twojego regionu.