


How to establish L2TP Server by SMB VPN Router using the new GUI
Application Scenario
Taking an example for TL-R600VPN v4 to explain how to establish L2TP server by VPN router using the new GUI. The connection topology is as follows:

We configure TL-R600VPN v4 as L2TP server.
Configuration Steps
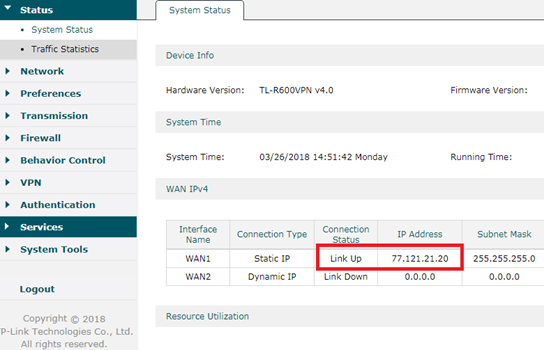
Step1:
Connect TL-R600VPN v4 as topology to make it access Internet successfully. Record its WAN1 port IP address 77.121.21.20, which would be filled in VPN client. The LAN ports subnet is 192.168.0.1/24.
Step2:
This step we create VPN IP address pool. When VPN client is connected to L2TP server successfully, server will assign a virtual IP address to client. This IP address comes from VPN IP address pool. Go to Preferences-->VPN IP Pool, Click Add.
On the popup page we name IP Pool Name as L2TP, configure Starting IP Address as 192.168.0.200, Ending IP Address as 192.168.0.250. Then click OK. So that VPN address pool is 192.168.0.200-192.168.0.250, which is in the same subnet with LAN ports subnet.

Note:
VPN IP address pool can be in the same subnet with LAN IP, and also can be different. When it is different from LAN IP subnet, we need to configure Multi-Nets NAT if VPN client want to take VPN Server as a proxy gateway. See more on How to access the internet by using VPN Server as a proxy gateway?.
Step3:
This step we enable L2TP. Go to VPN-->L2TP-->L2TP Server, click Add. On the popup page, choose WAN port as WAN1. Specify IPSec Encryption as Encrypted. (Here we select Encrypted, which means L2TP is encrypted by IPsec) And set the Pre-shared Key as 123456 for IPsec encryption. Then click OK.

Step4:
This step we create account name and password for L2TP VPN client. Go to VPN--->Users, click Add. Also there will be a popup page for us to set. Here we specify Account Name as tplink, Password as tplink. Select Protocol as L2TP. Configure Local IP Address as 192.168.0.199 (Local IP Address is local VPN virtual network IP address. It’s suggested that we configure it in the same subnet with Lan IP). On the below options, we specify IP Address Pool as L2TP we created above, DNS Address as 8.8.8.8, Network Mode as Client-to-LAN, Max Connections as 5. Then click OK.

Till now, we have finished configuring L2TP Server in the router.
As for client side configuration on remote PC, please refer to this FAQ: How to configure PPTP/L2TP client on remote PC?.
Ez a GY.I.K. hasznos volt?
Véleménye segíti az oldal fejlesztését