


How to preconfigure WAN settings on Omada Controller (v5 or above)
In some scenarios, you may have Omada EAPs and switches but no Omada gateway in the network, and you want to replace the original router with an Omada gateway. You can follow this article to preconfigure WAN settings before adopting the Omada gateway.
Configuration
Step 1. Enable WAN Settings Override, select gateway model and configure the number of WAN ports.
Log in Omada controller, go to Settings-Wired Networks-Internet, you’ll see the page like below.
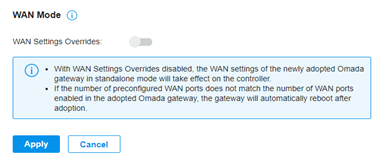
By default, WAN Settings Overrides is Disabled. Please enable it to get the page like below.
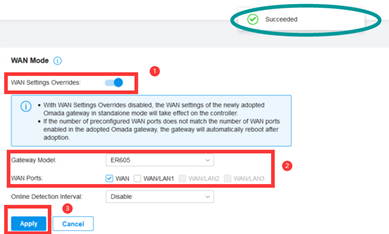
Select the corresponding gateway in Gateway Model and configure the WAN ports as required. Click Apply to save the configurations.
Note: Online detection interval is used for Link Backup feature. If you do not want to use this feature, you can keep it disabled.
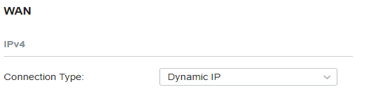
Step 2. Set up WAN Settings.
Next, you can select the corresponding connection type and type in the information provided by ISP below.
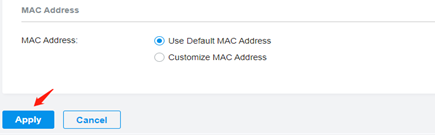
After configuration, remember to click Apply button at the bottom of the page to save the configuration.
Note: If you do not know the connection type and the corresponding information to type in, please contact your ISP or check it in the previous gateway.
Step 3. Adopt Omada Gateway
Please refer to this article to adopt Omada gateway.
To get to know more details of each function and configuration please go to Download Center to download the manual of your product.
Finden Sie diese FAQ hilfreich?
Mit Ihrer Rückmeldung tragen Sie dazu bei, dass wir unsere Webpräsenz verbessern.
Von United States?
Erhalten Sie Produkte, Events und Leistungen speziell für Ihre Region