How to use the Recovery Mode to recover the firmware for Omada Hardware Controller

OC200 , OC300
Recent updates may have expanded access to feature(s) discussed in this FAQ. Visit your product's support page, select the correct hardware version for your device, and check either the Datasheet or the firmware section for the latest improvements added to your product. Please note that product availability varies by region, and certain models may not be available in your region.
In a few cases, your Omada Hardware Controller may become bricked during the firmware upgrade. The most common cause is an unpredictable power failure. This article will guide you to enter the Recovery Mode to recover the firmware.
Step 1. Prepare the firmware.
Download the latest firmware for your Omada Hardware Controller from TP-Link’s official website, unzip to get the .bin file.
For OC200: https://www.tp-link.com/support/download/oc200/#Firmware
For OC300: https://www.tp-link.com/support/download/oc300/#Firmware
Step 2. Configure the computer for recovery
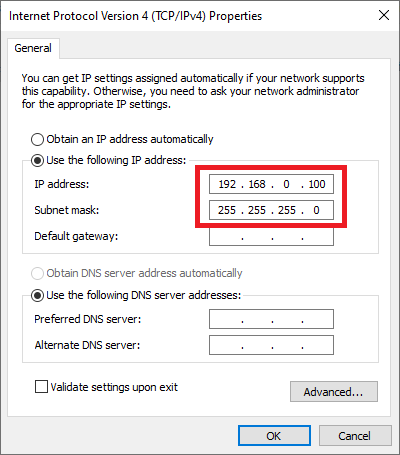
Go to Control Panel -> Network and Internet -> Network and Sharing Center -> Change adapter settings, right-click your Ethernet adapter go to properties -> Internet Protocol Version 4 (for a detailed guide, please refer to How to configure wired TCP/IP Properties of my computer?), and set the IP address/subnet mask as 192.168.0.100/255.255.255.0, as shown below.
Step 3. Force Omada Hardware Controller into Recovery Mode.
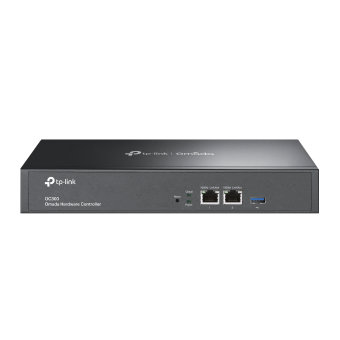
Unplug the power cable of the Omada Hardware Controller and connect your computer with Omada Hardware Controller directly. It is highly recommended that connect your computer to the ETH2 port of your Omada Hardware Controller.
Press and keep holding the RESET button, then plug in the power cable, after that, the Cloud LED and the LEDs of the connected ports will flash, then wait until the Cloud LED extinguishes, now you can release the RESET button.
Note: If you connect your computer with the ETH2 port of the controller, you can also use ETH1(PoE IN) port for the PoE power supply.
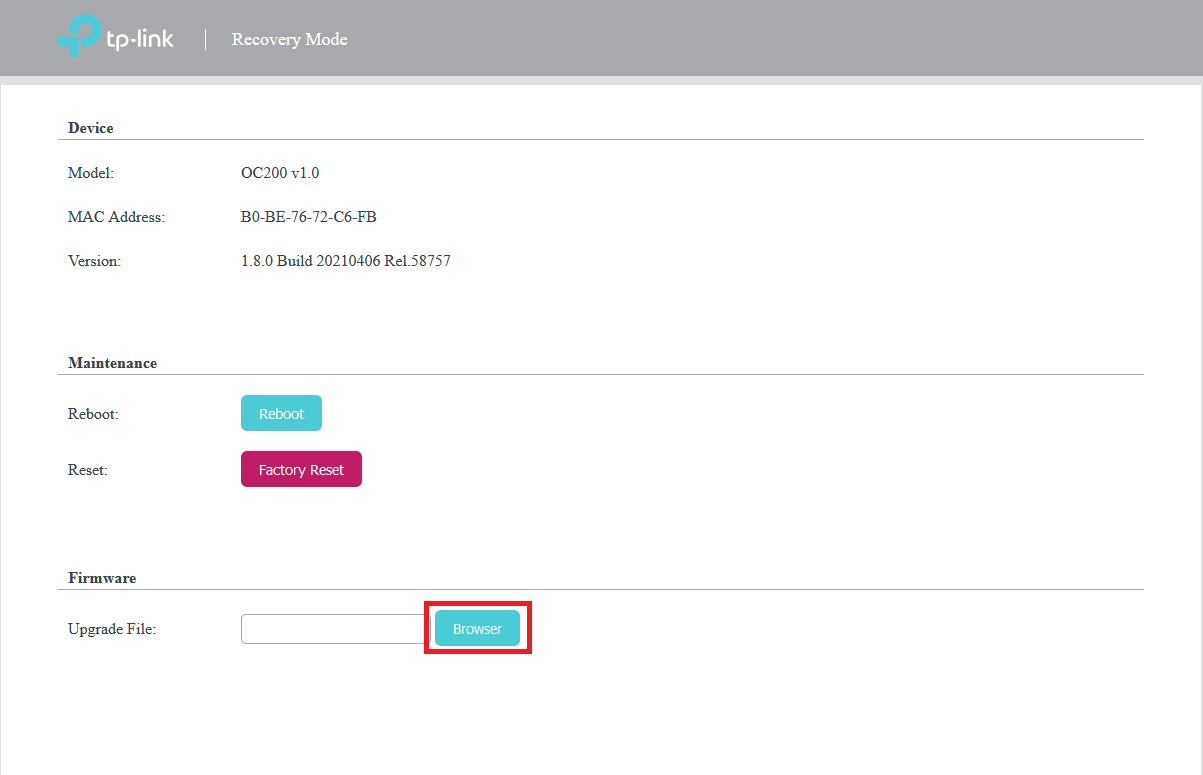
Step 4. Open a Browser to upload the firmware.
Open a browser and input 192.168.0.253 to the address bar, you will enter the following page. Click “Browse” to select the firmware (.bin file), then click “Upgrade Now”. After upgrading, the controller will reboot and work normally.
Note: Firmware recovery will keep all the configurations unless recovering the OC200 with an earlier version of firmware than the current one.
Related Articles:
How to configure wired TCP/IP Properties of my computer?
What to do if you cannot find the page of Omada SDN Controller?
How to back up and restore the configuration and data of your Software Controller (or OC 200)
Looking for More
Is this faq useful?
Your feedback helps improve this site.
What’s your concern with this article?
- Dissatisfied with product
- Too Complicated
- Confusing Title
- Does not apply to me
- Too Vague
- Other
Thank you
We appreciate your feedback.
Click here to contact TP-Link technical support.
Recommend Products

TP-Link Community
Still need help? Search for answers, ask questions, and get help from TP-Link experts and other users around the world.
This website uses cookies to improve website navigation, analyze online activities and have the best possible user experience on our website. You can object to the use of cookies at any time. You can find more information in our privacy policy . Don’t show again
Basic Cookies
These cookies are necessary for the website to function and cannot be deactivated in your systems.
TP-Link
SESSION, JSESSIONID, accepted_local_switcher, tp_privacy_base, tp_privacy_marketing, tp_smb-select-product_scence, tp_smb-select-product_scenceSimple, tp_smb-select-product_userChoice, tp_smb-select-product_userChoiceSimple, tp_smb-select-product_userInfo, tp_smb-select-product_userInfoSimple, tp_top-banner, tp_popup-bottom, tp_popup-center, tp_popup-right-middle, tp_popup-right-bottom, tp_productCategoryType
Youtube
id, VISITOR_INFO1_LIVE, LOGIN_INFO, SIDCC, SAPISID, APISID, SSID, SID, YSC, __Secure-1PSID, __Secure-1PAPISID, __Secure-1PSIDCC, __Secure-3PSID, __Secure-3PAPISID, __Secure-3PSIDCC, 1P_JAR, AEC, NID, OTZ
Zendesk
OptanonConsent, __cf_bm, __cfruid, _cfuvid, _help_center_session, _pendo___sg__.<container-id>, _pendo_meta.<container-id>, _pendo_visitorId.<container-id>, _zendesk_authenticated, _zendesk_cookie, _zendesk_session, _zendesk_shared_session, ajs_anonymous_id, cf_clearance
Analysis and Marketing Cookies
Analysis cookies enable us to analyze your activities on our website in order to improve and adapt the functionality of our website.
The marketing cookies can be set through our website by our advertising partners in order to create a profile of your interests and to show you relevant advertisements on other websites.
Google Analytics & Google Tag Manager
_gid, _ga_<container-id>, _ga, _gat_gtag_<container-id>
Google Ads & DoubleClick
test_cookie, _gcl_au