How to create a VLAN using Omada App
Contents
Objective
This article will show you how to create a VLAN using Omada App step by step.
Requirements
- Omada Controller
- Omada App V5
- Omada Gateway & switch & AP
Introduction
VLAN configuration is a frequently used function in Omada Controller. Now with the management on the Omada App, you can simply complete the VLAN setup in a few steps.
Configuration
Step 1.
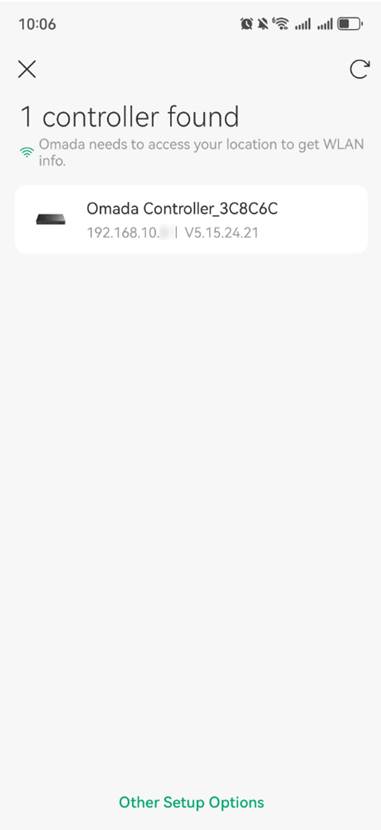
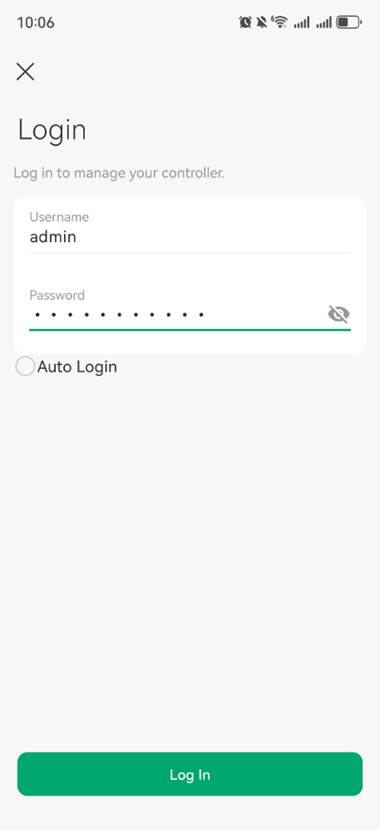
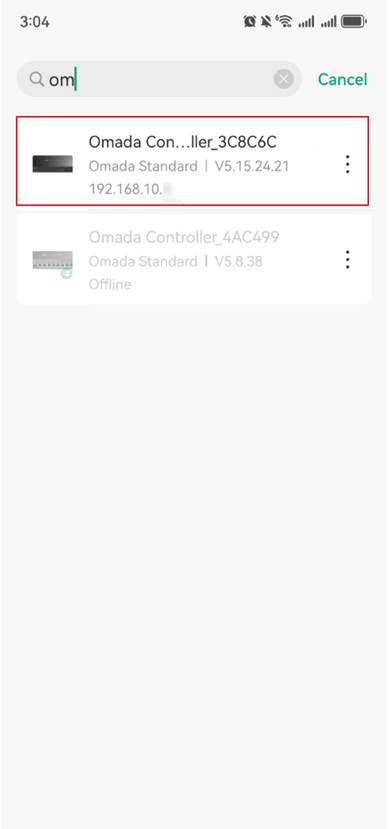
Launch the Omada Controller in which you want to set up a VLAN.
You can connect to the EAP’s SSID and scan the Controller in the local network, or switch to the Controller mode to check the Controller via cloud remotely.
Step 2.
Launch the site in which you want to configure a VLAN.

Step 3.
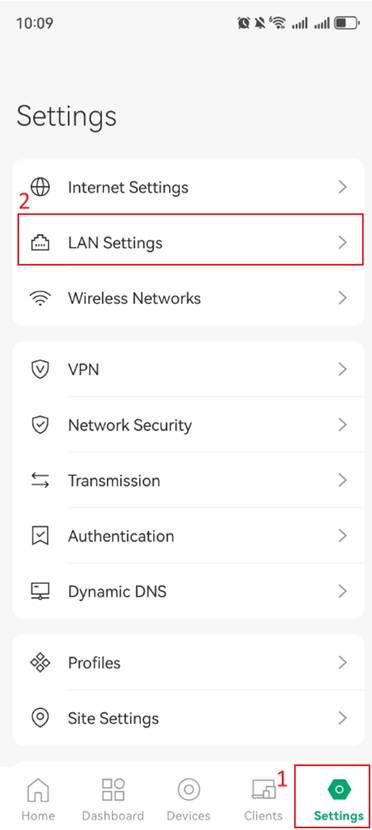
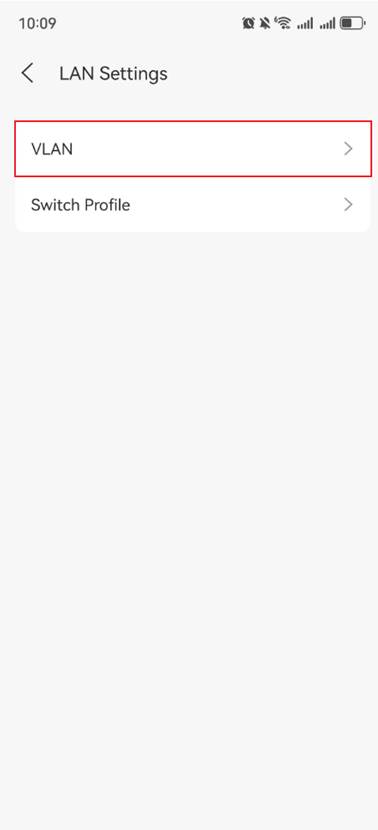
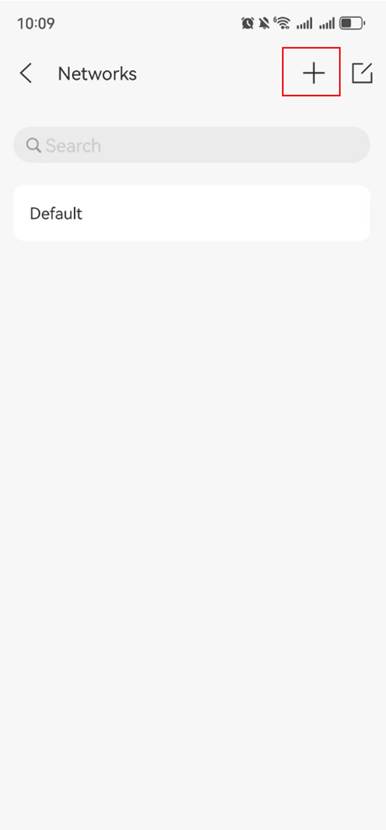
Go to Settings > LAN Settings > VLAN and click “+” on the upper right corner to create a new VLAN and put the necessary information as expected.
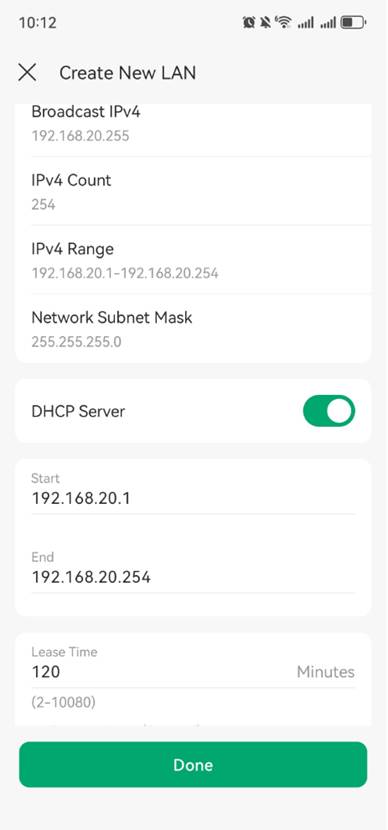
Next, you can configure the Name, Purpose, LAN interface and VLAN for this network.
Note: For purpose configuration, when the interface is selected, a Layer 3 interface will be generated for the VLAN, and you will need to select all the ports included in the VLAN.
When VLAN is selected, a Layer 2 interface will be generated for the VLAN, and all LAN ports of the gateway will be added to the VLAN, and you do not need to manually select the ports included in the VLAN. Note that it is not common for the gateway to use a pure Layer 2 VLAN.
Here, we use Interface as an example.

Step 4.
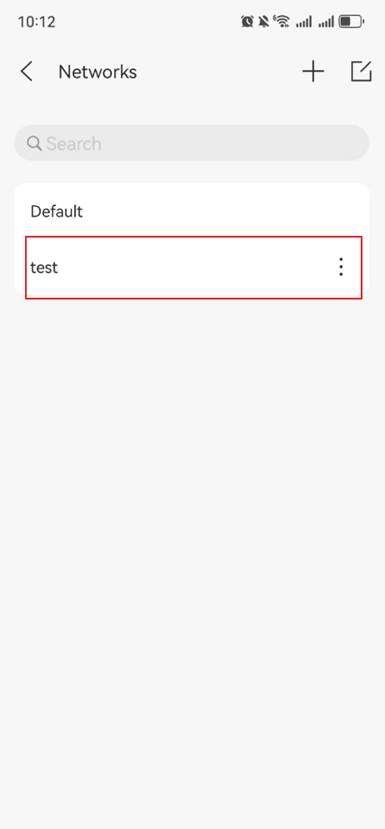
Go back to the networks page, you will see the VLAN network you just created.
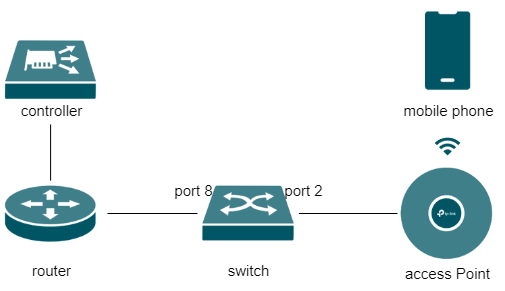
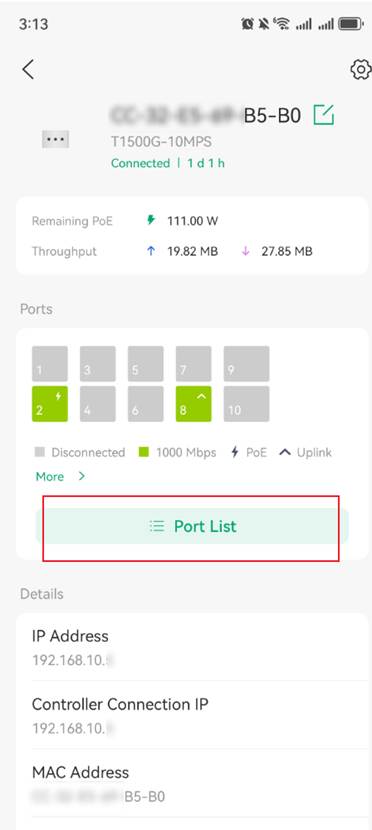
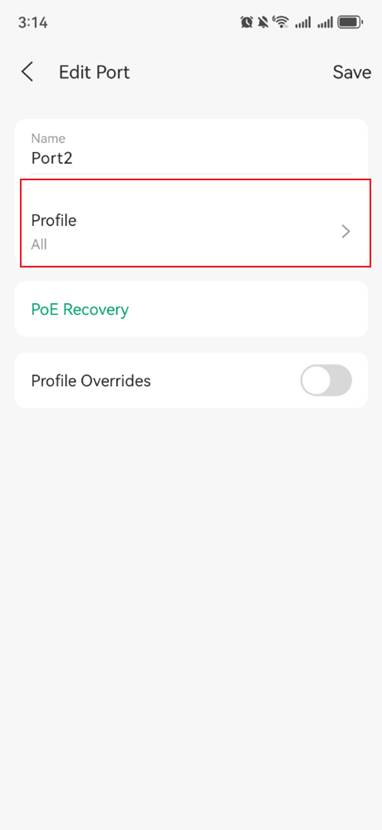
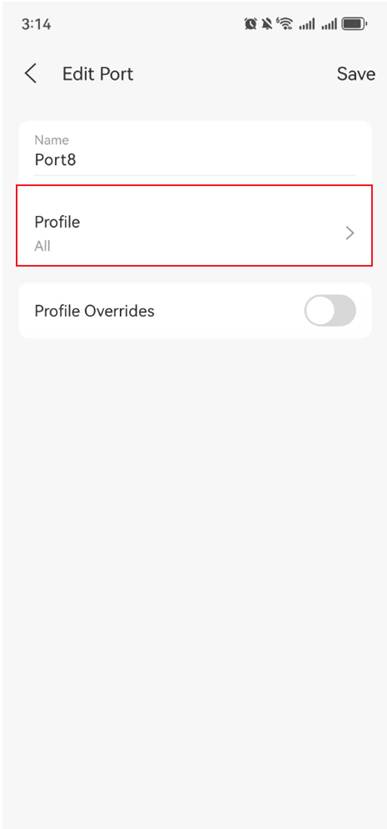
Go back to Devices > Switch > Port list to make sure the uplink port to ensure both the uplink port connecting to the router and the downlink port connecting to the EAP on the switch are configured with the “All” profile.
Step 5.
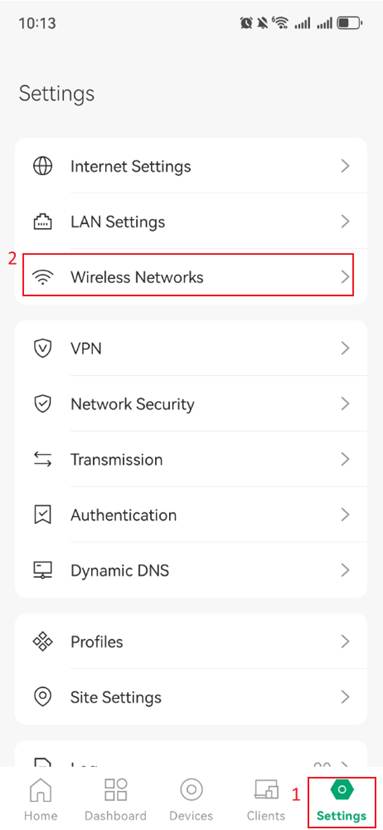
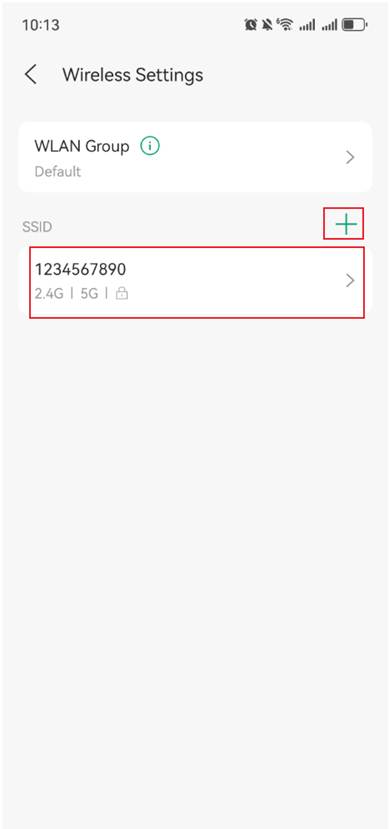
Go to Settings > Wireless Networks > WLAN to set the VLAN ID for the SSID you want to configuration.

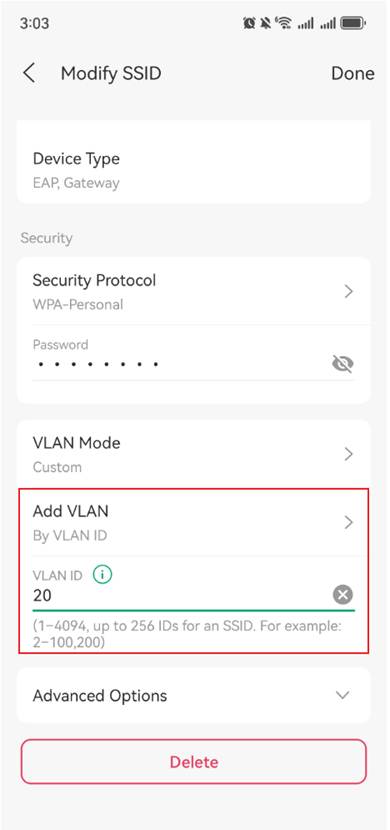
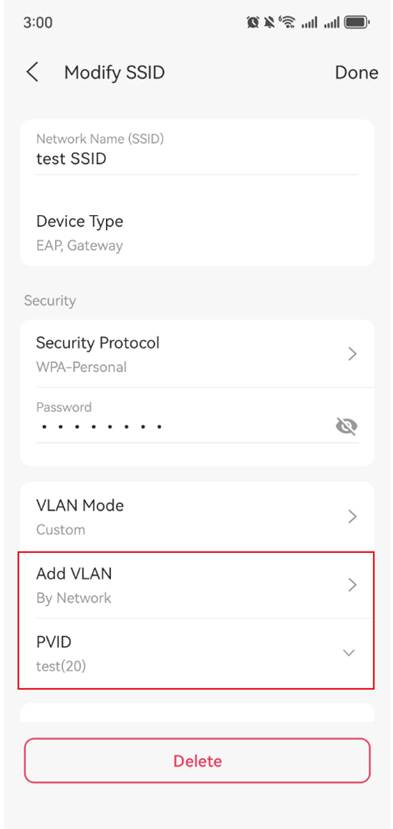
You can choose to modify an existing wireless network directly, or click the “+” button to create a new network. When configuring VLANs for your wireless network, you can choose between “By VLAN ID” or “By Network.”
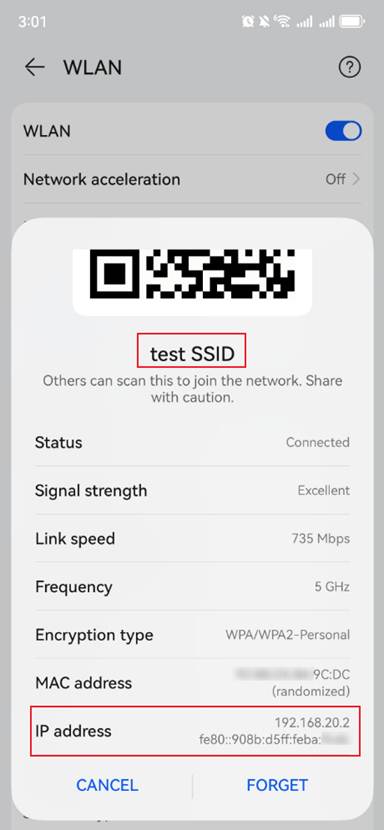
Verification
Try to connect to the SSID configured with VLAN on your mobile device and verify the IP address. Upon verification, the address is confirmed to be within the same subnet as the new VLAN.
Conclusion
With the above steps, you can complete the VLAN setup using Omada App.
Get to know more details of each function and configuration please go to Download Center to download the manual of your product.
這篇faq是否有用?
您的反饋將幫助我們改善網站