


Does my device support the Omada app?
Follow the steps below to make sure the Omada app is supported on your Omada device.
1. Find out firmware version of your Omada device.
Follow the steps below to find the firmware version of your device ( Click here to know how to find the hardware versions) :
- STEP1
- STEP2
- STEP3
- STEP4
-
STEP1
Power on the EAP and connect to the SSID of the EAP wirelessly.
Tips: If your EAP is a brand new EAP, use the default SSID (format: Omada_2.4GHz/5GHz_XXXXXX) printed on the product label.

-
STEP2
Launch a web browser and enter http://omadaeap.net in the address bar.

-
STEP3
Enter the username and password of your EAP to log in.
Note: If your EAP is a brand new EAP, use the default username and password that are both admin.

-
STEP4
Go to the Monitoring > AP > Device Information page. You can view the Firmware Version as the following figure shows. The Build number indicates the released date, for example, 20180411 means the released date is April 11th, 2018.

2. Check compatibility
View the compatible devices list below to check if your device is compatible with Omada app. Please click the device image and check if you have the latest firmware. If not, download the latest firmware and follow the instructions in Step 3 to upgrade it.
Note 1: Both listed and higher hardware versions of these models are compatible with Omada APP.
Note 2: All the access points listed below are compatible with Omada App in both controller and standalone modes. While all the switches and routers listed below are compatible with Omada App only in controller mode.
*EAP245 V1, EAP225 V2/ V1, EAP115 V2/ V1, EAP110 V2/ V1, and EAP110-Outdoor V1 are also compatible with Omada App in standalone mode.
Access Points (Compatible in Controller and Standalone Modes)
-

EAP783
BE22000 Ceiling Mount Tri-Band Wi-Fi 7 Access Point
-

EAP773
BE11000 Ceiling Mount Tri-Band Wi-Fi 7 Access Point
-

EAP772 (EU) V2
BE9300 Ceiling Mount Tri-Band Wi-Fi 7 Access Point
-

EAP723
BE5000 Ceiling Mount Wi-Fi 7 Access Point
-

EAP683 UR
AX6000 Ceiling Mount WiFi 6 Access Point
-

EAP673
AX5400 Ceiling Mount WiFi 6 Access Point


4.0-F_normal_1593323223226a.png)
4.0-F_normal_1593323206680k.png)


4.0-F_normal_1593323197059j.png)
4.0-F_normal_20221109110336g.png)


4.0-F_normal_1593323303811i.png)


4.0-F_normal_1593323233431q.png)

แสดงทั้งหมด 35 Access Points (Compatible in Controller and Standalone Modes)
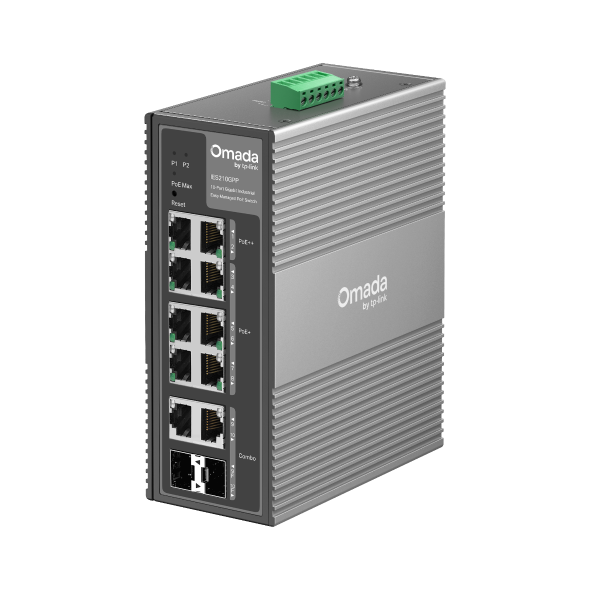
Switches (Compatible in Controller Mode)
-

SX3832
Omada 24-Port 10GBASE-T L2+ Managed Switch with 8 10GE SFP+ Slots
-

SX3032F
Omada 32-Port 10GE SFP+ L2+ Managed Switch
-

SG3428XMPP
Omada 24-Port Gigabit and 4-Port 10GE SFP+ L2+ Managed Switch with 16-Port PoE+ & 8-Port PoE++
-
1.0_Omada_Enterprise_L3_Switch-Front_normal_20231109113449q.png)
SG6654X
Omada 48-Port Gigabit Stackable L3 Managed Switch with 6 10G Slots
-

SG3452XP V2.2
Omada 48-Port Gigabit and 4-Port 10GE SFP+ L2+ Managed Switch with 48-Port PoE+
-

SG3452P V3.30
Omada 52-Port Gigabit L2+ Managed Switch with 48-Port PoE+


1.20_normal_20231117070354g.png)
1_normal_20240416214256n.png)
1.0_normal_20231110073416j.png)
1.0_Omada_Enterprise_L3_Switch-1000px_normal_20231110111227a.png)


3.0_overview_normal_1599720750009t.png)


1.0_Omada_2.5G_Switch-1000px_normal_20231109030542p.png)


1.0_Omada_Enterprise_L3_Switch-1000px_normal_20231110114352k.png)


แสดงทั้งหมด 44 Switches (Compatible in Controller Mode)
Routers (Compatible in Controller Mode)
-

ER7406
Omada Gigabit Rackmount/Desktop VPN Gateway
-

ER8411
Omada VPN Router with 10G Ports
-

ER7212PC
Omada 3-in-1 Gigabit VPN Router
-
1.0_normal_1609659027171k.png)
ER7206
Omada Gigabit VPN Router
-
1.0-F2-huidu_normal_20230209025313d.png)
ER707-M2
Omada Multi-Gigabit VPN Router
-

ER605
Omada Gigabit VPN Router

แสดงทั้งหมด 7 Routers (Compatible in Controller Mode)
Routers (Compatible in Controller and Standalone Modes)
-

ER706W-4G
Omada 4G+ Cat6 AX3000 Gigabit VPN Router
-
1.0_01_normal_20231207030929b.png)
ER706W
Omada AX3000 Gigabit VPN Router
-

ER703WP-4G-Outdoor
Omada 4G+ Cat6 AX3000 Wi-Fi 6 Outdoor/Indoor Gateway
3. Upgrade the firmware of your Omada device.
Follow the steps below to upgrade the firmware of your device:
- STEP1
- STEP2
- STEP3
- STEP4
-
STEP1
Power on the EAP and connect to the SSID of the EAP wirelessly.
Tips: If your EAP is a brand new EAP, use the default SSID (format: Omada_2.4GHz/5GHz_XXXXXX) printed on the product label.

-
STEP2
Launch a web browser and enter http://omadaeap.net in the address bar.

-
STEP3
Enter the username and password of your EAP to log in.
Note: If your EAP is a brand new EAP, use the default username and password that are both admin.

-
STEP4
Go to the System > Firmware Update page. Click the button, locate and choose the correct firmware file from your host. Then click the button to update the firmware of the EAP. After upgraded, the EAP will be rebooted automatically.

