How to Find the MAC Address of Your Computer on Windows and Mac
A media access control (MAC) address is a unique identifier assigned to a network adapter. You may need to find your MAC address when setting up MAC address clone, configuring IP and MAC address binding, or troubleshooting a network connection. Knowing how to find your MAC address on a computer is straightforward, and this page covers the process for Windows XP, Vista, 7, 8, and 10, as well as Mac OS.
Key Takeaways
- A MAC address (also called a physical address) is a unique identifier assigned to a network adapter. On Windows, it can be found via Control Panel. On macOS, it is found in System Preferences.
- On Windows 10, the MAC address can be found via Control Panel > Network and Internet > Network and Sharing Center > Change Adapter Settings, or through the network icon in the system tray.
- On Windows 7, Vista, and XP, the MAC address can be found by navigating to Network Connections in Control Panel and checking the Status > Details for the relevant connection.
- On Windows 8, the MAC address is found under Control Panel > Network and Internet > Network and Sharing Center > Change Adapter Settings > Ethernet/Wi-Fi > Status > Details.
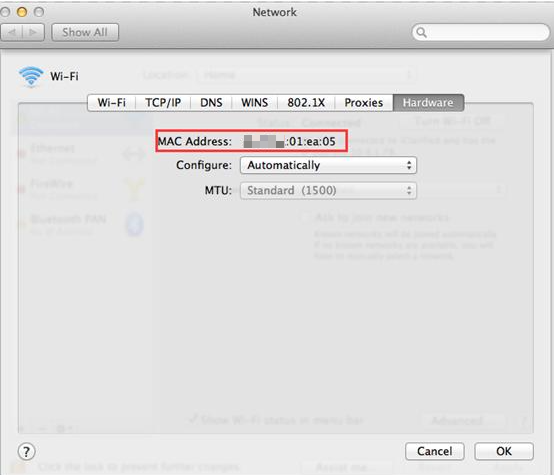
- On macOS, the Wi-Fi MAC address is found under System Preferences > Network > Wi-Fi> Advanced > Wi-Fi tab, and the Ethernet MAC address is found under the Hardware tab.
Before You Begin
Choose the operating system of your computer. Through Control Panel:

How to Check MAC Address on Windows XP
Step 1. Click Start > Control Panel > select and click Network and Internet Connections (If you cannot find it, please go next) > select and double click Network Connections.
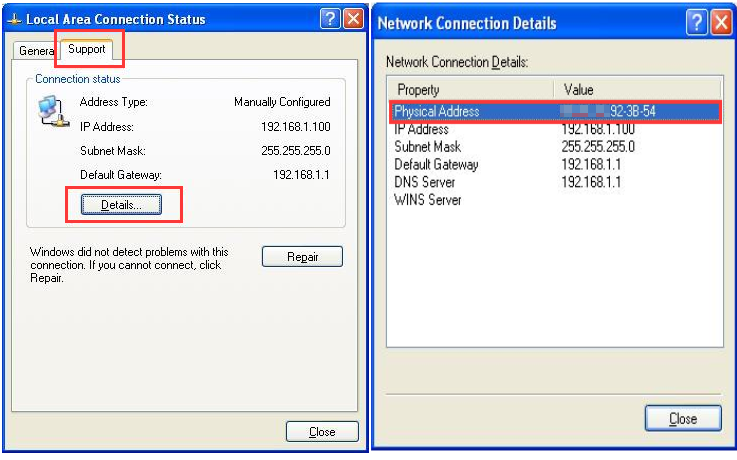
Step 2. Highlight and right-click the Local Area Connection icon (if your computer is connected to a wireless network, please click the Wireless network connection icon); then click Status, and go to Support and Details. The physical address shown is your computer's MAC address.

How to Check MAC Address on Windows Vista
Step 1. Click Start > Control Panel > Network and Internet > Network and Sharing Center.
Step 2. In the task list, please click Manage network connections( If your computer is connected to a wireless network, please click the Wireless network connection icon). Highlight and right-click the Local Area Connection icon; click on Status and go to Details. The physical address shown is your computer's MAC address.

How to Check MAC Address on Windows 7
Step 1. Click Start > Control Panel > Network and Internet > Network and Sharing Center.
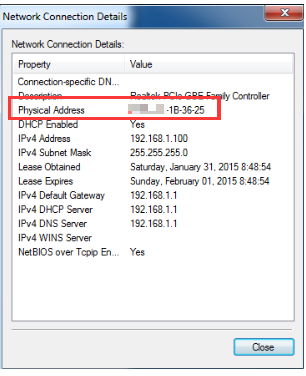
Step 2. In the task list, please click Change adapter settings. Highlight and right-click the Local Area Connection icon (if your computer is connected to a wireless network, please click the Wireless network connection icon); click Status, then go to Details. The physical address shown is your computer's MAC address.
How to Check MAC Address on Windows 8
Step 1. Go to the Control Panel.
There are several ways to open the Control Panel on Windows 8.
- Press “Windows key
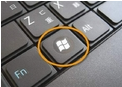 +F”, a search box will come out, please input " Control Panel," and press enter.
 - Press “Windows key + R“ to open the Run box, type 'control panel,' and press Enter.
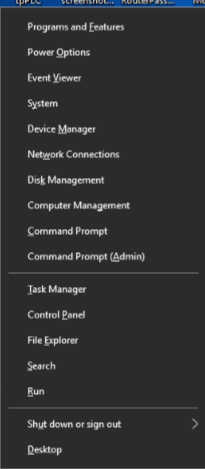
- Press “Windows key +X”, and click on “Control Panel”;
- You can also type 'control panel' in the search bar on the right side of the screen.
Step 2. Click Network and Internet > Network and Sharing Center, then click Change adapter settings on the left side.
Step 3. Highlight and right-click Ethernet (if your computer is connected to a wireless network, please click the Wi-Fi icon), then go to Status > Details. The physical address shown is your computer's MAC address.

How to Check MAC Address on Windows 10
Method 1
Step 1. Go to Control Panel. Press Windows key+X at the same time and select Control Panel.
Step 2. Click Network and Internet > Network and Sharing Center, then click Change adapter settings on the left side.
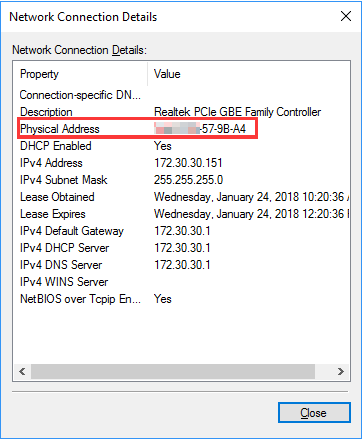
Step 3. Highlight and right-click on Ethernet, go to Status > Details. The physical address shown is your computer's MAC address.
Method 2
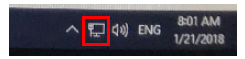
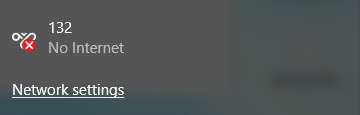
Step 1. Click the network icon (may look like a computer or Wi-Fi signal) in the task tray. Go to Network settings.

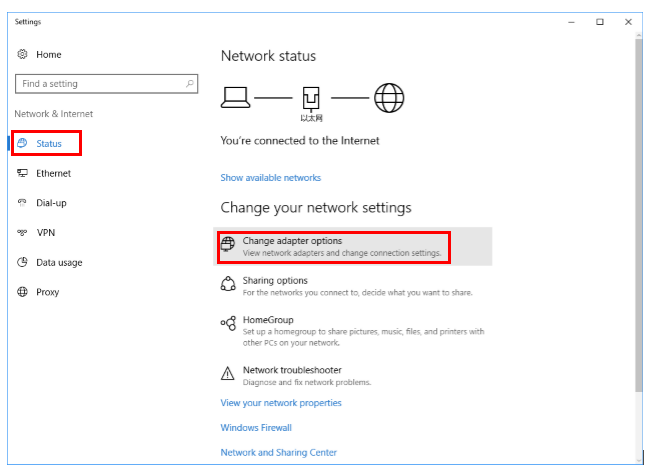
Step 2. Click Ethernet > Change adapter options. Or click Status > Change adapter options.
Step 3. Highlight and right-click on Ethernet, go to Status > Details. The physical address shown is your computer's MAC address.
How to Check the MAC Address on Mac OS
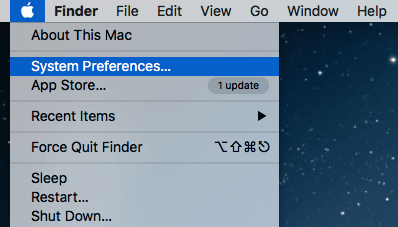
Step 1. Click the Apple icon, then select System Preferences from the Apple drop-down list.
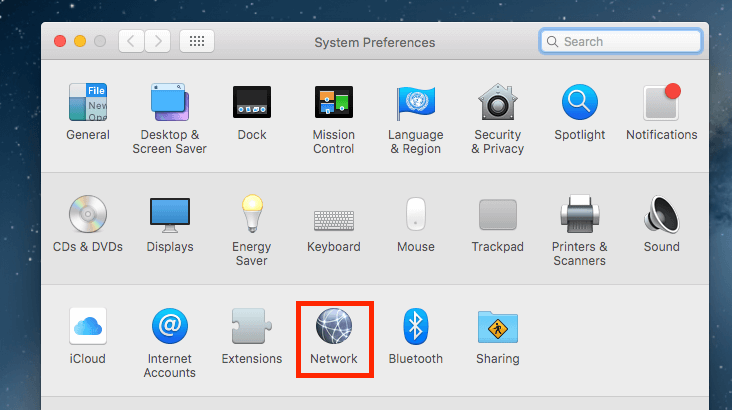
Step 2. Click the Network icon.
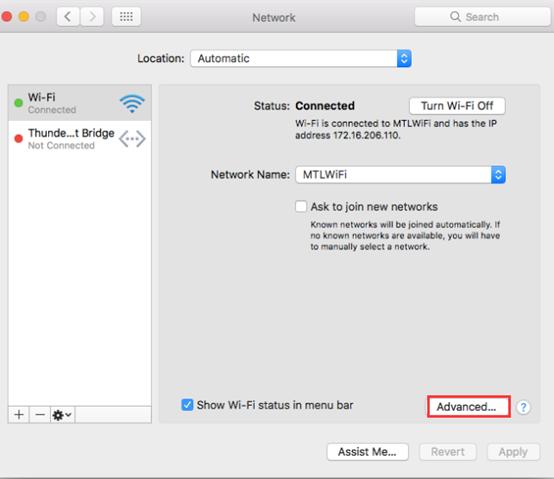
Step 3. In the left column, select Ethernet (for wired connection) or Wi-Fi (for wireless connection). Then click Advanced in the lower-right corner.
Step 4. Click the "Wi-Fi" tab in the Wi-Fi window. Your MacBook's Wi-Fi MAC address is listed at the bottom of the window as the "Wi-Fi Address."
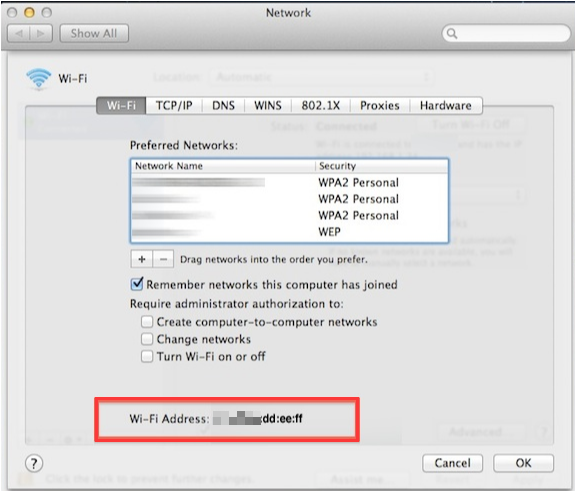
Step 5. The Ethernet MAC address. Click the "Hardware" tab in the Ethernet window. The Ethernet MAC address is listed right below the tabs.
To learn more about each function and configuration, please visit the Download Center to download the manual for your product.