Using HomeCare parental controls on a TP-Link Router
This guide will walk you through the steps for setting up and using parental controls on a HomeCare enabled TP-Link router.
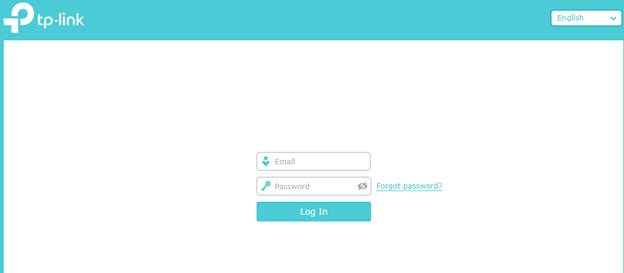
Step 1: Launch a Web Browser (Example: Internet Explorer, Google Chrome, or Safari) and click on the address bar and type either “tplinkwifi.net” or “192.168.0.1”


Step 2: Log into your router using your TP-Link cloud account.
Step 3: Click on Basic – HomeCare – Parental Controls
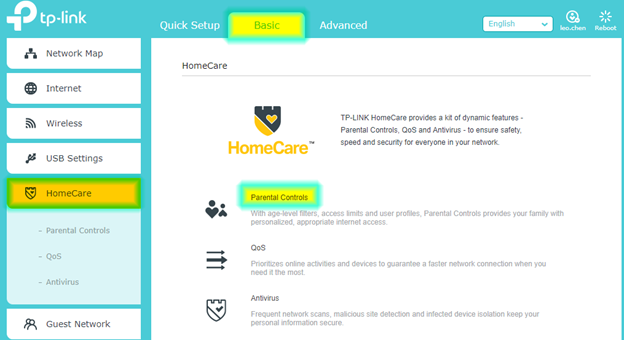
*Note: You may also use the path Advanced – Parental Controls
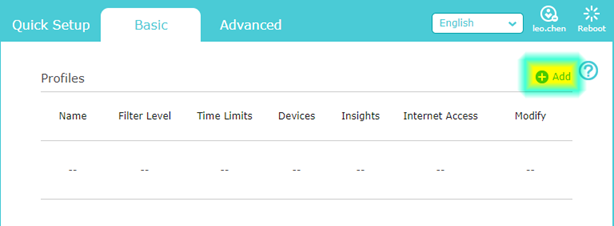
Step 4: Click ‘Add’
Step 5: Give the profile a name, then click the “+” under devices
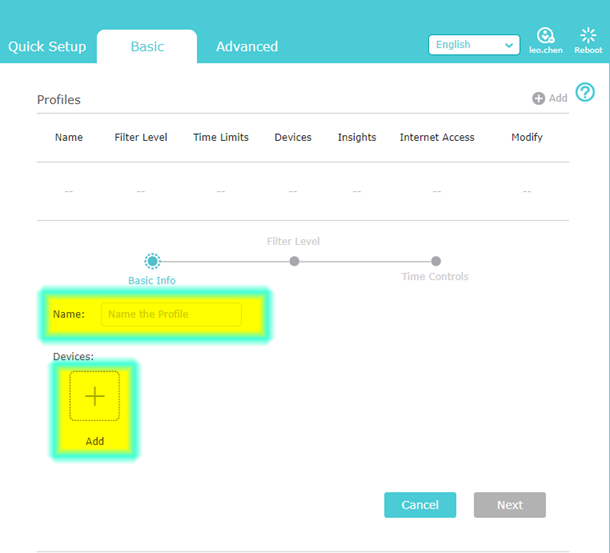
Step 6: Select the devices you want to add and then click “Add”
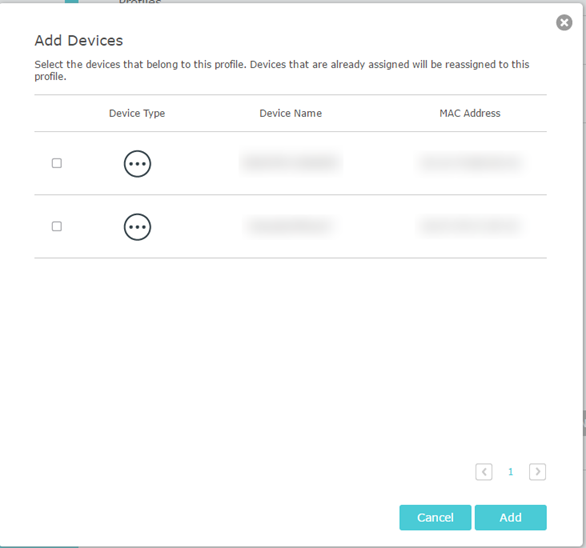
Step 7: Verify the information is valid and click “Next”

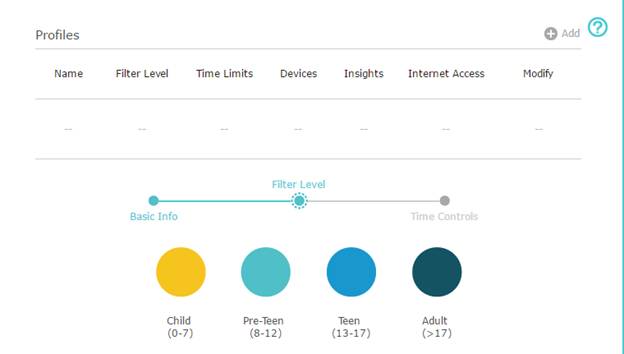
Step 8: Choose a filter preset
Step 9: Once you select a filter level, a drop-down menu will appear. Here you can add or remove categories. Once you have completed the configuration click “Next”.
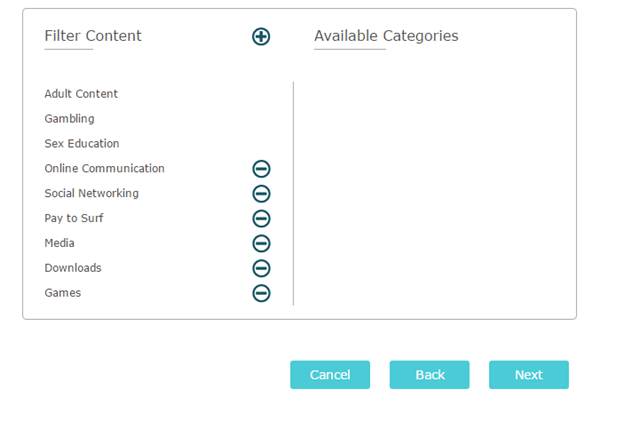
*Note: Each filter level, Child through Teen, will have presets that cannot be deselected.
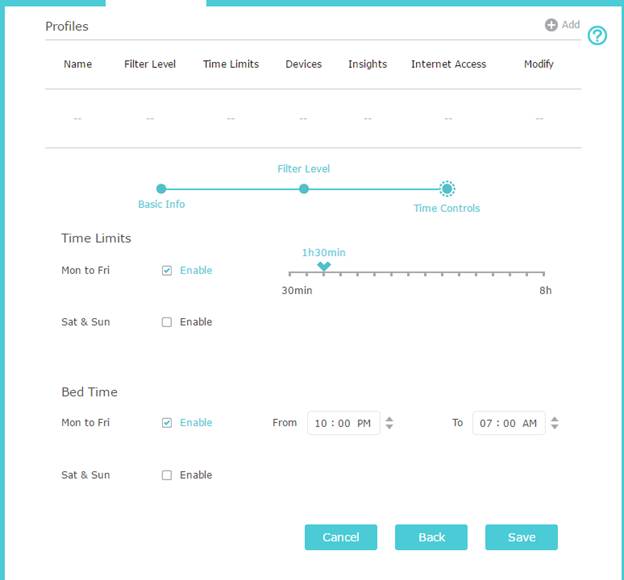
Step 10: Choose the desired time limits and bed time settings. Each time setting notch is a increment of 30 minutes. Once done click “Save”
Get to know more details of each function and configuration please go to Download Center to download the manual of your product.