


How to configure basic wireless settings of my TP-Link EAP via Omada Controller?
This Article Applies to:
If you don't have the Omada Controller, please refer to How to configure basic wireless settings of my TP-Link EAP in Standalone mode?
Note:
- If it is the first time to install and configure your EAP devices, we recommend you to refer to the Setup Video instead for more detailed guidance.
- To learn the difference between the two configuration modes. Please refer to the setup-video A Quick Overview of EAP Management Methods.
In this instruction, we take Omada SDN Controller 4.1.5 as demonstration, the steps are similar to other Controller versions.
- Log in to the management interface using the username and password, which should be created in the initial installation of your Omada Controller.
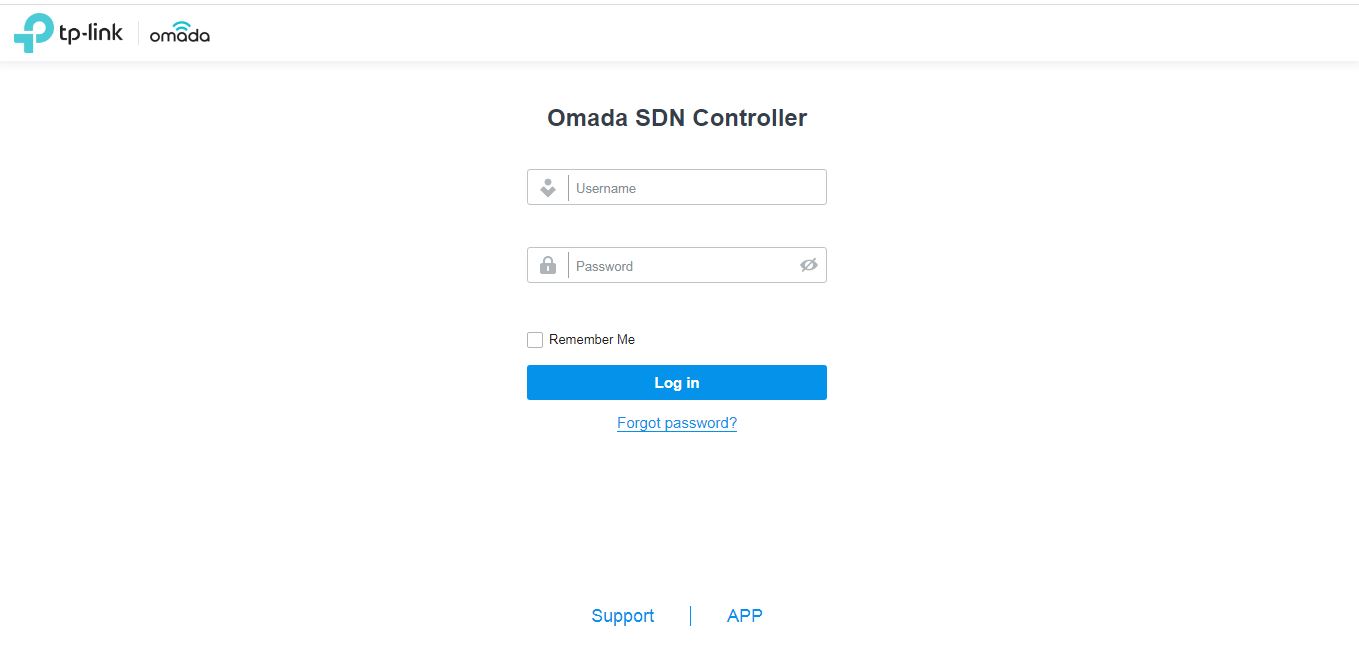
Note: If your web browser opens but prompts a problem with the website’s security certificate, please do not worry, it’s safe to click Continue.
- After you login, move the mouse to the left-hand side and locate to Settings >>Wireless Networks, from where you can reconfigure or create the wireless settings as you want.
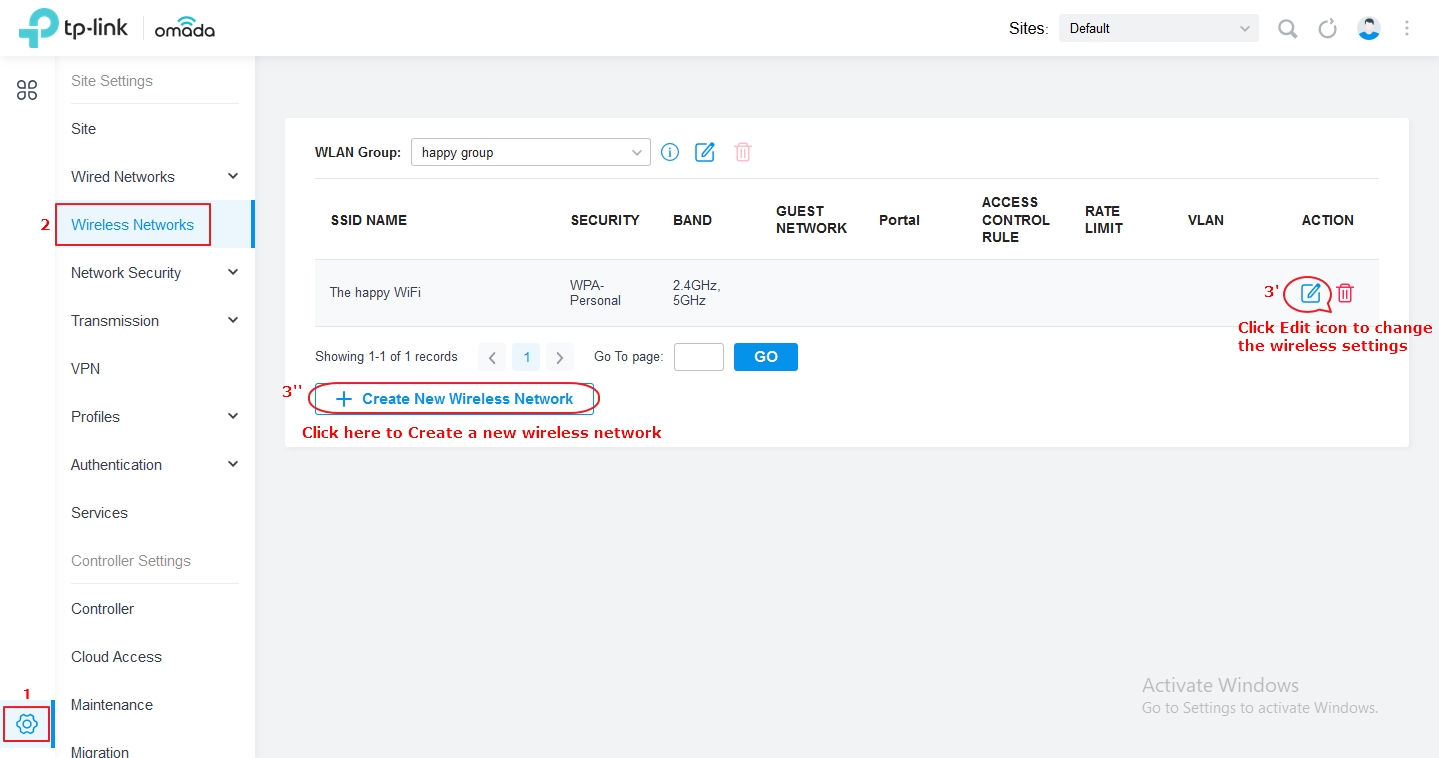
- Here we click the Edit icon to change the wireless settings for both 2.4G and 5G. Customize the SSID, check both 2.4G and 5G, select Security as WPA-Personal and create the Security Key (wireless password) to secure the Wi-Fi.
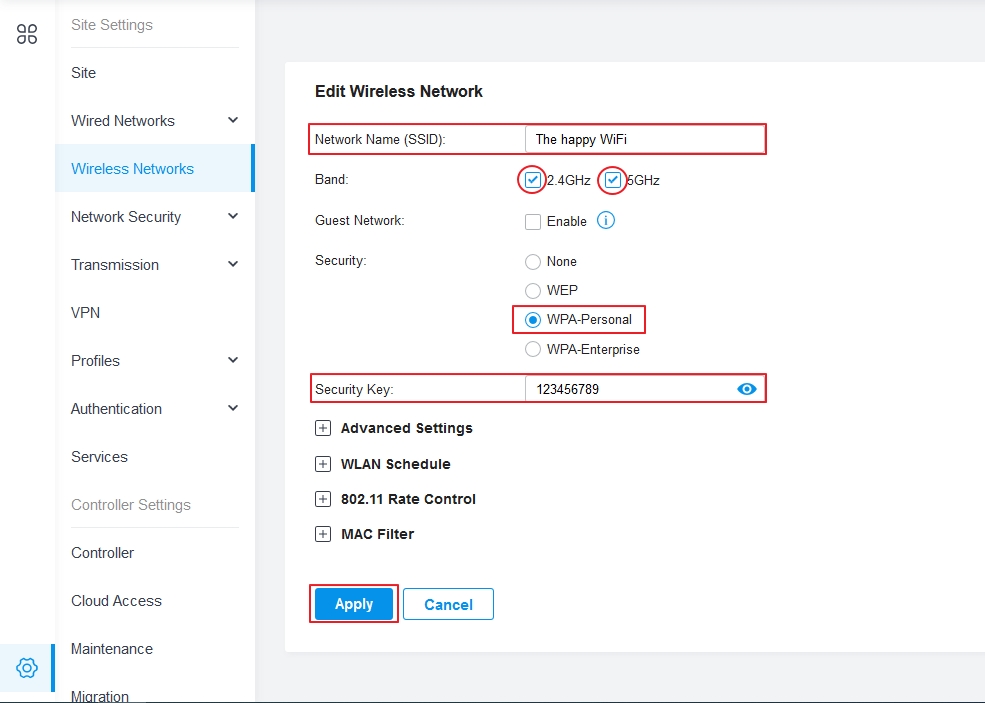
- Click Apply to save the changes. After that, the new wireless settings would be delivered to all the EAPs that are adopted by the Omada Controller, reconnect to the Wi-Fi network you just set and enjoy surfing the Internet.
Get to know more details of each function and configuration please go to Download Center to download the manual of your product.
Полезен ли беше този ЧЗВ?
Вашите отзиви помагат за подобряване на този сайт.

_EU_3.0_2401__normal_20240119043538b.png)
